Introduction
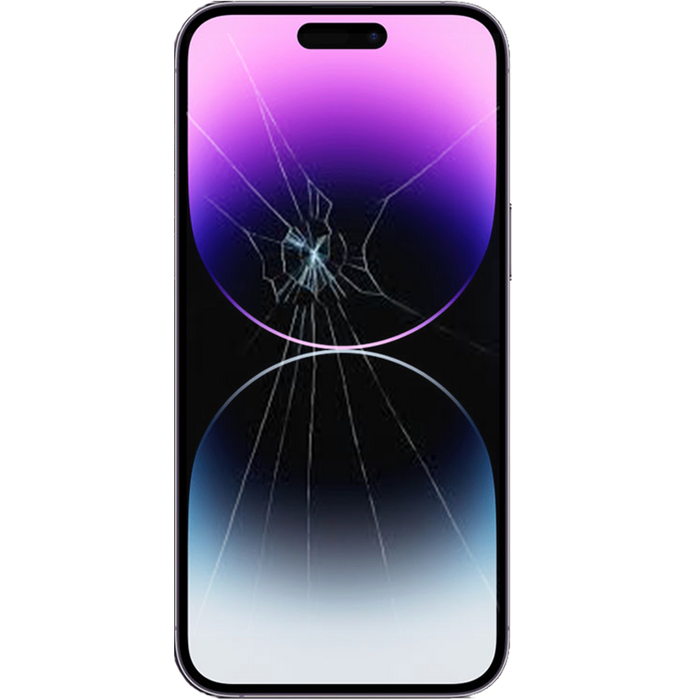
Replacing the screen on your iPhone 14 Pro Max can seem daunting, but with the right tools, knowledge, and patience, it’s a task that many users can tackle themselves. This comprehensive guide will walk you through the entire process, step by step, helping you save money on professional repair costs while restoring your device to its former glory. Whether you’re dealing with a cracked screen, dead pixels, or unresponsive touch functionality, this guide has got you covered. Before diving in, ensure you have the necessary replacement screen, tools, and time to complete the job properly.
Preparing for the Repair
Gathering Tools and Materials
To successfully replace your iPhone 14 Pro Max screen, you’ll need the following items:
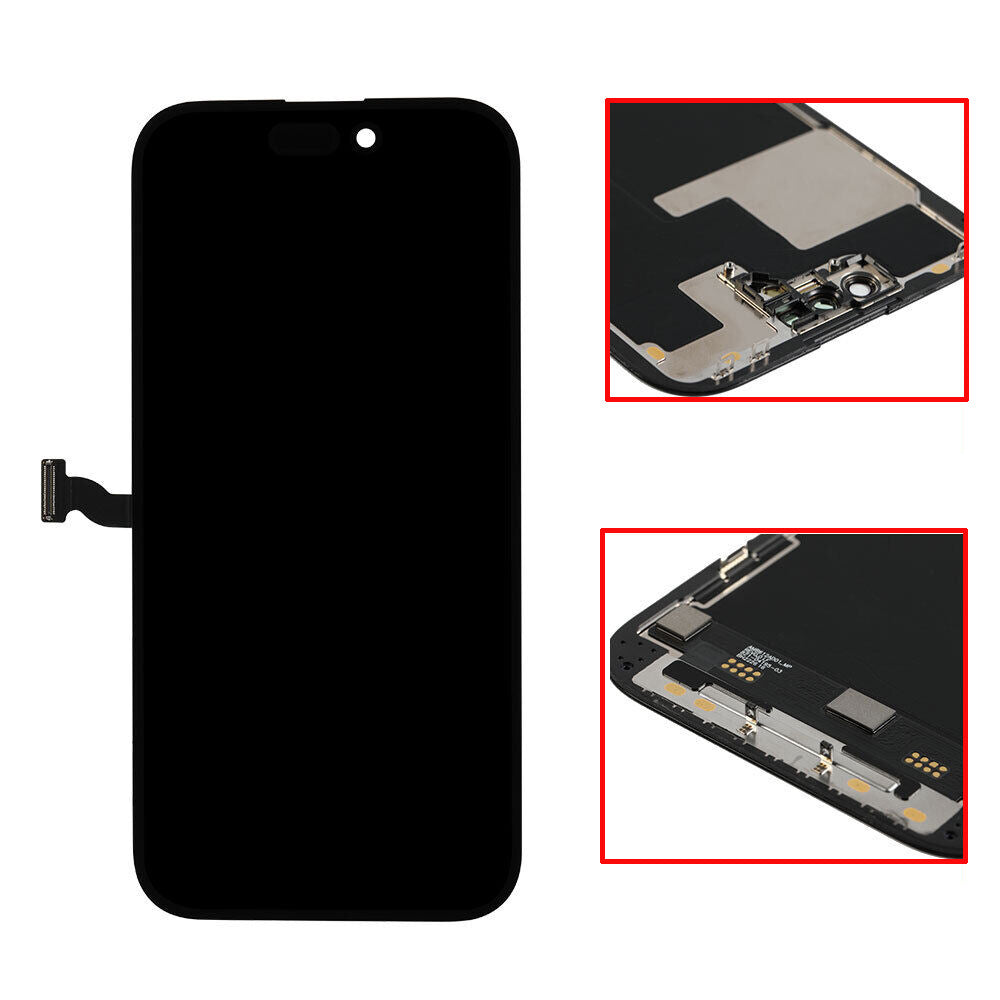
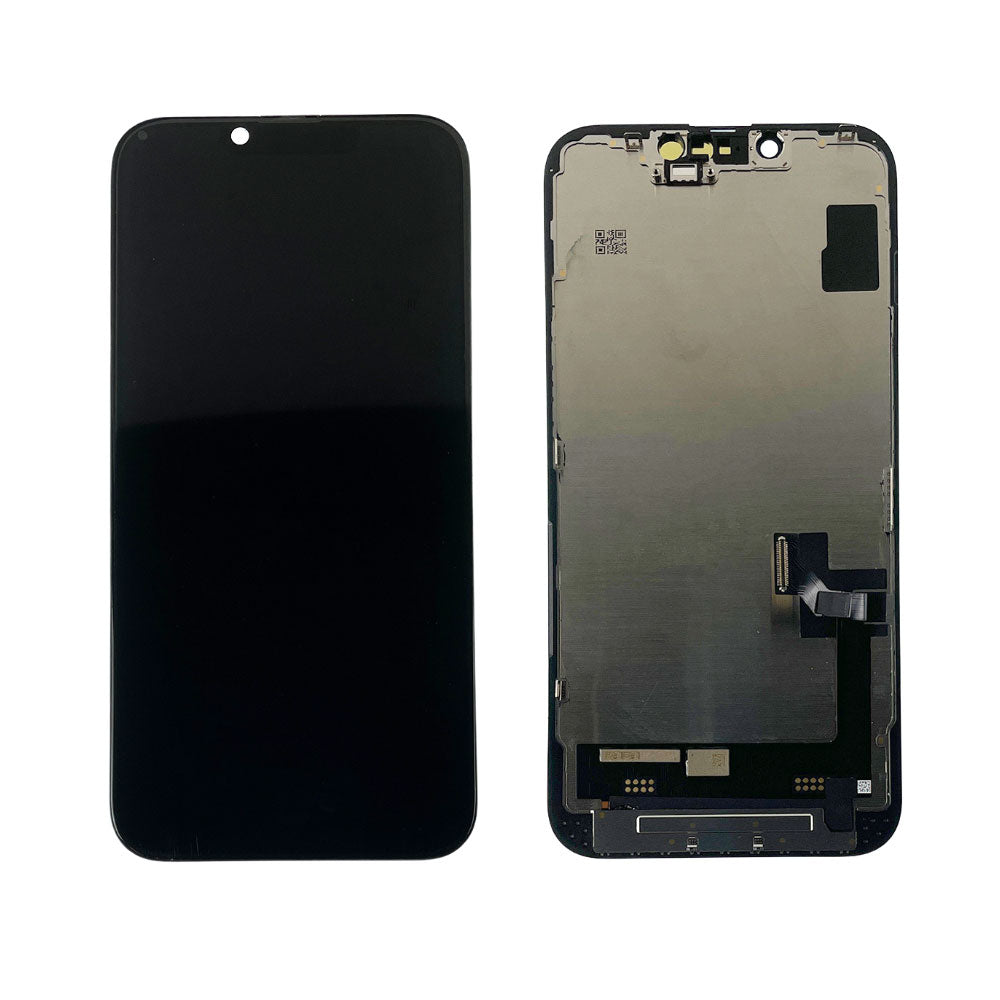
- Replacement screen assembly: Purchase an authentic, high-quality LCD or OLED screen assembly specifically designed for the iPhone 14 Pro Max. It should include the digitizer (touchscreen layer), display, and any necessary flex cables.
- Precision screwdrivers: You’ll need a set of Phillips head screwdrivers in various sizes, typically #000, #00, and #0, to remove the screws securing the phone’s components.
- Pentalobe screwdriver: The iPhone 14 Pro Max uses pentalobe screws to secure the back panel. Make sure you have the appropriate size pentalobe screwdriver.
- Spudger or plastic opening tool: These tools help safely pry open delicate components without damaging them.
- Adhesive remover or heat gun: To remove the old screen adhesive, you can use specialized adhesive remover solutions, or gently heat the edges of the screen with a heat gun or hair dryer.
- Cleaning wipes or alcohol swabs: Use these to clean the device’s frame before installing the new screen.
- Anti-static wrist strap (optional): Wearing this helps protect sensitive electronic components from static electricity.
Backing Up Your Data and Powering Off the Device
Before beginning the repair, ensure your important data is backed up to iCloud or a computer using iTunes. Once your data is safe, power off your iPhone 14 Pro Max by holding down the side button and either volume button until the “Slide to Power Off” slider appears. Swipe the slider to turn off the device.
Disassembling the iPhone 14 Pro Max
Removing the SIM Tray
Using the SIM eject tool (or a paperclip), press firmly into the small hole on the SIM tray until it pops out. Set the SIM tray aside.
Removing the Back Panel
Put on your anti-static wrist strap (if using one) and place your iPhone face-down on a clean, soft surface. Apply gentle heat around the edges of the back panel to soften the adhesive. Using a pentalobe screwdriver, remove the two screws at the bottom of the device. Then, carefully insert a spudger or plastic opening tool between the back panel and the frame, working your way around the edges to release the adhesive. Lift the back panel off slowly, being mindful of the fingerprint sensor cable still attached.

Detaching Cables and Removing Components
Disconnect Battery Connector
Locate the battery connector near the top left corner of the motherboard. Use a spudger to gently lift the battery connector’s retaining flap, then use a plastic prying tool or tweezers to disconnect the cable from the socket.
Remove Taptic Engine and Speaker Assembly
Unscrew the four Phillips screws securing the taptic engine and speaker assembly, then carefully lift it out of the device.
Remove Camera Bracket and Connectors
Detach the camera bracket by removing the three Phillips screws. Gently disconnect the camera and sensor cables from their sockets on the motherboard.
Remove Screen Adhesive Strips
Use a spudger or plastic opening tool to carefully lift and peel off the adhesive strips along the edges of the old screen.
Removing the Old Screen Assembly
With all cables disconnected and components removed, gently lift the old screen assembly away from the device, starting from the bottom edge and working your way up. Be cautious not to damage any remaining cables or the frame.
Installing the New Screen Assembly
Cleaning the Frame
Use cleaning wipes or alcohol swabs to thoroughly clean the device’s frame, removing any residual adhesive or debris. This ensures a strong bond between the new screen and the frame.
Attaching the New Screen Assembly
Align the new screen assembly with the device’s frame, starting from the top edge and gently pressing it into place. Ensure all cables and connectors are clear of the edges before applying pressure. Once the new screen is securely in position, reattach the screen adhesive strips along the edges or apply a new adhesive solution according to the manufacturer’s instructions.
Reassembling the iPhone 14 Pro Max
Reverse the disassembly steps to reassemble your iPhone 14 Pro Max:
- Reconnect cables and attach components: Carefully reconnect the camera and sensor cables, reinstall the camera bracket, attach the taptic engine and speaker assembly, and plug in the battery connector.
- Replace the back panel: Align the back panel with the device, gently pressing it onto the frame. Ensure the fingerprint sensor cable is properly seated before securing it with the two pentalobe screws.
- Insert the SIM tray: Slide the SIM tray back into the device until it clicks into place.
Testing the New Screen and Finalizing the Repair
Power On and Test Functionality
Power on your iPhone 14 Pro Max by holding down the side button. Observe the screen for any visible defects, such as dead pixels, discoloration, or touch responsiveness issues. Navigate through various apps and settings to ensure the display and touch functions work flawlessly.
Calibration (if needed)
If the touch screen feels inaccurate or unresponsive after the repair, you may need to calibrate it. Go to “Settings” > “General” > “Reset” > “Reset All Settings.” This will restore your device’s default settings without erasing your data, and should resolve any touch calibration issues.
Re-enabling Face ID (if applicable)
If you replaced the entire screen assembly, including the TrueDepth camera system, you will need to re-enroll your face for Face ID to function correctly. Go to “Settings” > “Face ID & Passcode,” and follow the prompts to set up Face ID again.
Conclusion
Completing an iPhone 14 Pro Max screen replacement takes time, patience, and attention to detail, but it can save you significant repair costs and give you the satisfaction of fixing your device yourself. By following this comprehensive guide step by step, you’ll successfully replace your damaged screen and restore your iPhone 14 Pro Max to its full functionality. Remember to take precautions, handle components delicately, and double-check your work throughout the process. With your newly repaired device in hand, you can enjoy the stunning display and seamless user experience once again.