Recording microphones play an essential role in the world of audio production. Musicians, podcasters, and sound engineers rely on these devices for the best sound quality. Understanding the different types of microphones, their applications, and how to use them effectively is crucial for anyone in the audio industry. This article will delve into the various aspects of recording microphones, covering everything from fundamental types to advanced techniques.
Understanding Microphone Types
Dynamic Microphones
Dynamic microphones are among the most commonly used recording mics. They work on an electromagnetic principle, where sound waves hit a diaphragm attached to a coil. When the diaphragm vibrates, it generates an electrical current. This type of microphone is known for its durability and ability to handle high sound pressure levels. It’s perfect for live performances and loud sound sources, such as electric guitars or drums.
These microphones are often less sensitive to quieter sounds. This characteristic makes them ideal for environments with background noise. For instance, if you’re recording in a crowded space or a live concert venue, dynamic microphones can help isolate the sound you want. They can effectively reduce feedback and capture clear audio.
Dynamic microphones also typically don’t require external power. You can plug them directly into a mixer or audio interface without worrying about batteries or phantom power. This convenience makes them a popular choice for many audio professionals. However, they may not capture the higher frequencies as accurately as other microphone types.
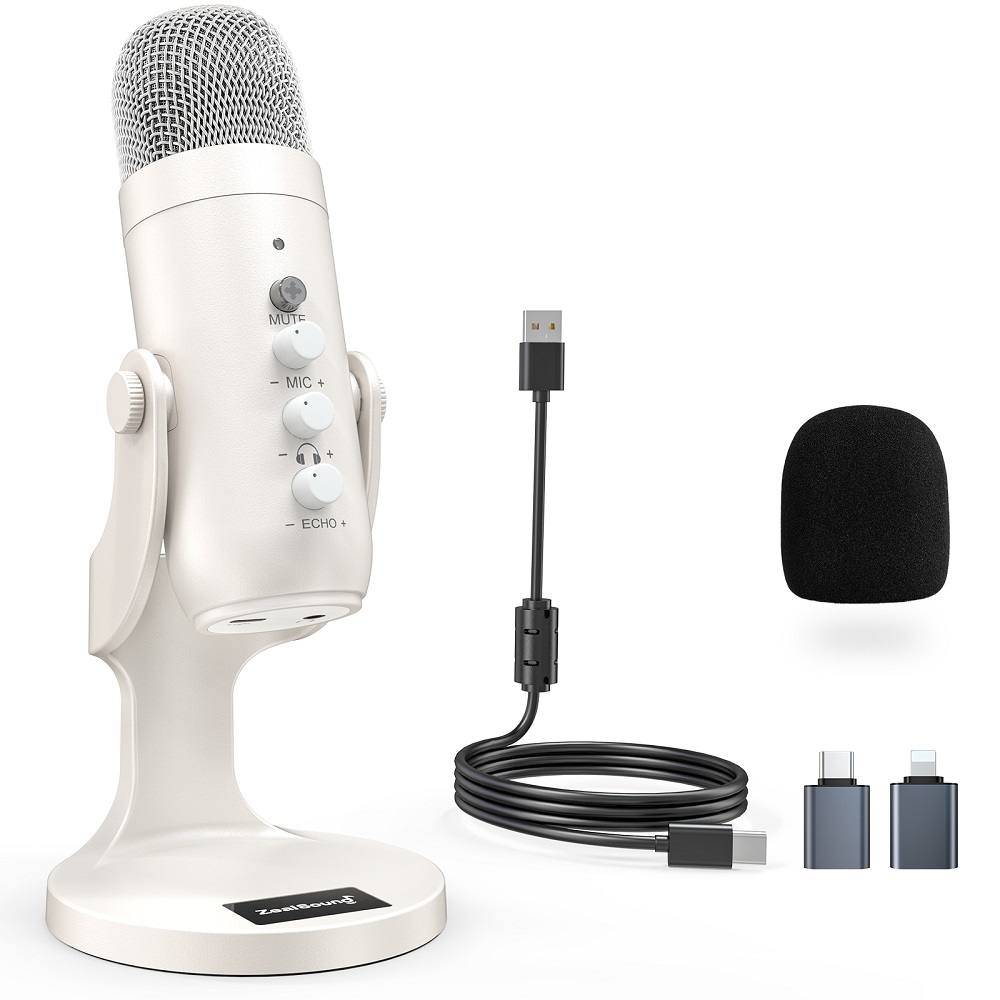
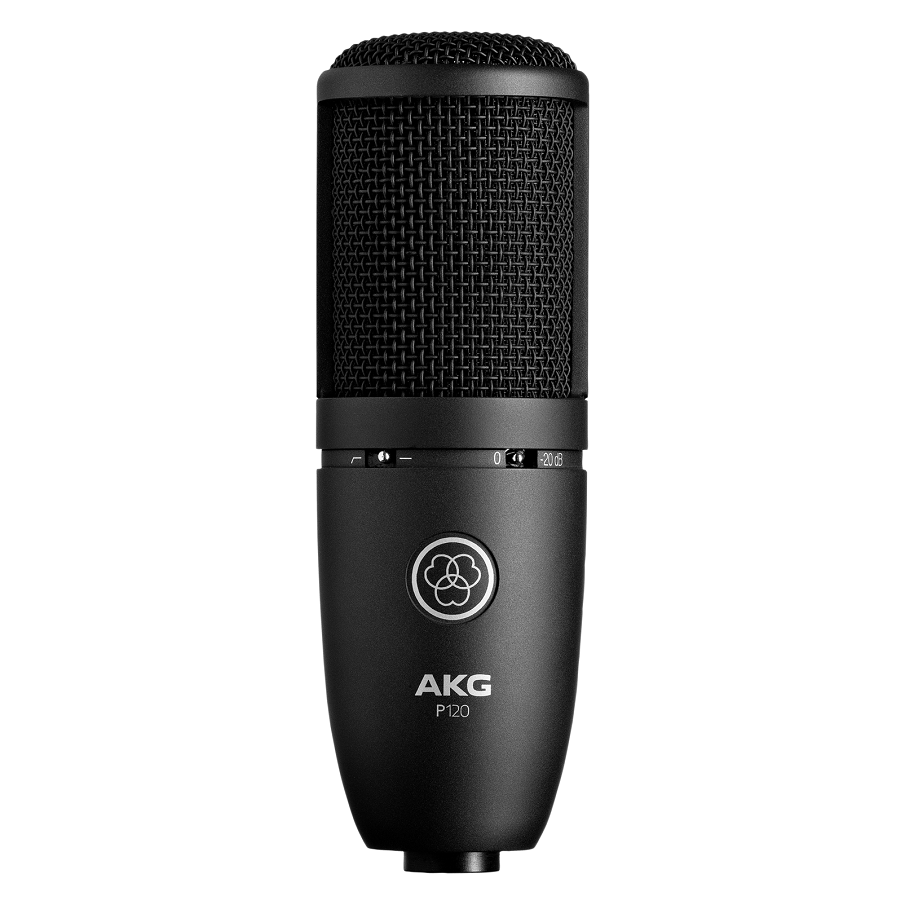
Condenser Microphones
Condenser microphones are another popular choice in the recording world. They differ from dynamic microphones in that they use a capacitor to convert sound waves into electrical signals. This design allows them to capture a wider frequency range and detail. Because of these qualities, they are ideal for studio recording, vocal performances, and acoustic instruments.
Condenser mics are more sensitive and can pick up quieter sounds. This sensitivity is advantageous for capturing nuances and subtleties in a vocal performance or a solo acoustic guitar. However, it means they can also pick up unwanted background noise. Therefore, it’s essential to use these microphones in controlled environments like soundproof studios.
Most condenser microphones require phantom power to operate. This requirement can be a consideration when setting up your gear. Make sure your audio interface or mixer provides the necessary power source. Many high-quality condenser microphones offer excellent sound quality, but they can become expensive. The price range varies widely, so budget considerations are an important part of selecting a mic.
Ribbon Microphones
Ribbon microphones are less common but are known for their unique sound profile. These mics use a thin ribbon of metal placed in a magnetic field to create a signal. Ribbon microphones are sensitive to high frequencies and provide a warm, rich sound. They are excellent for string instruments, brass, and even vocals.
One notable feature of ribbon microphones is their bidirectional pickup pattern. This means they pick up sound from both the front and the back of the mic. This can be beneficial for specific recording setups, as it allows for more versatility. However, this characteristic also means they can capture a lot of ambient noise, so placement is critical.
Ribbon microphones can be more fragile than dynamic and condenser mics. They require careful handling and storage. Additionally, they generally don’t handle high sound pressure levels well. This limitation may make them unsuitable for loud sound sources, such as drums or guitar amplifiers. Nonetheless, many sound engineers cherish them for their unique audio signature.
Choosing the Right Microphone for Your Needs
Application-Based Choices
Selecting the right microphone depends on the intended application. For live performances and on-the-go recordings, dynamic microphones are often the best choice. They’re rugged, affordable, and effective in noisy environments. If the primary focus is on vocal clarity or intricate musical details, a condenser microphone might be more suitable. These mics excel in studio situations where sound quality is paramount.
For recording rich and warm sounds, consider ribbon microphones. They can add depth and character to music. However, you need to be careful with placement and handling. Each type of microphone has its unique strengths and weaknesses. Knowing how to match a mic to its application will enhance your recordings.
Price Considerations
Price is a significant factor when choosing a recording microphone. You can find good quality dynamic mics at affordable prices. For example, some entry-level models are perfect for beginners. They won’t break the bank and can provide excellent sound quality for basic needs.
As you move into the realm of condenser and ribbon microphones, prices typically rise. High-end models can be expensive but often offer superior sound fidelity and durability. Consider your specific needs and budget. It may be worth investing in a higher-quality mic if you plan to record regularly or for professional purposes. Ultimately, finding the right balance between quality and budget is key.
Microphone Placement Techniques
Understanding Sound Source Proximity
Proper microphone placement can significantly affect sound quality. The distance between the microphone and the sound source is critical. Generally, placing the mic too close can result in unwanted tonal changes. This effect is often referred to as the “proximity effect.” Conversely, placing it too far away may result in weak sound capture.
When recording vocals, start by positioning the microphone about six inches from the singer’s mouth. This distance usually allows for a well-balanced sound. If you notice excessive harshness, adjust to a slightly greater distance. For instruments, experiment with the placement. Each instrument can react differently to the mic, requiring adjustments.
Room Acoustics
Room acoustics are also crucial for effective microphone placement. Hard surfaces can cause unwanted reflections, leading to a muddied sound. If you’re recording in a room with high ceilings and bare walls, consider using sound-absorbent materials to enhance the recording environment.
Position your microphone in a place where it captures the best tone while minimizing reflections. Listening while adjusting your mic can provide insight into the optimal placement. If possible, record test segments to evaluate sound quality before committing to a final take.
Understanding Polar Patterns
The Importance of Polar Patterns
Each microphone has a polar pattern that defines how it picks up sound from different directions. Common patterns include cardioid, omnidirectional, and bidirectional. Understanding these patterns is essential for effective recording.
The cardioid pattern picks up sound primarily from the front. This feature makes it ideal for live vocals or instruments, as it helps isolate the source. If you are in a noisy environment, cardioid mics can reduce background noise significantly.
Omnidirectional microphones capture sound equally from all directions. This characteristic is excellent for recording ambient sounds or multiple instruments in one take. They create a natural soundscape but may also pick up unwanted noise.
Bidirectional microphones capture sound from the front and back. These mics work well for interviews, where two people speak across from each other. Knowing your project’s needs will help in selecting the appropriate polar pattern.
Accessories That Enhance Microphone Performance
Pop Filters and Windshields
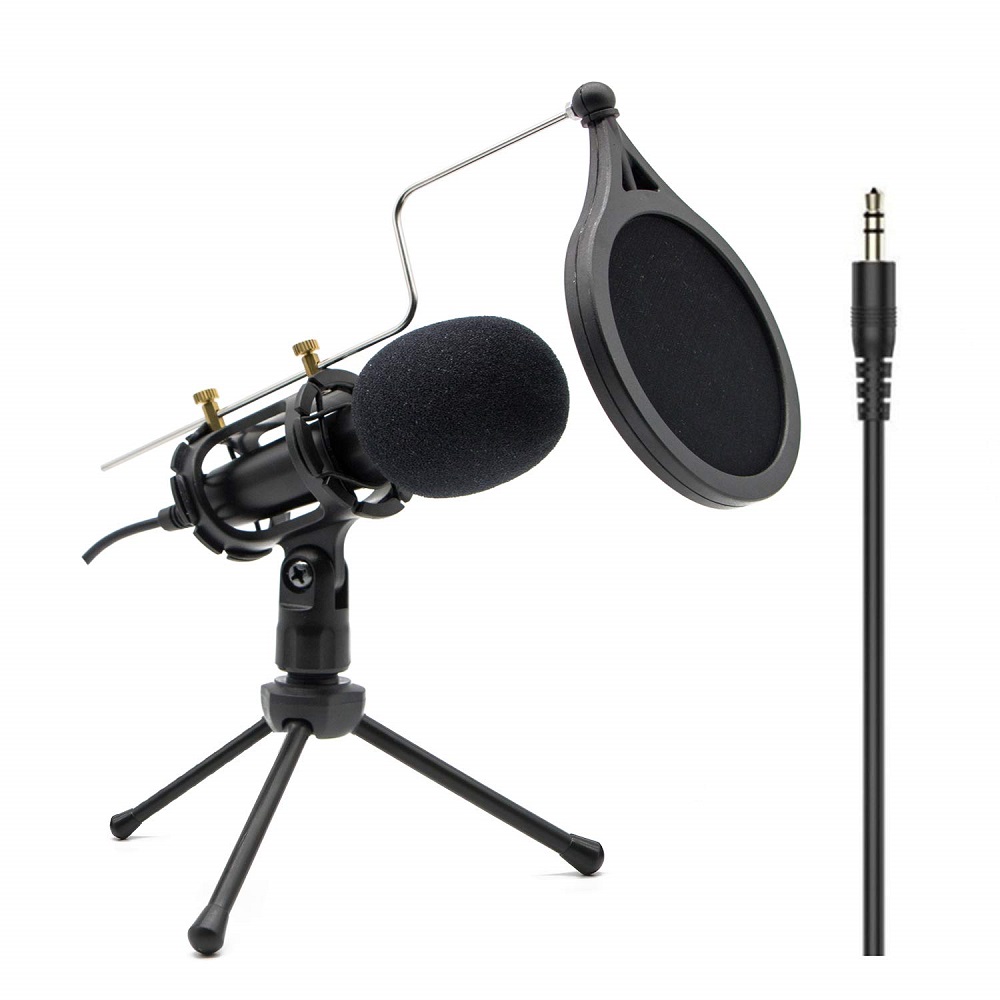
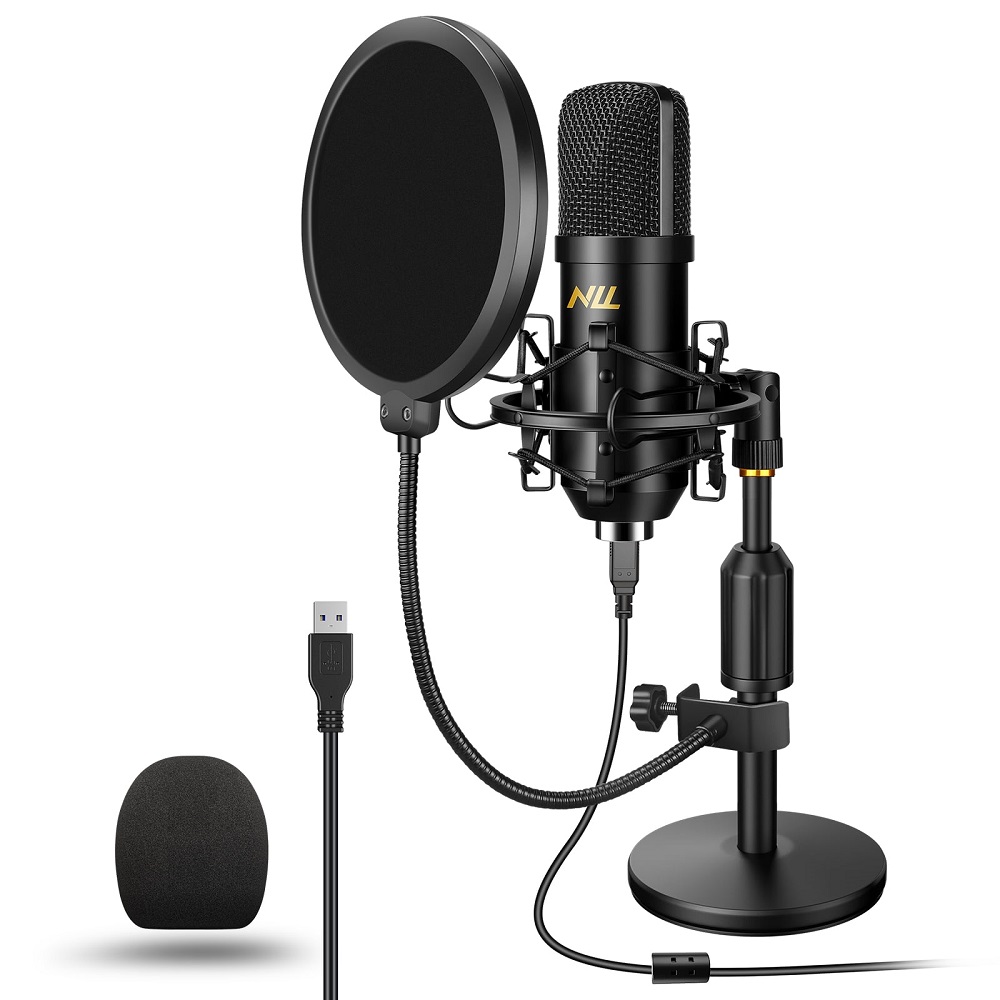
Pop filters and windshields are common accessories that can enhance your recording quality. A pop filter is designed to reduce plosive sounds, like ‘p’ and ‘b’ sounds. These can cause distortion in recordings. Placing a pop filter between the mic and the vocalist can result in smoother sound.
Windshields are necessary if you plan on recording outdoors. They shield the mic from wind, preventing noise that could interfere with clear audio capture. Each accessory has its specific function, and using them effectively can significantly improve the overall sound quality.
Microphone Stands and Shock Mounts
Microphone stands are essential for securely positioning your microphone. Choosing a sturdy and adjustable stand allows for better placement. An unstable stand may lead to unwanted mic handling noises or shifting during recordings.
Shock mounts are another excellent investment. These devices reduce vibrations and handling noise. They hold the microphone in a way that minimizes the impact of small movements. When using sensitive microphones, incorporating a shock mount can enhance audio clarity.
Best Practices for Recording
Setting Levels Correctly
When you are ready to record, setting the levels correctly is an important step. Too much gain can cause distortion, while too little will lead to weak audio. Always monitor levels to ensure a clean sound. Use headphones to check the audio quality as you record.
Experiment with different settings as needed. Recording at a moderate level, about -12 dB to -6 dB, tends to give a good balance. This approach allows headroom for louder sounds without clipping.
Regular Maintenance
Maintenance is vital for keeping your microphones in good working order. Dust and moisture can harm the sensitive components of a microphone. Make it a habit to clean them regularly with a soft, dry cloth. If you use them in various environments, such as recording studios and live shows, consider a storage case to protect them from damage.
Checking cables and connections is also essential. Faulty cables can contribute to poor sound quality. Swap out old or damaged cables with high-quality replacements to maintain the integrity of your recordings.
Real-World Applications and Case Studies
Recording Vocals
When recording vocals, many professionals prefer using a condenser microphone. These mics capture the nuances of the voice, whether soft or powerful. Set up your mic at the proper distance and use a pop filter to ensure clarity. Always monitor your levels while recording.
Record multiple takes to capture the best performance. Listen critically to each take before making a decision. This process will help you choose the best version and provide a more polished final product.
Recording Instruments
The approach for recording instruments may vary widely based on the type of instrument. For instance, when using a dynamic microphone for drums, position it just outside the drum kit to balance the sound. This placement allows you to capture the overall kit while minimizing unwanted noise.
When recording acoustic guitars, consider using a condenser mic. Position it about a foot away and slightly angled toward the 12th fret. Experiment with placement for different tonal characteristics.
Do not hesitate to try different mic types and placements. The goal is to capture the instrument’s authentic sound while ensuring clarity.
Conclusion: Empowering Your Recording Experience
Understanding recording microphones is crucial for anyone looking to excel in audio production. From choosing the right type to mastering placement and accessories, your choices make a difference. Explore various techniques and combinations to find the best sound for your specific needs.
Invest in good quality microphones and accessories to enhance your recordings. Pay attention to details like placement, room acoustics, and level settings. These elements can elevate your audio quality and ensure a successful recording experience.
With knowledge and practice, you can achieve amazing results with your recordings. Whether you are a musician, podcaster, or audio engineer, the world of recording microphones is rich with opportunities to explore and perfect.