Common Reasons Why Microphones Stop Working
Microphones can fail for various reasons. Being aware of common issues can save you time and frustration. Let’s explore some typical culprits behind microphone malfunctions.
Accidental Muting or Volume Reduction
It’s common for users to accidentally mute their microphones. Or, the volume may have been turned down unintentionally. Always check these settings first.
Physical Damage to the Microphone
Drops, spills, or heavy impacts can damage the mic. Inspect your microphone for visible signs of harm.
Software Glitches
At times, software conflicts or outdated drivers cause problems. Ensure everything is up to date and compatible with your system.
Connection Issues
A loose or faulty connection can lead to microphone failure. Check your cables, ports, and make sure everything is securely plugged in.
Incorrect Default Device Settings
Sometimes the wrong audio input is set as default. Verify that your system recognizes the correct microphone.
Dust or Debris Blockages
Dirt can clog your microphone’s ports. Clean gently with a soft brush or compressed air.
Overuse Leading to Wear and Tear
Long-term use without proper care can wear out a microphone. Handle your device with care.
Remember, diagnosing the right reason is key to fixing a ‘microphone stopped working’ issue effectively.
Initial Troubleshooting Steps for Microphone Issues
When your microphone stopped working, quick troubleshooting can often solve the issue. Follow these steps to diagnose and fix the problem efficiently.
Check Your Microphone Settings
First, ensure that your microphone is not muted or turned down too low. In your device’s sound settings, look for the microphone levels and adjust them if necessary.
Restart Your Device
A simple restart can sometimes resolve microphone issues caused by minor software glitches. It refreshes your system and can clear up conflicts.
Test with Different Applications
Try using your microphone with different apps. If it works with some but not others, the problem may be with a specific application’s settings.
Inspect the Physical Connections
If you’re using an external microphone, check all connections. Make sure cables are firmly connected and that there are no bent pins in the plugs.
Use the Troubleshooting Tools
Most operating systems offer built-in troubleshooting tools for audio devices. Run these utilities to help identify and fix microphone issues.
By following these initial steps, you can often get your microphone back up and running without too much trouble. If these solutions don’t work, there may be a deeper issue at play.
Software Fixes: Updating Drivers and Settings
Sometimes, the issue of a ‘microphone stopped working’ can stem from outdated or corrupted software. Taking proactive steps can often resolve these problems. Here’s how you can perform software fixes.
Update Your Audio Drivers
Drivers are vital for your microphone to work with your operating system. Follow these steps:
- Check your device manager to identify your audio devices.
- Go to the manufacturer’s website and download the latest driver compatible with your system.
- Install the driver and restart your computer.

Check Sound Settings
A wrong setting can cause microphone issues. Make sure that your microphone is set as the default device and that all sliders are adjusted correctly.
- Access sound settings via your control panel or system preferences.
- Choose the ‘Recording’ tab and find your microphone in the list.
- Set it as the default device and adjust the levels as needed.
Reset Sound Configurations
If updates and settings changes don’t work, a reset may help:
- In the sound settings, look for an option to restore default settings.
- Confirm the action and check if the microphone works afterward.
By checking for software updates, adjusting your sound settings, and ensuring everything is configured correctly, you can often fix microphone issues without resorting to hardware solutions.
Hardware Solutions: Inspecting and Repairing Your Microphone
When software fixes don’t solve your ‘microphone stopped working’ issue, it’s time to look into hardware solutions. Physical inspection and repairs can often restore microphone functionality. Here’s what you can do:
Visually Inspect Your Microphone
Start by examining your microphone for any visible damage. Look for bends, cracks, or loose components. If you spot any, this might indicate physical harm that needs addressing.
Check the Microphone Cable and Ports
A common problem is a faulty cable or port. Make sure your microphone’s cable is not frayed and that the port is clean and clear of debris. Swap cables or use a different port to test if that’s the issue.
Test the Microphone on Another Device
To rule out compatibility issues, try using your microphone with a different device. If it works elsewhere, the problem might lie with your original device.
Disassemble and Clean Internal Components
Only attempt this if you are comfortable with electronics. Disassemble your microphone carefully and clean any dust or corrosion from the internal components with a dry cloth or compressed air.
Replace Faulty Components
Sometimes, replacing a part such as the diaphragm or cable can fix a microphone. If you are skilled in DIY repairs, you can attempt a component replacement. Otherwise, consider professional help.
Seek Professional Repair Services
If you’re unsure about making hardware repairs yourself, or if the problem persists, seek the assistance of a professional. A certified technician can conduct an in-depth diagnosis and repair.
By thoroughly inspecting and possibly repairing your microphone, you can determine if the issue is hardware-related. In many cases, a simple fix like replacing a cable or cleaning the port can get your microphone working again. Remember, proper handling and routine maintenance can prevent many hardware issues from arising in the first place.
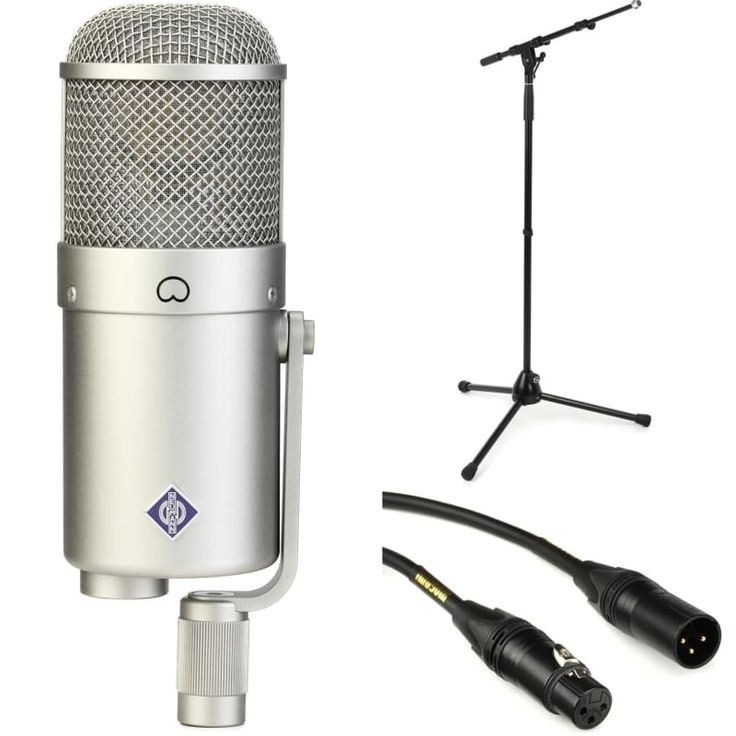
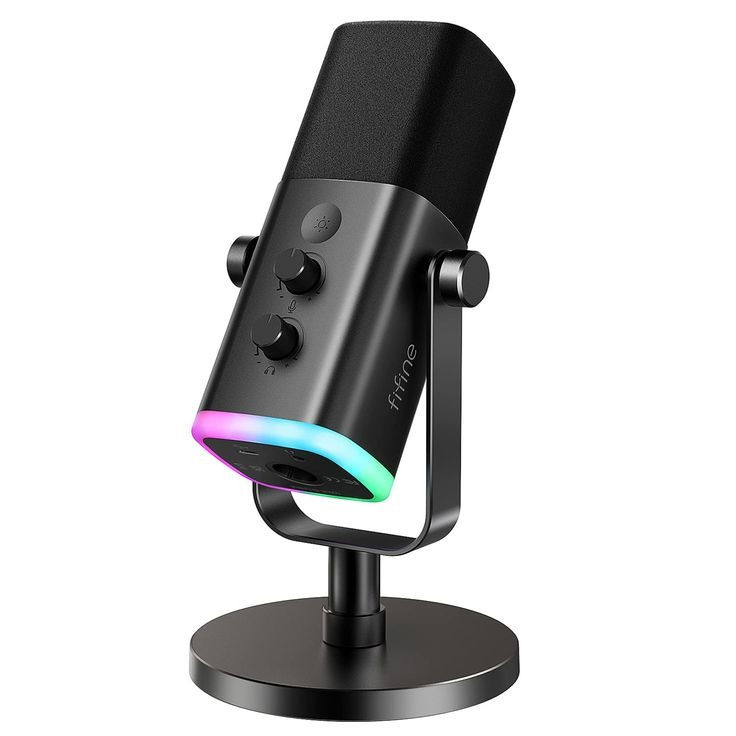
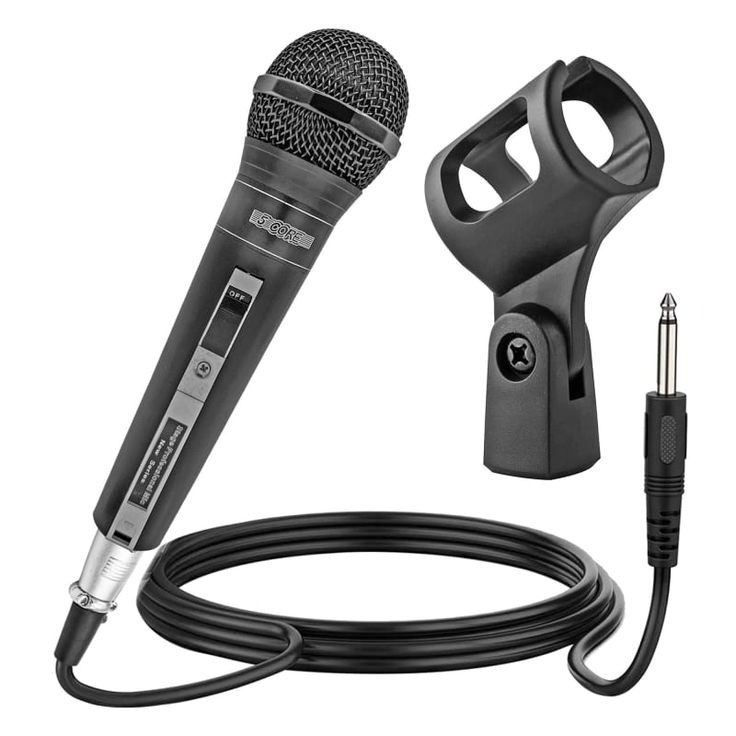
External vs Internal Microphones: Handling Different Types
Handling microphone issues often varies depending on whether you have an external or internal microphone.
Understanding External Microphones
External microphones are separate from your device. They often provide better sound quality and are optimal for professional use. When an external microphone stops working, check its connections and cables first. Look for any physical damage or wear and tear. It’s important to always handle these mics carefully to prevent damage.
Dealing with Internal Microphones
Internal microphones are built into your device, like in laptops and smartphones. If your internal microphone stopped working, check your device’s settings first. Ensure that it is selected as the default recording device. Restarting the device can also refresh the microphone settings. For dust and debris, use compressed air to clean the mic ports gently.
In summary, when a microphone stopped working, the approach to fix the problem should be tailored to the type of microphone. External microphones require checks for physical connection issues, while internal microphones often need software and settings adjustments.
Compatibility Checks: Ensuring Your Microphone Works with Your Device
When you face a ‘microphone stopped working’ issue, you must check compatibility between the microphone and your device. This is a critical step to ensure smooth communication between hardware and software. Here are key points to remember for compatibility checks:
- Identify Your Device’s Operating System: Determine if your device’s OS supports the microphone. Not all mics work with every operating system.
- Check for Required Connections: Some microphones need specific ports or adapters. Ensure your device has the right connection options.
- Software Compatibility: Verify that the microphone is compatible with the applications you are using. Some apps have particular audio input requirements.
- Assess Driver Support: Make sure that there are available drivers for your microphone that are compatible with your device’s OS. Without proper drivers, the microphone may not function correctly.
- Look for Known Issues: Search online for any reported compatibility issues with your microphone model. User forums and tech support sites can be valuable resources.
By conducting thorough compatibility checks, you can rule out or identify any mismatch between your microphone and device. This can save you time before proceeding to more complex troubleshooting or considering professional help. Remember, resolving compatibility issues is often a quick fix that restores microphone functionality.
Preventative Measures: Tips to Avoid Future Microphone Problems
To keep your microphone in top shape and prevent future issues, consider these preventative strategies:
- Regularly Update Software: Ensure your audio drivers and applications are up to date. This can prevent compatibility problems.
- Handle with Care: Treat your microphone gently. Avoid drops and protect it from spills to prevent physical damage.
- Check Connections: Periodically inspect cables and ports for wear or damage. Replace them if necessary.
- Clean Regularly: Dust and debris can accumulate. Use a soft brush or compressed air to clean your microphone’s ports carefully.
- Use Proper Storage: When not in use, store your microphone in a safe place. This helps avoid accidental damage and exposure to dust.
- Avoid Overuse: Give your microphone breaks during extended use to prevent wear and tear.
- Monitor Volume Levels: Keep volume levels moderate. High volumes can strain and damage the microphone over time.
Following these tips can extend the life of your microphone and help ensure that it won’t stop working unexpectedly. Regular maintenance and careful handling are key factors in the longevity of any tech device.
Professional Help: When to Seek Expert Assistance
Sometimes, despite all your efforts, your microphone issue remains unsolved. This is when seeking professional help is wise. Here are signs that it’s time to call in the experts:
- Persistent Software Issues: If driver updates and setting adjustments fail, a specialist might find hidden issues.
- Recurring Hardware Problems: When physical fixes don’t last or you can’t identify the fault, a technician’s tools and knowledge are invaluable.
- Complex Internal Microphone Repairs: Internal mics often require delicate handling. Experts can navigate these repairs without causing extra damage.
- Severe Physical Damage: If your microphone sustained serious harm, like water damage or a shattered component, expert repair is necessary.
- Unidentifiable Issues: When troubleshooting steps don’t reveal a clear cause, professional diagnostics can unearth the actual problem.
- Warranty and Support Services: Utilize your microphone’s warranty or support services if available. Authorized service centers can offer tailored repair or replacement options.
Remember, expert technicians have the tools, parts, and experience to handle complex microphone problems efficiently. Seeking help is a smart choice to save time and ensure a successful fix. Always check reviews and credentials before choosing a service provider to ensure your microphone is in good hands.