Introduction to Mic Issues
Encountering problems with your microphone can be frustrating. This is true whether you are in the middle of an important call, recording a podcast, or streaming live. At some point, most will face mic issues that disrupt their flow. Knowing what you’re dealing with is the first step in mic troubleshooting. There are many potential causes for microphone failure. Some problems are simple and quick to fix. Others require more steps or professional help. This guide will help you understand common mic issues. It will give you the know-how to tackle these problems quickly and effectively. Let’s dive in and work towards clear and uninterrupted sound.
Identifying Your Mic Problem
To effectively engage in mic troubleshooting, identifying the exact problem is crucial. Begin by pinpointing whether the issue is sound distortion, complete silence, intermittent cut-outs, or background noise interference. Each symptom can indicate a different underlying issue. Sound distortion often points to volume or equalizer settings. Silence might suggest a disconnected or muted mic. Intermittent cut-outs could imply a loose connection. Background noise often means poor microphone placement.
Start your diagnosis by asking simple questions. Is your microphone recognized by your device? Does adjusting the settings make any difference? Are cables and hardware intact and properly connected? By methodically eliminating potential causes, you gradually narrow down the issue. This process is essential for efficient mic troubleshooting. Remember, patience and attention to detail will lead you to the root of the problem.
Basic Troubleshooting Steps
Dealing with mic issues requires a systematic approach. Here are some basic troubleshooting steps that can help you resolve common microphone problems quickly.
- Check the Connection: Ensure the microphone is properly plugged in. For USB mics, try different ports.
- Restart Your Device: Sometimes, a simple restart can fix recognition issues.
- Test the Microphone on Another Device: This can help determine if the problem is with the microphone itself or your original device.
- Update Audio Drivers: Out-of-date drivers can lead to mic malfunctions. Check for the latest updates.
- Adjust Settings: Look into your sound settings. Make sure the mic is the default recording device and volume levels are appropriate.
- Check for Mute Functions: Your mic may be muted by a button on it or within your sound settings.
- Use Built-In Troubleshooting Tools: Many operating systems offer tools that can diagnose and fix issues automatically.
- Inspect for Physical Damage: Examine the mic for visible signs of damage that might be causing problems.
By following these steps, you can often resolve simple mic troubles without needing advanced solutions. Remember to perform mic troubleshooting with patience, moving from the simplest solutions to the more complex ones step by step.
Tips for Fixing Software-Related Mic Issues
Sometimes, your mic problems are not hardware-related but stem from software conflicts or settings. Here’s how to tackle these.
- Check Your Operating System’s Sound Settings: Different operating systems have unique settings. Ensure your mic is the designated input device.
- Update Your Software: Operating systems and apps receive updates that might fix mic issues. Install the latest versions.
- Troubleshoot Compatibility Issues: Some mics work poorly with certain apps. Test your mic on different platforms to pinpoint the issue.
- Reset Sound Settings: If you’ve changed settings, revert them back to default. Sometimes custom settings cause problems.
- Close Unnecessary Applications: Other apps might take control of your mic. Close them to free up your mic.
- Examine Audio Enhancements: Turn off effects like noise suppression that might affect mic quality.
- Check Privacy Settings: Some systems have privacy options that block mic access. Make sure your mic has necessary permissions.
By following these steps, you will solve many common software-related mic problems. If issues persist, don’t despair. More advanced solutions are available.

Resolving Hardware Mic Troubles
When hardware is the culprit behind your mic problems, the resolution often involves a physical fix. Before you begin, ensure that you have good lighting and the necessary tools. Here are steps to deal with hardware issues:
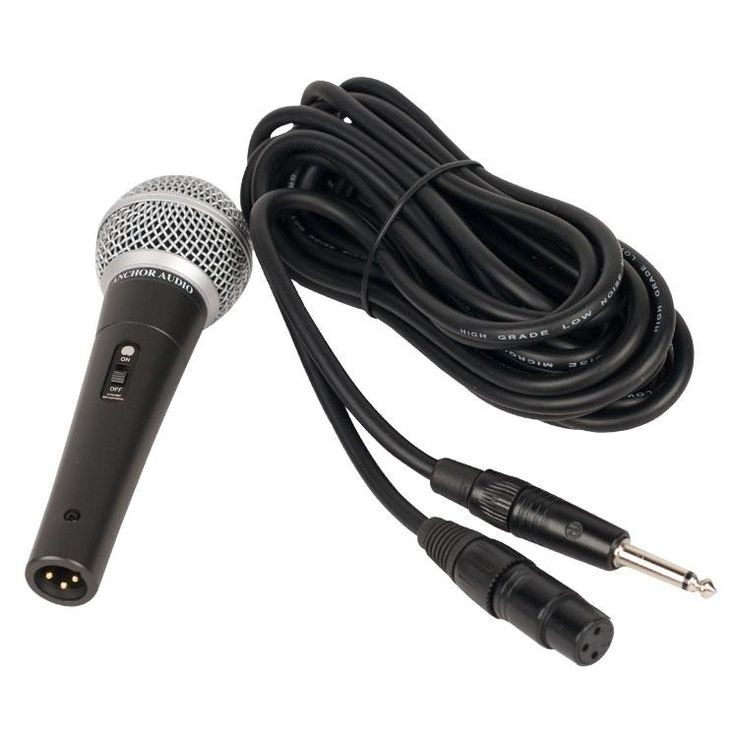
- Inspect the Cable: Frequent use can wear out cables. Look for kinks, breaks, or exposed wires.
- Test the Connectors: Sometimes, the issue is with the connectors. Make sure they’re clean and not damaged.
- Check the Microphone Capsule: If possible, inspect the mic capsule for damage. Be gentle to avoid further harm.
- Solder Loose Connections: If you’re adept with a soldering iron, a loose wire can be reconnected.
- Replace Faulty Parts: Parts like cables or the mic capsule can often be replaced. Consult manufacturer guides.
- Visit a Professional: If in doubt, take your mic to a professional for repair. This ensures quality work.
- Test After Repairs: Always test the mic after any fix to make sure the problem is resolved.
Remember, safety first. If you’re uncertain about your ability to repair electronics, it’s best to consult with a professional. Working on mic troubleshooting can be rewarding, but it’s important to avoid causing further damage. With careful attention and the right approach, you can often restore your microphone’s functionality without the need for expensive replacements.
Advanced Solutions for Persistent Problems
When basic troubleshooting and software fixes don’t resolve your mic issues, it’s time to explore advanced solutions. Persistent problems require a deeper investigation. Here are several steps you can take:
- Seek Manufacturer Support: Reach out to the maker of your microphone. They may offer in-depth help or warranty repairs.
- Consult Online Forums: Forums and support communities often have threads addressing rare mic issues. Someone might have solved your exact problem.
- Use Specialized Tools: Audio interface diagnostic software can give insight into deeper issues your microphone might be experiencing.
- Update Firmware: Some mics have firmware that can be updated for improved performance or fixes. Check manufacturer websites for updates.
- Professional Cleaning: Dust and dirt can get inside your mic and cause issues. A professional cleaning might get it back in shape.
- Replace Internal Components: In some cases, internal microphone components can wear out. Replacing them might restore functionality.
- Calibrate Mic Settings: Use sound engineering tools to calibrate your mic levels and sensitivity. This can resolve complex sound issues.
Remember, advanced mic troubleshooting can be complex. Don’t hesitate to get professional help when needed to avoid causing more damage. With the right approach and resources, even the most stubborn mic problems can be overcome.
Preventing Future Mic Issues
Ensuring that your microphone remains in good working order is essential to avoid ufutre problems. Preventative measures are often simpler and less time-consuming than fixing issues after they arise. Here’s how to keep your mic in top shape, steering clear of common pitfalls that lead to troubleshooting woes.
- Regular Maintenance: Clean your microphone regularly. Dust and debris can cause functionality issues over time.
- Proper Storage: When not in use, store your microphone in a safe, dry place. Avoid areas with temperature extremes.
- Cable Care: Coil cables loosely to prevent damage. Don’t yank or twist them.
- Software Updates: Keep your operating system and any related software up-to-date to prevent compatibility issues.
- Sound Settings Review: Occasionally review your sound settings to ensure they remain optimal for your mic.
- Mind the Mute: Be aware of mute controls and ensure they’re only engaged when necessary.
- Invest in Quality: Consider using higher quality microphones and accessories, which can be more reliable and enduring.
- Warranty Information: Keep warranty information and receipts. They can be lifesavers if a problem arises that requires professional help.
By taking these steps, you can minimize the risk of running into frequent mic issues, allowing you to focus on your work or event without interruption. A little forethought and routine attention can save you a lot of trouble and ensure that your mic is ready whenever you are.
Conclusion and Additional Resources
After working through various mic troubleshooting steps, from basic fixes to advanced methods, you should now have a clearer sound. Regular maintenance and awareness can prevent many issues. However, when problems arise, this guide provides the pathways to quick recovery. Persistently follow the outlined steps before seeking professional help.
If you’re in need of further assistance or looking for more in-depth discussions on specific mic issues, consider the following resources:
- Manufacturer’s Support: They often have detailed FAQs and customer service that can guide you through troubleshooting.
- Online Audio Forums: Websites like Gearslutz, Sound on Sound, or Reddit’s audio channels are filled with experienced users and experts who can offer advice.
- YouTube Tutorials: Visual and auditory guides can often provide step-by-step solutions.
- Professional Audio Repair Services: Sometimes, professional repair or a consultation can be the most efficient solution.
Finally, investing in quality equipment and keeping your software updated can go a long way in preventing future microphone issues. By combining the advice in this guide with additional resources and a bit of patience, you’ll be set for a smooth audio experience.