
Introduction to Logitech Wireless Keyboards
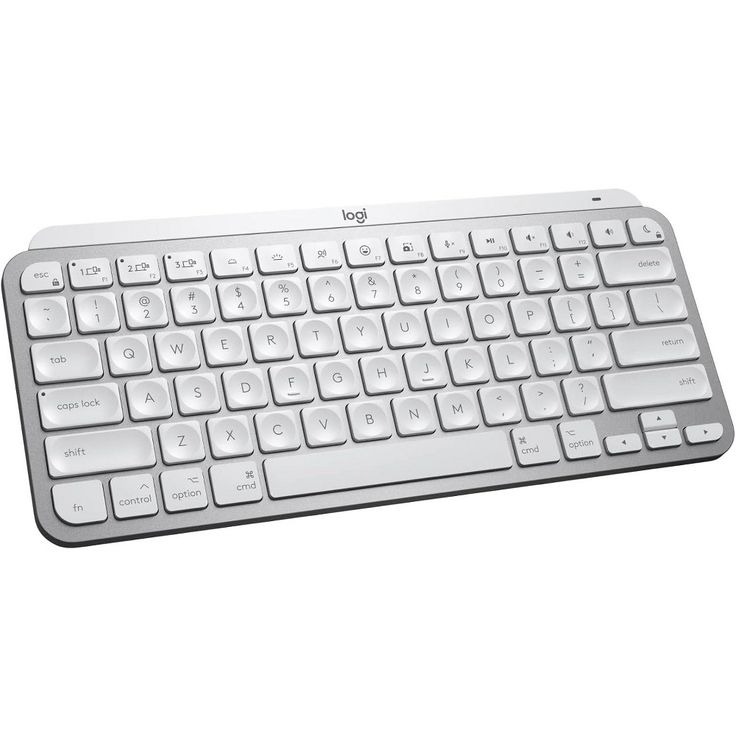
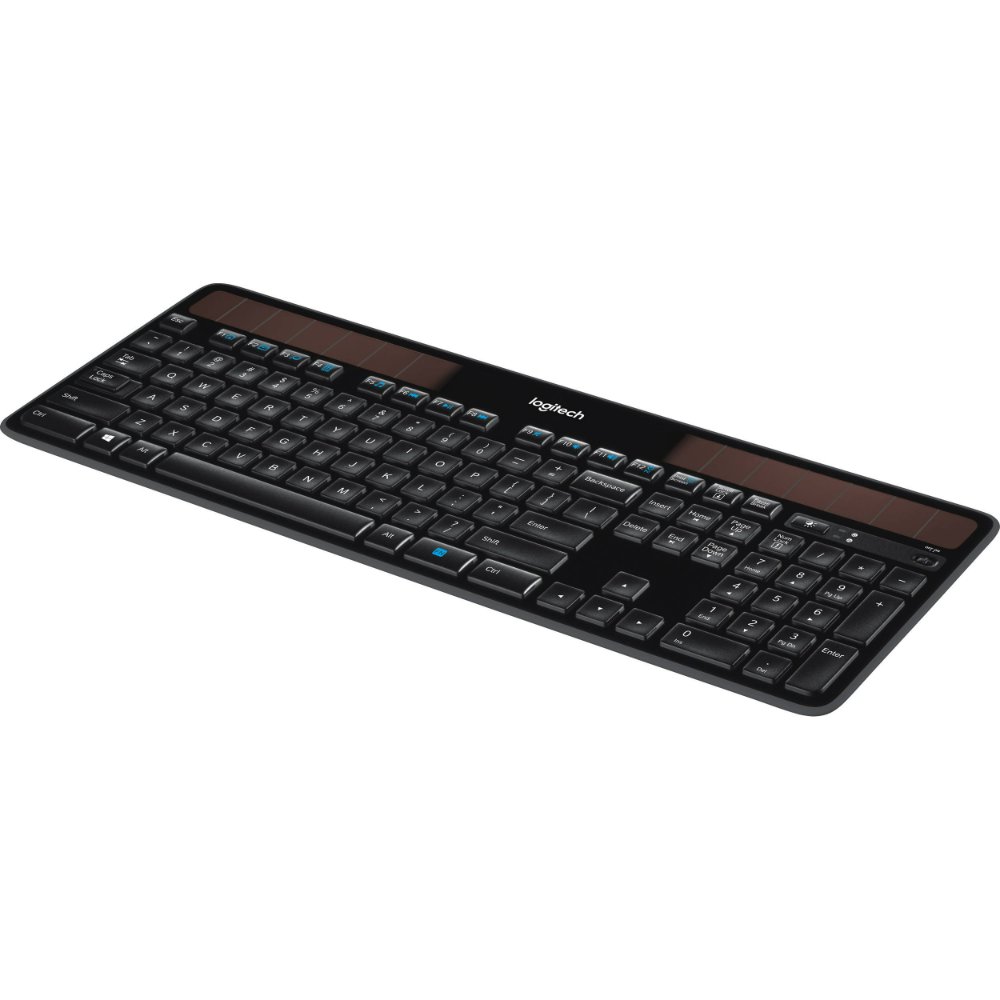
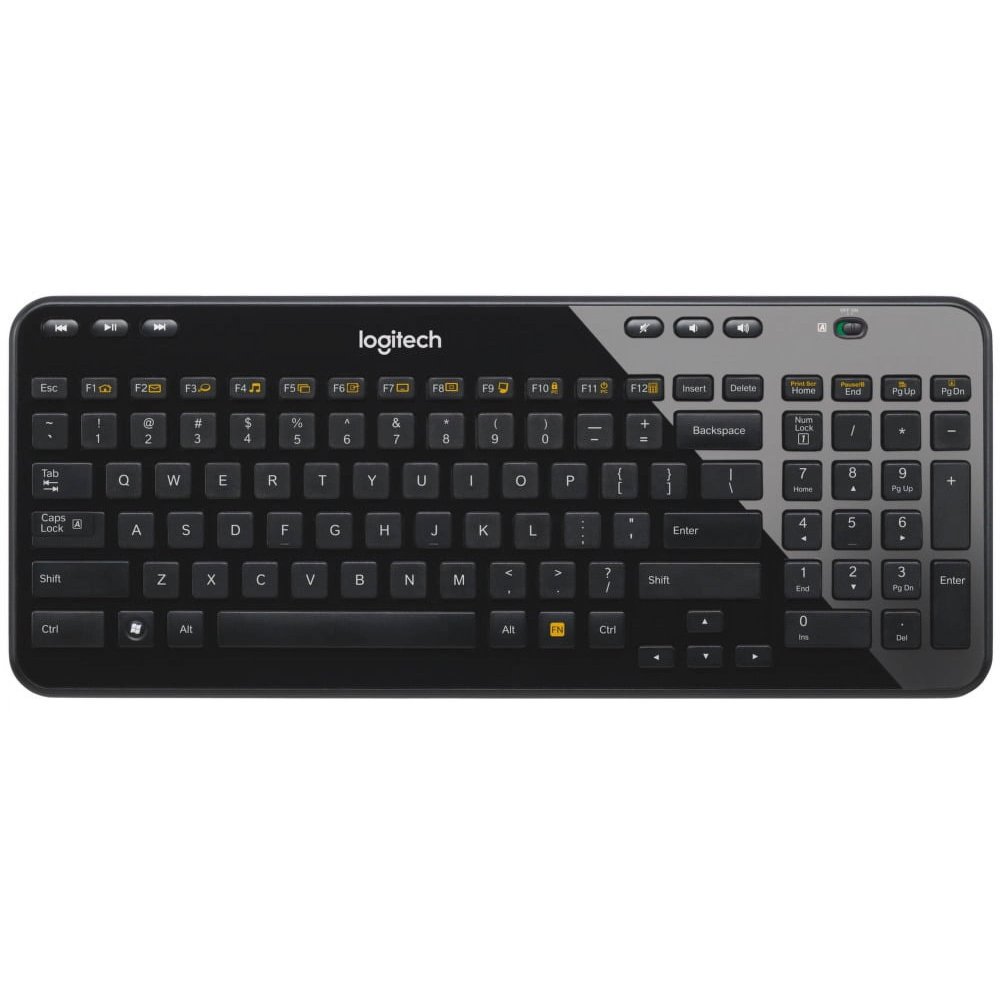
Logitech wireless keyboards provide a clutter-free workspace. They often boast a range of features including ergonomics, multimedia keys, and long battery life. These keyboards connect to various devices through Bluetooth or Unifying receivers. Compared to wired versions, they offer better flexibility and mobility.
To make Logitech keyboard discoverable, one must understand the pairing process. This enables the keyboard to establish a secure connection with the computer or mobile device. Making your keyboard discoverable is essential for the initial setup and when you want to connect to new devices.
Mastering this skill is straightforward. It ensures that your workspace is efficient and wire-free. Users enjoy seamless interaction with their devices, whether for work or play. Read on to learn the simple steps to make your Logitech keyboard discoverable for different operating systems.
Preparing Your Logitech Keyboard for Pairing
Before you can make your Logitech keyboard discoverable, it’s important to prepare it for the pairing process. This is crucial in ensuring a hassle-free connectivity experience. Follow these simple steps to get your Logitech keyboard ready for pairing:
- Check the Power: Ensure that your keyboard has fresh batteries or is fully charged. Low battery levels might prevent successful pairing.
- Turn On the Keyboard: There is usually a power switch located on the bottom or side of the keyboard. Slide it to the ‘On’ position.
- Verify Compatibility: Confirm that your Logitech keyboard supports Bluetooth or has a Unifying receiver. Check the manual if you’re unsure.
- Update Your Device: Make sure that the device you plan to connect with (computer, smartphone, or tablet) is updated with the latest software or operating system. This can prevent compatibility issues during the pairing process.
- Clear Previous Connections: If your keyboard was previously connected to another device, disconnect or forget this connection to avoid conflicts.
With these steps complete, you’ve laid the groundwork to make your Logitech keyboard discoverable. You are now ready to activate the discovery mode and start the syncing process with your preferred devices.
Activating the Discovery Mode
Once your Logitech keyboard is prepared, it’s time to activate the discovery mode. Here’s how to make your Logitech keyboard discoverable:
- Initiate the Pairing Mode: Look for the Bluetooth button or the connect button on your keyboard. Press and hold it until the LED light starts blinking. This signals that your keyboard is in pairing mode and can be detected by other devices.
- Enable Bluetooth on Your Device: On the device you wish to connect with, open the Bluetooth settings and ensure that Bluetooth is turned on. This step could vary slightly depending on your operating system.
- Search for Your Keyboard: With Bluetooth enabled, select ‘Add Bluetooth or other device’ and wait for your device to search for available keyboards. Your Logitech keyboard should appear in the list of discoverable devices.
- Select Your Keyboard: Once your keyboard appears on the list, select it to begin the connection process. You will typically be prompted to input a code which will appear on the screen of your device, providing an extra layer of security.
After completing these steps, your Logitech keyboard should be successfully connected and ready for use. If you encounter any issues, ensure that your keyboard is still in pairing mode and retry the steps, or proceed to troubleshooting.
Pairing with Windows Devices
To make Logitech keyboard discoverable by a Windows device, follow these straightforward steps:
- Navigate to Settings: Click on the Start Menu and select the Settings gear icon, typically found on the bottom left.
- Access Bluetooth Settings: In the Settings window, click on Devices, then select Bluetooth & other devices on the left sidebar.
- Add Bluetooth Device: Click on the Add Bluetooth or other device button at the top of the page to start the pairing process.
- Choose Keyboard: From the list of options, choose Bluetooth. Your Windows device will now search for nearby Bluetooth devices, including your Logitech keyboard.
- Complete the Pairing: Once your keyboard appears in the list of discoverable devices, click on it. Follow any on-screen instructions to complete the pairing, which may include entering a pin code.
After pairing, your Logitech keyboard should be ready to use with your Windows device. If you encounter any issues, make sure Bluetooth is enabled on your computer, and your keyboard is in pairing mode.
Connecting to MacOS Systems
Pairing your Logitech keyboard with a MacOS system involves a few easy steps. Here is what you need to do:
- Open System Preferences: Click on the Apple menu and choose ‘System Preferences.’
- Select Bluetooth: Click on the ‘Bluetooth’ icon to open your Mac’s Bluetooth settings.
- Turn on Bluetooth: Make sure Bluetooth is on. A list of devices will appear.
- Put Keyboard in Discovery Mode: Ensure your Logitech keyboard is in pairing mode, as previously described. The light should blink.
- Find and Connect: Look for your Logitech keyboard in the list of devices. Click ‘Connect’ next to your keyboard’s name.
- Complete Pairing: Follow any on-screen prompts, including entering a code if asked.
Once you’ve completed these steps, your Logitech keyboard should be ready for use with your Mac. If the keyboard does not appear or pairing fails, check that the keyboard is still in discovery mode and try again. Proper connectivity ensures a smooth workflow or a better typing experience on your MacOS system.
Syncing with iOS and Android Devices
To make your Logitech keyboard discoverable to iOS or Android devices, a few simple steps are required. This process ensures that you can work or play on your mobile devices with the same ease as on a computer. Here’s how to sync your Logitech keyboard with these operating systems:
- Enter Pairing Mode: Start by ensuring your Logitech keyboard is in discovery mode. The blinking light on your keyboard confirms this state.
- Activate Bluetooth on Your Device: On your iOS or Android device, go to Settings and tap on Bluetooth. Slide the toggle to enable Bluetooth.
- Pair the Keyboard: Your device will search for nearby devices. Once your Logitech keyboard’s name appears, select it to initiate pairing.
- Confirm Connection: If prompted, enter the pin code displayed on your device’s screen to confirm the pairing. Some devices may connect without a code.
- Test the Keyboard: After connecting, open a note-taking app or an email to test the keyboard’s responsiveness.
These steps help you easily make Logitech keyboard discoverable to your mobile devices. Should you encounter any obstacles, ensure Bluetooth remains on and retry the steps, or move on to the troubleshooting guide. Enjoy the comfort of using your Logitech wireless keyboard with your iOS or Android devices, making typing more efficient and enjoyable on the go.
Troubleshooting Common Pairing Issues
Occasionally, you may face issues when trying to make your Logitech keyboard discoverable. Here’s how to effectively troubleshoot common pairing problems:
- Restart the Devices: Turn off both the keyboard and the Bluetooth device, then turn them back on.
- Check Battery Levels: Ensure your keyboard has sufficient battery power. Replace the batteries if needed.
- Move Closer: Position your keyboard closer to the device. Bluetooth range may affect connectivity.
- Remove Interferences: Keep other wireless devices away. They could interfere with the Bluetooth signal.
- Re-enter Pairing Mode: Make sure your keyboard is still in discovery mode. If not, reactivate it.
- Update Drivers: For computers, check if Bluetooth drivers are up to date. Update them if necessary.
- Reset the Keyboard: Some keyboards have a reset button. Use this to restore factory settings.
- Consult the Manual: Refer to your Logitech keyboard’s manual for specific troubleshooting tips.
- Contact Support: If issues persist, reach out to Logitech’s customer support for help.
Following these steps should resolve most issues and help make your Logitech keyboard discoverable again. Remember to keep your devices updated and the area clear of potential interferences for a seamless pairing experience.
Maintaining Your Logitech Keyboard Connectivity
By now, you’ve made your Logitech keyboard discoverable and paired it with your desired device. To keep the connection stable and avoid common issues, follow these simple maintenance tips:
- Regular Updates: Keep your device’s operating system and drivers up-to-date. This minimizes compatibility problems.
- Proper Storage: When not in use, store your keyboard in a dry and cool place. Extreme temperatures can affect the battery and connectivity.
- Battery Check: Regularly check your keyboard’s battery levels. Replace them or recharge as necessary to prevent sudden disconnections.
- Clean Connections: Dust and debris can affect the Unifying receiver or Bluetooth connection. Clean the receiver and your keyboard’s ports gently.
- Periodic Re-pairing: Sometimes devices may ‘forget’ the keyboard. Re-pairing can restore the connection easily.
- Avoid Interference: Keep other wireless devices at a distance. They can disrupt the signal between your keyboard and the connected device.
- Device Restart: Periodically restart your computer or mobile device to clear any temporary connectivity issues.
By following these steps, you maintain a solid connection, ensuring efficient and uninterrupted use of your Logitech keyboard. If your keyboard becomes unresponsive or you notice connectivity issues, refer back to the troubleshooting section for quick solutions. Regular care keeps your Logitech keyboard performant and makes it a reliable tool for your computing needs.