Introduction to Graphics Card Installation
Upgrading your PC with a new graphics card can bring about a significant boost in performance, especially if you’re looking to improve gaming visuals or run graphic-intensive applications. Knowing how to install a graphics card correctly is vital. It ensures that your system runs smoothly and avoids potential damage to your new hardware component. In this guide, we will walk you through the essential steps and provide you with tips for a successful graphics card installation.
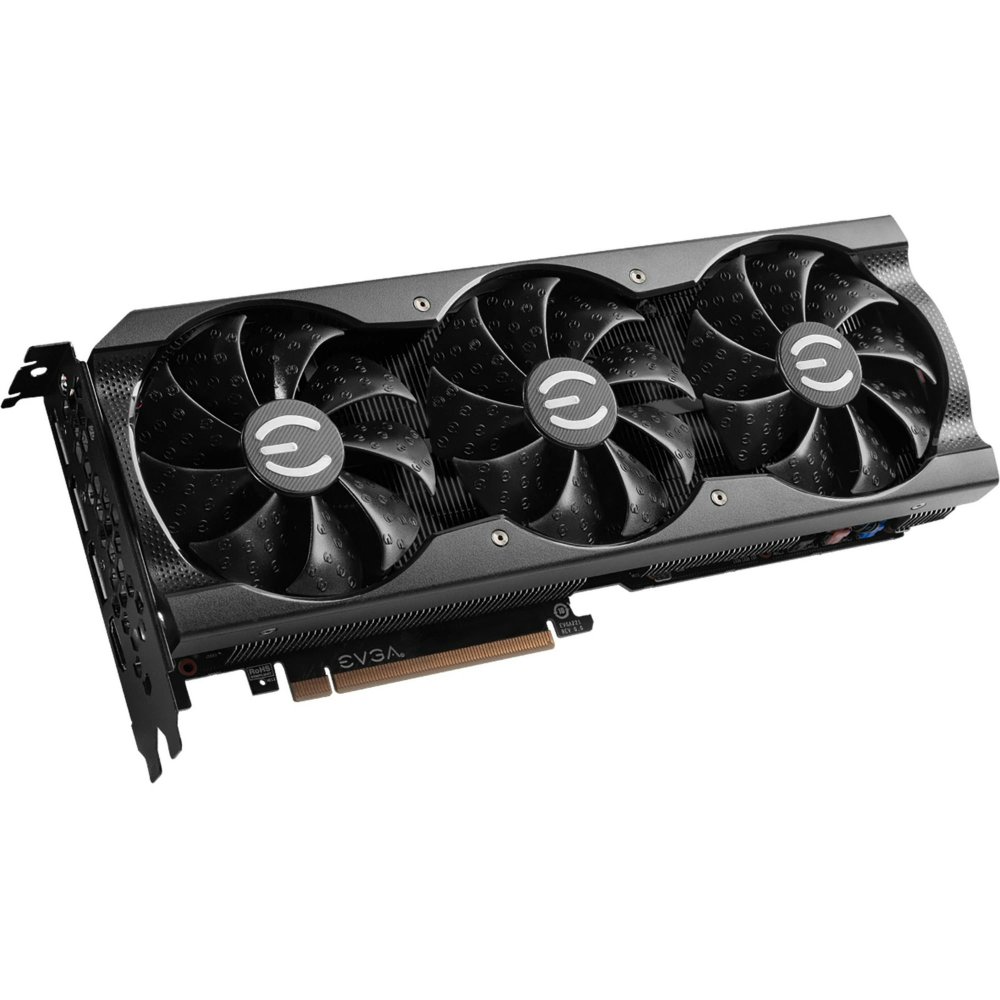
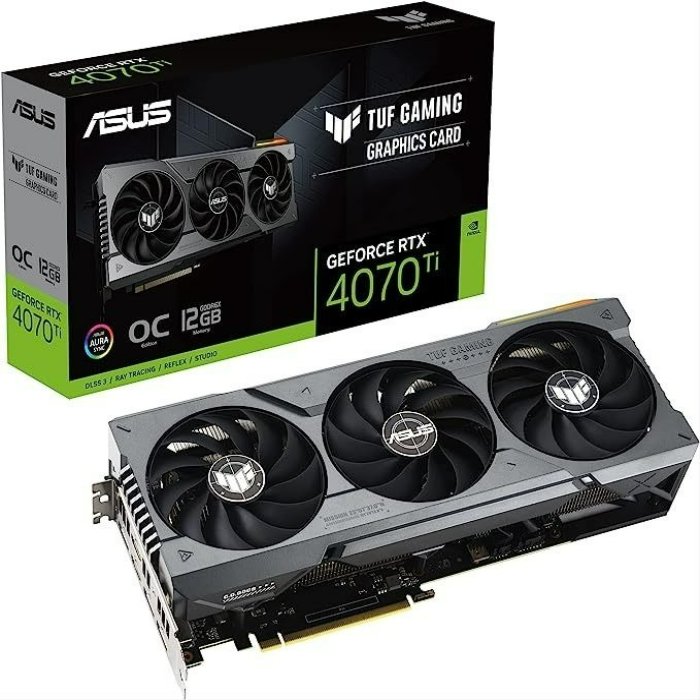
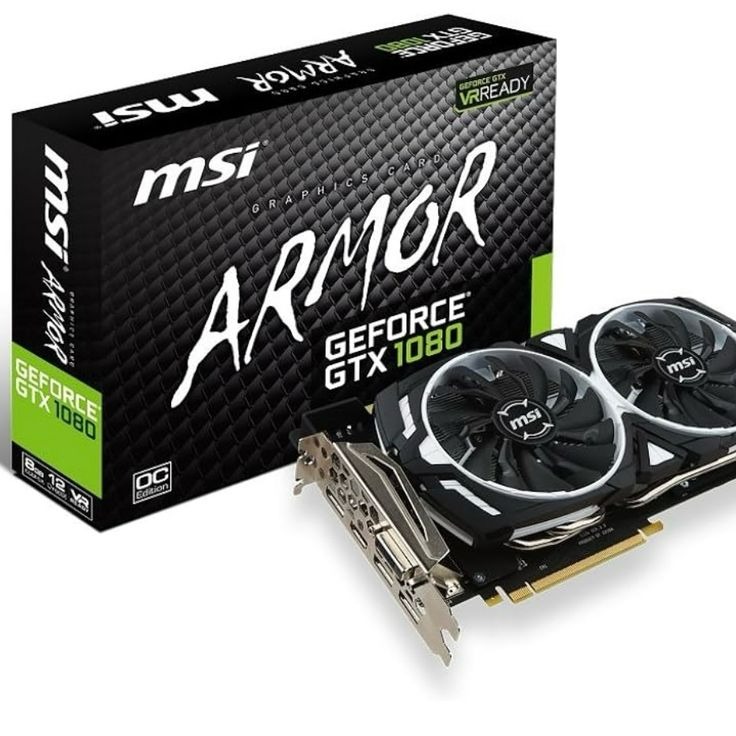
Before we dive into the installation process, it’s important to understand the basics. A graphics card, also known as a video card, is a piece of hardware that generates and outputs the images displayed on your monitor. It’s an integral part of your computer’s hardware ecosystem and impacts everything from picture quality to frame rate.
Whether you’re a seasoned PC builder or a first-timer, installing a graphics card can seem daunting. But fear not! With our straightforward guide, you will learn everything from checking compatibility with your motherboard to handling the hardware with care. By following the steps outlined, even novices can execute the installation like a pro. So, let’s get started on your journey to a more powerful and visually appealing PC experience.

Pre-Installation Checklist
Preparing your workspace and gathering the necessary tools are key steps before beginning the graphics card installation process. Here’s a short checklist to follow:
- Safety First: Always power down and unplug your PC from the electrical outlet. Ground yourself to prevent static discharge that can damage the components.
- Compatibility Check: Ensure your new graphics card is compatible with your motherboard’s PCIe slot and that your power supply can handle the extra load.
- Required Tools: A Phillips head screwdriver is usually the only tool needed to secure the graphics card to the case.
- Workspace Setup: Clear a clean, static-free area to work on. A large, flat surface is ideal.
- Backup Data: Although not directly related to the physical installation, back up your important files as a precaution.
- Update BIOS: Make sure your system’s BIOS is up to date to avoid compatibility issues.
- Remove Obstacles: Take out any components or cables that might get in the way during the installation.
- Read The Manual: Familiarize yourself with the installation instructions for your specific graphics card model.
Following these steps will help ensure a smooth installation process and protect both you and your PC hardware from potential mishaps. Once you complete the pre-installation checklist, you can proceed with confidence to the next steps detailed in our guide on how to install a graphics card.
Understanding Compatibility: Motherboard and Power Supply
Before starting the installation, checking compatibility is crucial. Your PC’s motherboard and power supply must match the needs of your new graphics card. A mismatch can lead to poor performance or even damage your equipment. Let’s break down what you need to know.
Motherboard Compatibility
First, check the motherboard. It should have a PCIe x16 slot for modern graphics cards. Some high-end cards may need two slots due to their size. Your motherboard’s manual can help you identify the right slot. Also, consider the spacing in your case. Make sure there is enough room for the new card.
Power Supply Requirements
Next, look at your power supply. It needs to provide enough wattage for your graphics card. Check the specifications of your new card to see the recommended power supply. If you’re unsure, opt for a power supply that provides more power than needed. It’s better to be safe.
To sum up, ensure that your motherboard has the appropriate slot and that your power supply can support the card. Once these are checked, you’re ready to move on to the actual installation process.

Step-by-Step Graphics Card Installation Guide
Now that you’ve ensured your motherboard and power supply are compatible, it’s time to get to the heart of the matter: installing the graphics card. Here’s a simple step-by-step guide to help you navigate through the installation process.
- Open the Case: Secure your PC on its side. Remove the side panel to access the interior.
- Remove Existing Card: If you’re upgrading, gently unclip and slide out the old graphics card.
- Insert the New Graphics Card: Align the new card with the PCIe x16 slot. Press firmly but gently until it clicks into place.
- Secure the Graphics Card: Use the screwdriver to fasten the graphics card to the case. Ensure it’s snug and stable.
- Connect Power: If your card needs additional power, connect the right cables from the power supply.
- Reassemble the Case: Put the side panel back on and secure your PC in an upright position.
- Double-Check Connections: Make sure everything is tight and correctly connected inside your PC.
- Power Up: Plug in your PC, power it on, and check if the graphics card’s fans are spinning.
By following these steps, you will have successfully installed your new graphics card. Next, we’ll move on to setting up the software and drivers to ensure it works with your system flawlessly.
Software Setup: Installing Drivers
Once you’ve physically installed your new graphics card, the next crucial step is the software setup. Installing the right drivers ensures that the card and your system communicate effectively, unlocking the card’s full potential. Here is how you can install your graphics card drivers:
- Download Drivers: Visit the graphics card manufacturer’s website to get the latest drivers. These are often found in the ‘Support’ or ‘Downloads’ section.
- Uninstall Old Drivers: Before installing new ones, uninstall any previous graphics card drivers to avoid conflicts. Use the ‘Add or Remove Programs’ feature in Windows.
- Run the Installer: Once the drivers are downloaded, run the installation program. Follow the prompts for an easy install process.
- Custom Install (Optional): Choose ‘Custom’ installation to select specific components if you are an advanced user.
- Restart Your PC: After installation, reboot your computer. This helps to finalize the installation and refresh the system.
- Check Card Detection: See if your system recognizes the new card through ‘Device Manager’ in Windows.
- Update Regularly: Keep your drivers up to date. Manufacturers often release updates to improve performance and fix bugs.
Remember, incorrect drivers can cause issues, so ensure you download the right ones for your specific graphics card model. By following these steps, you will set up the software needed for your graphics card to perform at its best.

Troubleshooting Common Installation Issues
After installing a new graphics card, you might encounter some issues. Don’t worry, many of these problems are common and can be fixed with simple troubleshooting steps. Here’s how to address some of the most typical installation challenges.
No Display Output
If your monitor isn’t showing anything after installation, check a few things:
- Cable Connections: Ensure the monitor cable is properly connected to the new graphics card.
- Power Cables: Verify that all required power cables are connected to the graphics card.
- Correct Input: On the monitor, select the correct input source that matches your graphics card connection.
System Not Recognizing the Graphics Card
When your PC doesn’t recognize the new card:
- Reseat the Card: Power off your PC, remove the graphics card, and reinsert it firmly into the PCIe x16 slot.
- Check BIOS Settings: Occasionally, you may need to adjust settings in the BIOS for the system to recognize the card.
- Driver Conflicts: Make sure all old graphics drivers are fully uninstalled before installing new ones.
Poor Performance or Instability
If you experience lower-than-expected performance or crashes:
- Driver Update: Ensure you have the latest drivers for your graphics card.
- Overclocking: Reset any overclock settings to default if you previously applied them.
- Temperature Check: Make sure the graphics card is not overheating. Check for proper ventilation.
Strange Noises from the Card
Unusual sounds might come from the card’s fans or coil whine:
- Inspect for Obstructions: Ensure no cables or debris are touching the card’s fans.
- Review Fan Settings: Use software to check the fan settings and adjust if necessary.
- Coil Whine: This is common with new cards and often settles down after a period of use.
By tackling these common issues step by step, you can solve most problems that arise post graphics card installation. Remember to approach each issue methodically and refer to your graphics card’s manual if needed. With these tips, you’ll be able to enjoy your new graphics card’s capabilities to the fullest.
Performance Testing: Ensuring Proper Installation
Once the new graphics card is in place and all drivers are up to date, it’s crucial to run performance tests. This ensures your installation was successful and the card is functioning at its best. Here are steps to conduct effective performance testing.
- Use Benchmarking Software: Pick a reliable benchmark tool like 3DMark or FurMark. These can test card performance.
- Monitor Temperatures: Keep an eye on the GPU temperatures to ensure they’re within a safe range during testing.
- Check Frame Rates: Look at in-game frame rates, if they’re improved, it shows the new card’s impact.
- Compare Results: Match your test outcomes with online benchmarks for your card model.
- Look for Artifacts: During tests, watch for glitches on screen that can signal issues.
- Run Multiple Tests: Do several runs to get an average and confirm consistent performance.
After these tests, if the results match expectations, you’ve likely installed your graphics card correctly. Should you spot some problems, consult the card’s manual or support forums for advice. Remember, high performance is the goal, and these tests help you reach it.
Upgrading from an Old Graphics Card
If you are upgrading from an old graphics card, certain additional steps are essential to ensure a smooth transition. Upgrading allows you to enjoy enhanced graphical capabilities, but to get there, consider the following guidelines.
- Uninstall Old Drivers: Before removing the old card, uninstall its drivers. This prevents conflicts with the new card’s software.
- Careful Removal: Power down and open your PC. Gently release any latches and remove the old card from the PCIe slot.
- Check for Dust: Use this opportunity to clean any dust that may have accumulated in the slot or around the fan area.
- Compare the Cards: Assess the size and power connector differences between the old and new cards to anticipate any space or cabling issues.
- Install the New Card: Follow the steps provided in the previous sections to insert your new graphics card correctly.
- Driver Installation: With the new card in place, install the latest drivers obtained from the manufacturer’s website.
- Settings Adjustments: After driver installation, you may need to adjust display settings to match your preferences.
- Test the Upgrade: Run benchmarks and check for performance improvements as outlined in the ‘Performance Testing’ section.
By following these steps, you can ensure your transition from an old graphics card to a new one is as smooth and effective as possible. Keep this guide handy for reference during your upgrade to help make the process painless and straightforward.
