Installing the Lenovo ThinkPad Docking Station Driver
If you’re looking to enhance your workspace’s functionality and efficiency, the lenovo thinkpad docking station driver is a fantastic solution. However, before you can maximize its benefits, you must first install the relevant driver. Proper installation is crucial to ensure your docking station operates effectively with your computer. This guide aims to walk you through the entire process, from understanding the significance of the driver to troubleshooting common issues you may encounter.
Understanding the Role of Drivers
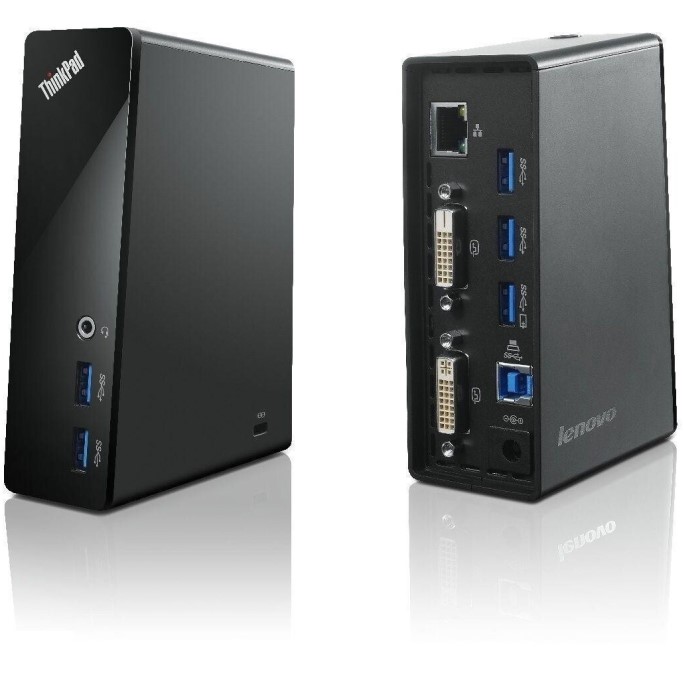
Drivers are essential software components that allow your operating system to communicate with hardware devices like docking stations. The Lenovo ThinkPad docking station driver serves as a bridge between your laptop and the docking station, enabling them to interact seamlessly. Without the correct driver installed, your computer might not recognize the docking station, leading to connectivity issues and device malfunctions.
Imagine trying to drive a car without a steering wheel; that’s akin to using a docking station without its driver. In many ways, the driver ensures that all powered devices, such as monitors, keyboards, and USB peripherals, function optimally when connected through your docking station.
Preparing for Installation
Before diving into the installation, preparation is key. Here are a few crucial steps to prepare for a smoother setup:
- Check Compatibility: Not all docking stations work with every laptop model. Therefore, it’s crucial to check the compatibility of your ThinkPad model with the docking station you own. Visiting the Lenovo support page can provide insight into which models are compatible.
- Update Your Operating System: Ensure that your Windows or other OS software is up-to-date. Outdated operating systems may not support newer drivers effectively. To check for updates, navigate to your computer’s settings and search for system updates.
- Gather Necessary Information: It can be helpful to write down your laptop model, the docking station model, and the version of the operating system. This information will assist you during the installation process and when seeking assistance if issues arise.
Downloading the Latest Driver
With the preparations completed, the next crucial step is to download the latest docking station driver. Lenovo’s official support website is the ideal resource for obtaining this software. Here’s how to do it:
- Open Your Web Browser: Launch the web browser of your choice, such as Google Chrome, Firefox, or Safari.
- Visit the Lenovo Support Page: Type the URL for Lenovo’s official support website into the address bar and press Enter. This will direct you to the main support page where you can find resources for your devices.
2. Input Your Product Information
- Utilize the Search Function: On the Lenovo support homepage, look for a search box or search bar, which is typically located at the top of the page.
- Enter Your Laptop or Docking Station Model: Input your specific laptop model or the model number of your docking station. This is crucial for filtering the results accurately.
- Select from Suggestions: As you type, suggestions may appear in a dropdown list. Click on the relevant product name if it appears to ensure precise matching.
3. Locate Drivers and Downloads
- Access the Product Page: After entering your product information, press Enter or click the search icon. This will take you to the dedicated product page for your device.
- Navigate to the “Drivers & Software” Section: Look for a tab or link labeled “Drivers & Software” on the product page. This section typically contains all available downloads related to your device.
4. Choose the Correct Driver
- Identify Specific Drivers for Your Device: In the “Drivers & Software” section, you will often find multiple options listed. Look specifically for drivers that pertain to the Lenovo ThinkPad docking station.
- Select Based on Your Operating System: Ensure you choose the driver that matches your operating system (e.g., Windows, macOS). There may be options listed for different operating systems, so select accordingly.
- Check for the Latest Version: Before downloading, verify that you are selecting the most recent driver version available. There will usually be a release date or version number listed alongside the driver options.
- Download the Driver: Click on the download button next to the driver you selected. This action will prompt the download to begin. Make a note of the location on your computer where the file will be saved for easy access later.
By ensuring that the driver you download is the latest one, you enhance your chances of a successful installation, reducing the likelihood of encountering bugs or performance issues down the line.
Installing the Driver
Now that you have the driver downloaded, it’s time to install it. Here is a detailed breakdown of the installation process:
- Find the Downloaded File: Locate the folder where the driver installation file is stored, typically in the Downloads directory.
- Run the Installer: Double-click on the driver file to initiate the installation wizard.
- Confirm Permissions: During this process, your operating system may ask for permission to run the application. Click ‘Yes’ or ‘Allow,’ as required.
- Follow On-Screen Instructions: The installation wizard will guide you through the setup process. Ensure that you read any prompts or messages carefully, and accept the terms and conditions before proceeding.
- Complete Installation: Once all necessary steps are completed, the wizard will complete the installation.
- Restart Your Computer: To finalize the changes, it is essential to restart your computer. Rebooting your system allows the new driver to take effect and ensures that all settings are appropriately integrated.
After following these steps, your Lenovo ThinkPad docking station should be correctly installed and ready for use.
Common Issues and Troubleshooting
After installation, you may encounter some common issues, primarily due to connectivity errors or hardware conflicts. Below are solutions to commonly faced problems:
1. Docking Station Not Detected
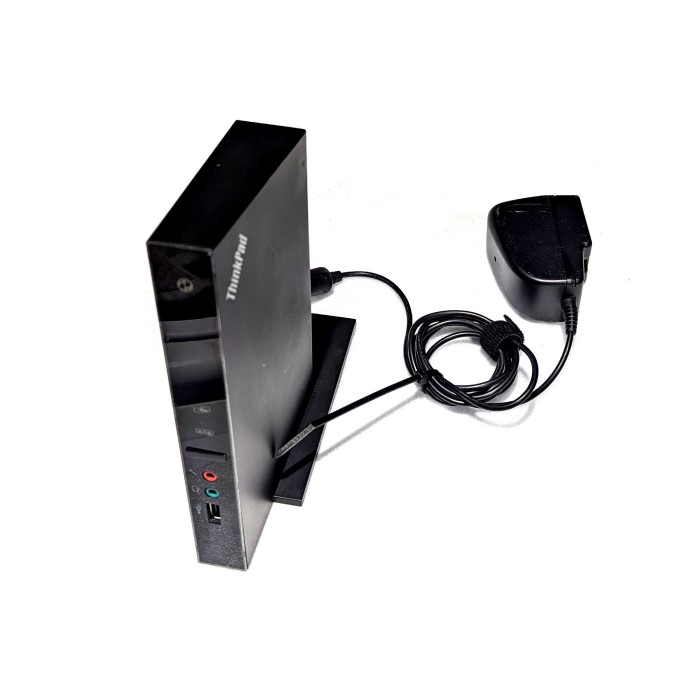
- Check Power Supply: Begin by ensuring that the docking station is receiving power. Look for any indicator lights on the docking station itself. If the lights are off, confirm that the power adapter is plugged into a working electrical outlet.
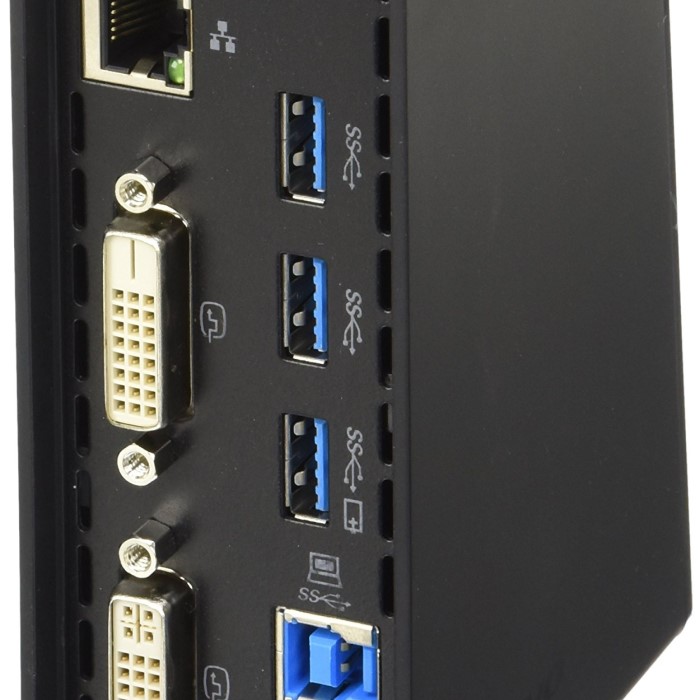
- Verify Connections: Make sure that the docking station is securely connected to your laptop. Check both ends of the connection—where the docking station plugs into the power source and where it connects to the laptop.
- Test Different USB Ports: To troubleshoot further, try connecting the docking station to different USB ports on your laptop. Sometimes, specific ports may malfunction, so testing a few different ports can help isolate the issue.
- Reconnect the Docking Station: If it still doesn’t work, unplug the docking station from your laptop and wait for a few seconds before reconnecting it. This can sometimes reset the connection.
2. Drivers Not Updated
- Identify the Importance of Drivers: Recognize that drivers are essential for proper communication between your docking station and laptop. If the driver is outdated, it may not support the latest features or may have bugs that prevent it from functioning correctly.
- Visit the Lenovo Support Site: Go back to the Lenovo support page and check for driver updates specifically for your docking station model.
- Compare Versions: On the support page, compare the version number of the driver installed on your laptop with the latest version available for download.
- Download the Latest Version: If you find that a newer version exists, download it and follow the installation instructions provided on the website. This often resolves detection or functionality issues with the docking station.
3. Peripherals Not Functioning
- Check Peripheral Connections: If devices such as monitors, keyboards, or mice connected through the docking station are not working, begin by examining their connections. Ensure each device is securely plugged into the docking station.
- Inspect for Damage: Look for any visible signs of damage on the cables or connectors. Damaged cables can prevent devices from functioning properly.
- Try Restarting Devices: Sometimes, simply restarting the peripheral devices can help. Disconnect them from the docking station, power them off for a few seconds, and then reconnect them.
- Use the Devices Directly: To verify that the peripherals themselves are working, try connecting them directly to the laptop without using the docking station. This can help determine whether the issue lies with the devices or the docking station.
4. Reinstall the Driver
- Access Device Management Settings: If the previous steps did not resolve the issues, it may be necessary to uninstall and reinstall the docking station driver. Open the device management settings on your laptop. You can usually access this by searching for “Device Manager” in the start menu.
- Find the Existing Driver: In Device Manager, locate the section labeled “Universal Serial Bus controllers” or “Docking Stations,” depending on how the docking station is categorized.
- Uninstall the Driver: Right-click on the driver associated with your docking station and select the “Uninstall” option. Confirm any prompts that appear to complete the uninstallation.
- Download and Reinstall: Repeat the steps to download the latest driver from the Lenovo support site. Once downloaded, run the installation file and follow the on-screen instructions to reinstall the driver.
- Restart Your Laptop: After the reinstallation is complete, restarting your laptop is often necessary to ensure that the changes take effect.
Frequently Asked Questions (FAQs)
- Why is my Lenovo ThinkPad docking station not detected?
Several reasons might cause detection issues, including faulty connections, power issues, or outdated drivers. Ensure all cables are secured and that the drivers have been installed successfully. - How to connect the Lenovo ThinkPad docking station to a PC?
To set up the docking station, connect it to a power outlet, attach your laptop using the provided docking port or USB cable, and then connect any peripheral devices. - Does a docking station have drivers?
Yes, docking stations need specific drivers to function correctly with your computer. These drivers enable effective communication between the devices. - Why is my computer not detecting my docking station?
If your computer does not recognize the docking station, check the connections, ensure the power supply is functioning, and verify that the docking station driver is installed properly.
Conclusion
Installing the Lenovo ThinkPad docking station driver is an important step toward increasing functionality and productivity in your work environment. Following this guide ensures you install the driver correctly, enhancing the performance of your docking station and connected peripherals. Regularly updating drivers and software is essential for optimal performance and compatibility with new devices.
By understanding the role of drivers and preparing appropriately, you can avoid many common issues faced during installation. Additionally, the troubleshooting tips provided can help you resolve any complications that arise. With your Lenovo ThinkPad docking station appropriately set up and running, you can enjoy a more efficient and organized workspace, seamlessly integrating all your devices.
Whether you are a student, a professional, or someone in between, using a docking station can simplify your life by making it easier to connect to various devices. Keep exploring the potential features of your docking station and regularly check for driver updates to ensure everything functions seamlessly.