Choosing the Right Shure Condenser Mic for Your Studio
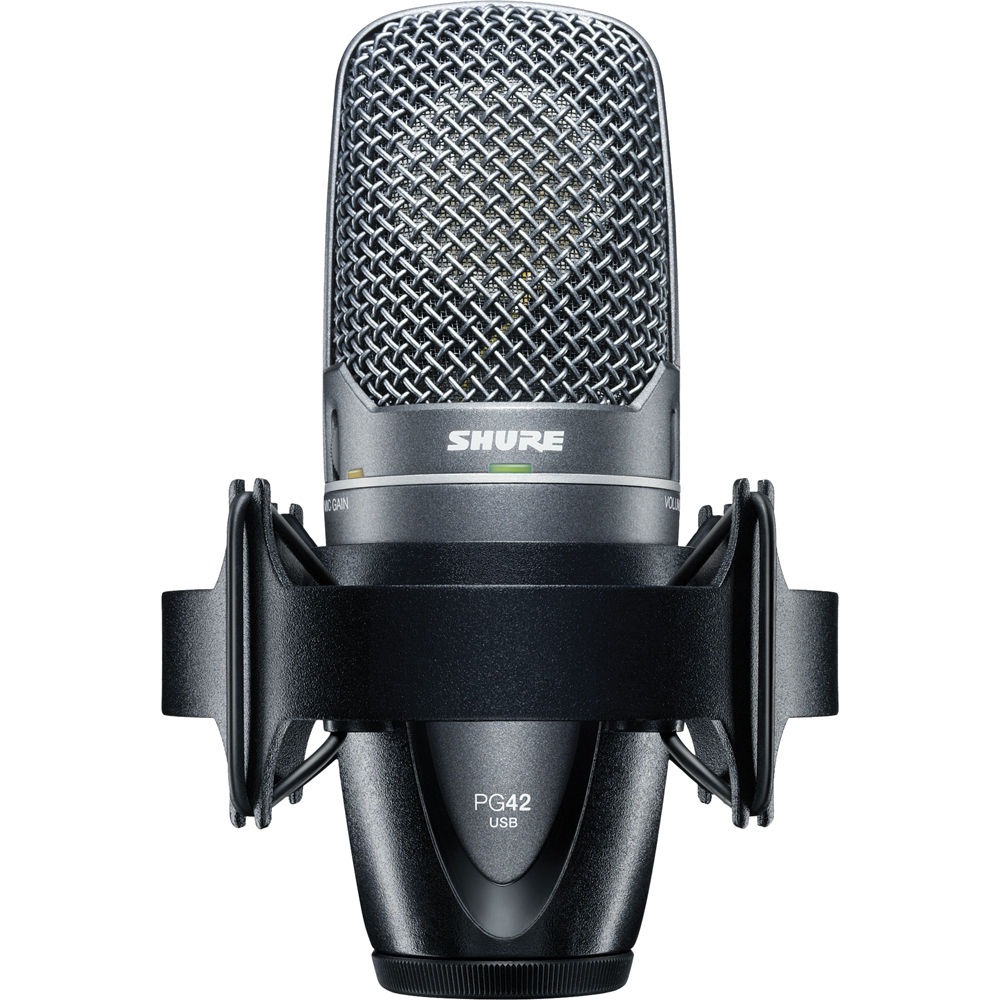
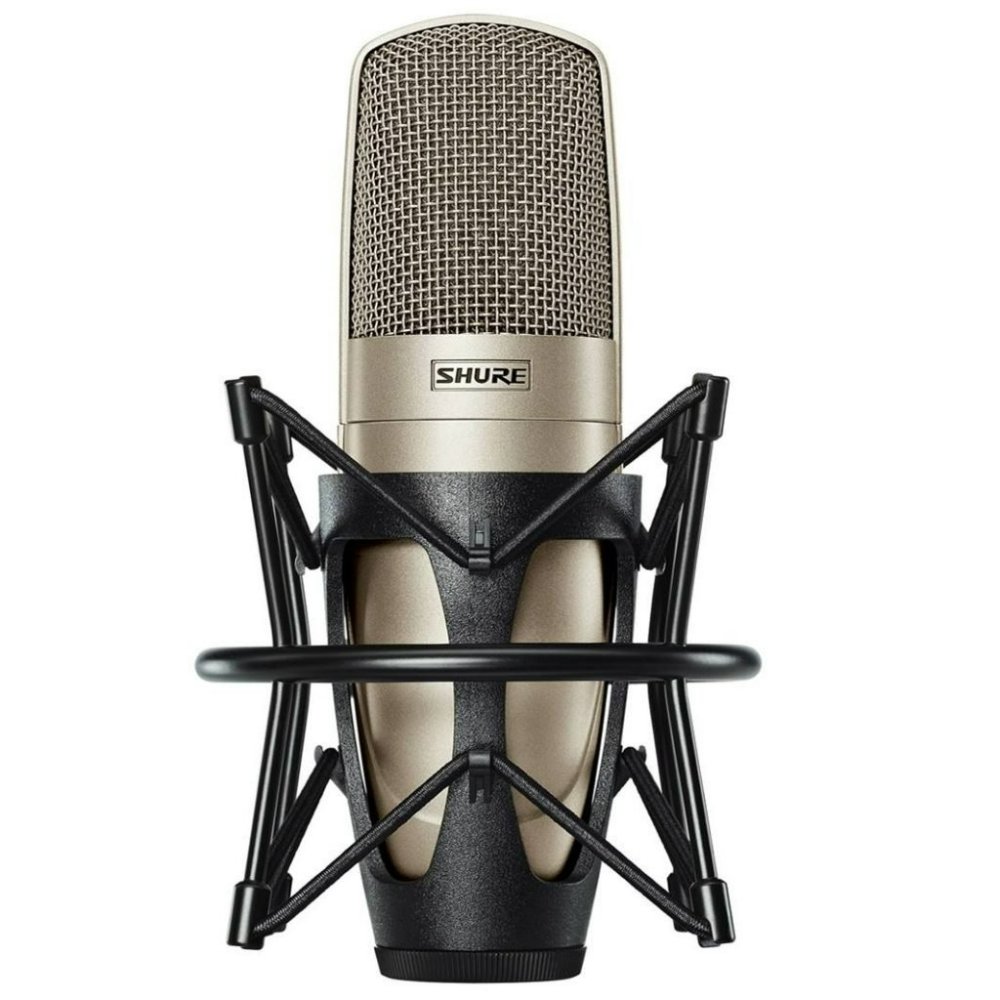
Selecting the right Shure condenser mic for your studio requires research and understanding. Consider your recording needs. Are you capturing vocals, instruments, or a mix? Different mics suit different sounds. Think about the mic’s polar patterns. Do you need a cardioid, supercardioid, or omnidirectional mic? This affects how the mic picks up sound. Next, evaluate the features. Look for frequency response, sensitivity, and SPL handling. It’s not just specs; how the mic feels matters too. Handle and test various Shure mics if possible.
Budget is important. Shure offers mics at different price points. Find one that fits your finances without compromising on quality. Remember, a good Shure condenser mic can last years. It is a long-term investment in your sound. Talk to other professionals. Their experiences can guide your choice. Read reviews of Shure mics online. Real-world feedback is hugely beneficial. With these points in mind, you’ll find the Shure condenser mic that best fits your studio’s needs.

Unboxing and First Impressions
When you receive your new Shure condenser mic, the unboxing experience is the first step. As you slice through the tape and open the box, there’s a sense of excitement. Inside, you’ll typically find the mic itself, a protective case or pouch, and mounting hardware. Some models may include additional accessories like a shock mount or a windscreen. Take a moment to appreciate the craftsmanship. Shure’s build quality often stands out right from the start.
Hold the mic in your hands. Notice the weight and the feel of the materials. Quality mics often have a reassuring heft to them. Inspect the mic for any visible damages that may have occurred during shipping. If all is well, you’re ready to move on to set it up.
Your first impressions are important. They can set the tone for your entire experience with the Shure condenser mic. Note down your initial thoughts about the design, build, and included accessories. These details might seem minor but could impact your daily recording sessions. Remember, the right Shure condenser mic will not just capture sound, but also spark joy every time you use it.
Setting Up Your Shure Condenser Mic
Setting up your Shure condenser mic correctly is crucial for optimal performance. Start by selecting the right location in your studio. It should be a quiet area, free from unnecessary noise and disturbances. Attach the mic to a stable stand. Secure it carefully to avoid any movement that could affect sound quality.
Next, connect the mic to your audio interface or mixer using a high-quality XLR cable. Ensure that the connections are tight and secure. Set the gain levels on your interface or mixer. Start at a lower setting and gradually increase it while you test the sound.
Position the mic correctly based on what you are recording. For vocals, place the mic at mouth level and use a pop filter to reduce plosives. For instruments, adjust the distance and angle to capture the best sound.
Finally, do a sound check. Record different sounds to test clarity and volume levels. Make adjustments as necessary to ensure your Shure condenser mic captures sound accurately. Proper setup helps you achieve professional-quality recordings.

Recording Techniques with Shure Mics
When using a Shure condenser mic, technique is key. Different techniques can enhance the recording quality. Here are some tips to get the best out of your Shure mic. First, mind the distance. Too close and the sound may distort. Too far and you lose detail. Find the sweet spot. For vocals, use a pop filter. This reduces plosives and maintains clarity. Instruments need space. Position the mic to capture the true sound. A guitar may need a mic close to the strings.
A piano might need a wider setup. Try different angles. The direction of the mic affects the sound. Angle it to catch nuances in the performance. Use the right pattern. Cardioids are great for direct sound. Omnidirectional mics capture the room’s ambiance. Your Shure mic may have switchable patterns. Experiment to see what works best. Think about isolation. Use isolation shields or foam to reduce noise. This helps to focus solely on your sound source. Record in a quiet room. Background noise can ruin a perfect take. Do not forget to adjust settings. Play with the gain and EQ levels. These adjustments can bring out the best in your recordings. Use these techniques and your Shure condenser mic will deliver excellent results.
Tips for Achieving Optimal Sound Quality
Achieving optimal sound quality with a Shure condenser mic involves several key practices. Here are some crucial tips:
- Regular Calibration: Ensure your Shure mic is calibrated regularly. This maintains accuracy in sound reproduction.
- Use High-Quality Cables: Opt for high-quality XLR cables. Poor quality cables can introduce noise and reduce sound clarity.
- Optimal Mic Placement: Place the mic strategically. Experiment with different positions to find the best sound output. For vocals, a slightly off-center placement can work wonders.
- Control Room Acoustics: Treat your recording space. Use acoustic panels and bass traps to control reverb and echo.
- Maintain a Consistent Environment: Keep the recording environment consistent. Avoid sudden temperature changes as they can affect mic performance.
- Use a Pop Filter: Always use a pop filter for vocal recordings. This simple accessory can significantly improve sound clarity by reducing plosives.
- Monitor Gain Levels: Keep an eye on gain levels. Too high can lead to distortion, too low might not capture the details.
- Regular Maintenance: Clean your mic and its components regularly. Dust and dirt can impact the sound quality over time.
By following these tips, your recordings with the Shure condenser mic will consistently hit the mark in terms of quality.

Comparing Shure Condenser Mics with Other Brands
When comparing Shure condenser mics with other brands, several factors come into play. It’s important to look at the brand reputation, build quality, sound profile, versatility, price, and user support. Here’s a breakdown of how Shure stands against competitors in these areas:
- Brand Reputation: Shure is a trusted name in the industry. They have a long history of producing quality mics.
- Build Quality: Shure mics are known for their durable construction. They often outlast cheaper alternatives.
- Sound Profile: The sound from a Shure condenser mic is clear and precise. It captures every detail.
- Versatility: Shure offers a range of mics for different settings. Whether for vocals or instruments, Shure has options.
- Price: Shure mics come at various price points. They provide professional quality at each level.
- User Support: Shure has excellent customer service. They offer help and resources for users.
In direct comparison, some brands may offer mics at lower prices. But, they may not match Shure’s sound quality or durability. Certain high-end brands challenge Shure’s top models. Yet, they come at a much higher cost. For a balance of quality, reliability, and value, Shure condenser mics stand out. They are a smart choice for many recording professionals.
Maintaining and Cleaning Your Shure Mic
Proper maintenance is crucial to extend the life of your Shure condenser mic. It’s not just about preserving the mic’s functionality, but also about ensuring sound quality remains pristine. Here are some practical steps to keep your Shure mic in top condition:
- Regular Inspection: Check your mic often for any signs of damage or wear. Look for issues like loose parts or damaged cables.
- Gentle Cleaning: Use a soft, dry cloth to wipe the mic. For tougher grime, lightly dampen the cloth with water or isopropyl alcohol.
- Avoid Moisture: Keep the mic dry. If it gets wet, it could damage the internal components. Always dry it immediately if exposed to moisture.
- Storage Care: When not in use, store your Shure condenser mic in its case or pouch. This protects it from dust and environmental damage.
- Cable Care: Coil the cables loosely to prevent kinks and damage. Check the connectors for any corrosion or dirt.
- Stands and Mounts: Regularly tighten and adjust the mic stand and shock mounts. This ensures the mic stays securely in place during use.
Taking these steps will help you maintain the quality of your Shure condenser mic. A well-cared-for mic is a reliable tool in your recording arsenal and can serve you well for years to come.
The Impact of Shure Condenser Mics on Professional Recording
The impact of Shure condenser mics on professional recording is substantial. These mics are known for their exceptional sound quality. They capture sound with precise clarity and detail. This makes them a favorite among recording professionals.
Shure condenser mics offer versatility that benefits various recording situations. Whether it’s vocals, instruments, or full bands, these mics handle all with ease. Their ability to adapt to different sound environments is crucial for studios.
Professionals often note the consistency of Shure mics. Each recording sounds as good as the last, which is vital for producing reliable results. This consistency helps in maintaining a professional standard in music production.
Moreover, the robust build of Shure mics means they last for many years. Their durability ensures that studios do not frequently replace their equipment. This longevity makes Shure an economical choice for many studios.
In conclusion, the influence of Shure condenser mics in the recording industry is undeniable. They provide the reliability, quality, and versatility that professionals need to produce top-tier recordings.