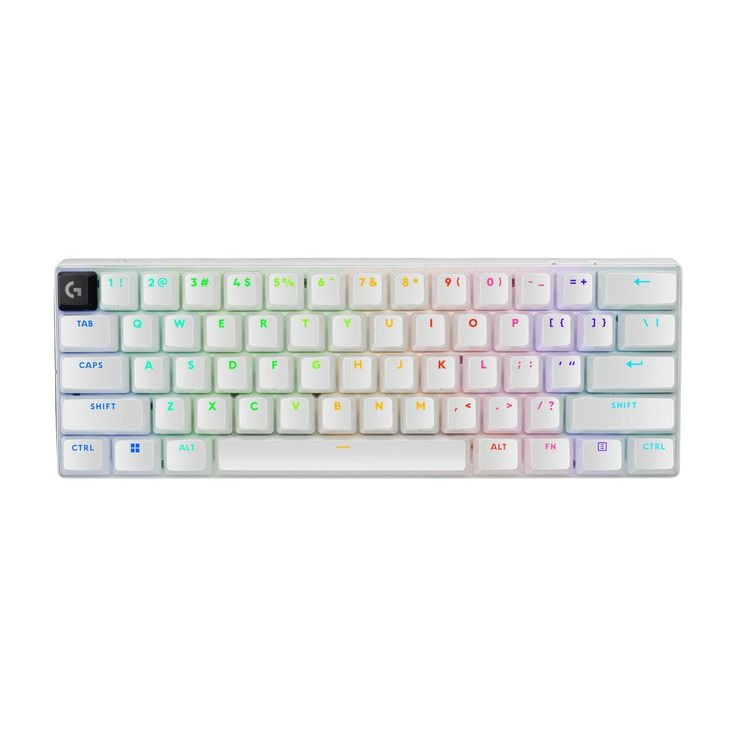
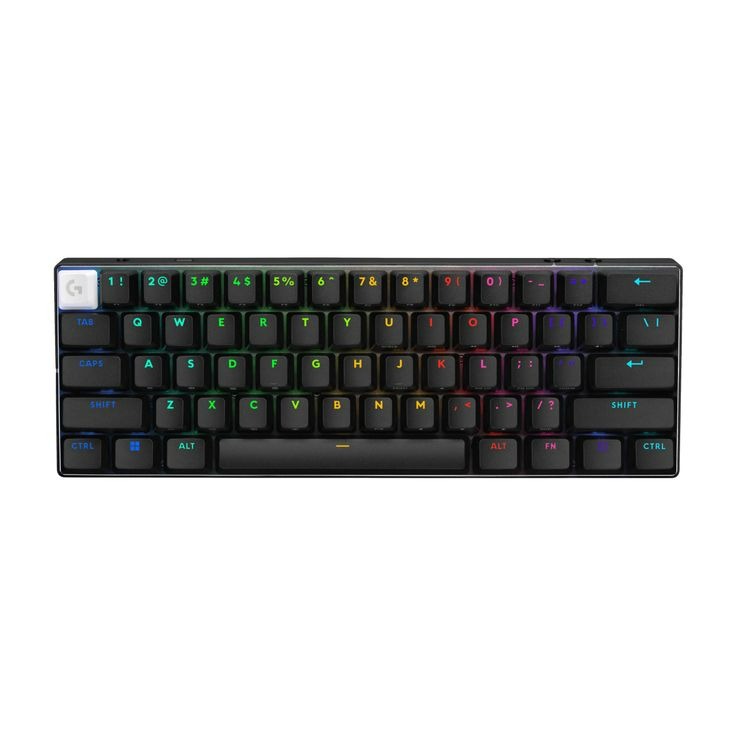
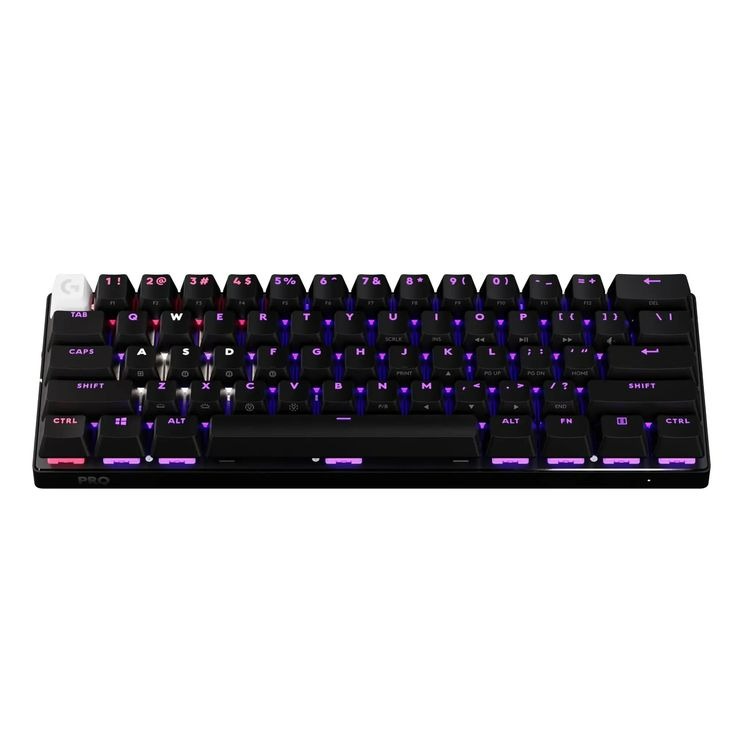
Introduction to Logitech Wireless Keyboards
Logitech wireless keyboards are popular for their convenience and ease of use. They free you from the tangle of wires, providing a clean, clutter-free workspace. These keyboards connect to your computer through a small device called a unifying receiver. This allows multiple Logitech devices to connect to your PC using a single USB port. They are also known for their long battery life and reliability. Whether you are working from home or in an office, a Logitech wireless keyboard can be a game-changer in how you interact with your computer.
Before you enjoy the benefits of wireless typing, you need to pair your Logitech keyboard with your computer. This is a simple process, but new users might find it daunting. ‘How to pair Logitech wireless keyboard’ is a question many users have when they first set up their device. In this blog, we will guide you step-by-step, ensuring that you can get your keyboard up and running in no time. The process involves preparing the keyboard, initiating the pairing sequence, installing necessary software, and troubleshooting any issues that may arise. Let’s get started with the essential items you need before pairing your keyboard.
Items You Need Before Pairing
Before you start the pairing process of your Logitech wireless keyboard, you should gather a few necessary items. Having everything at hand will streamline the setup and save you time. Here’s what you need:
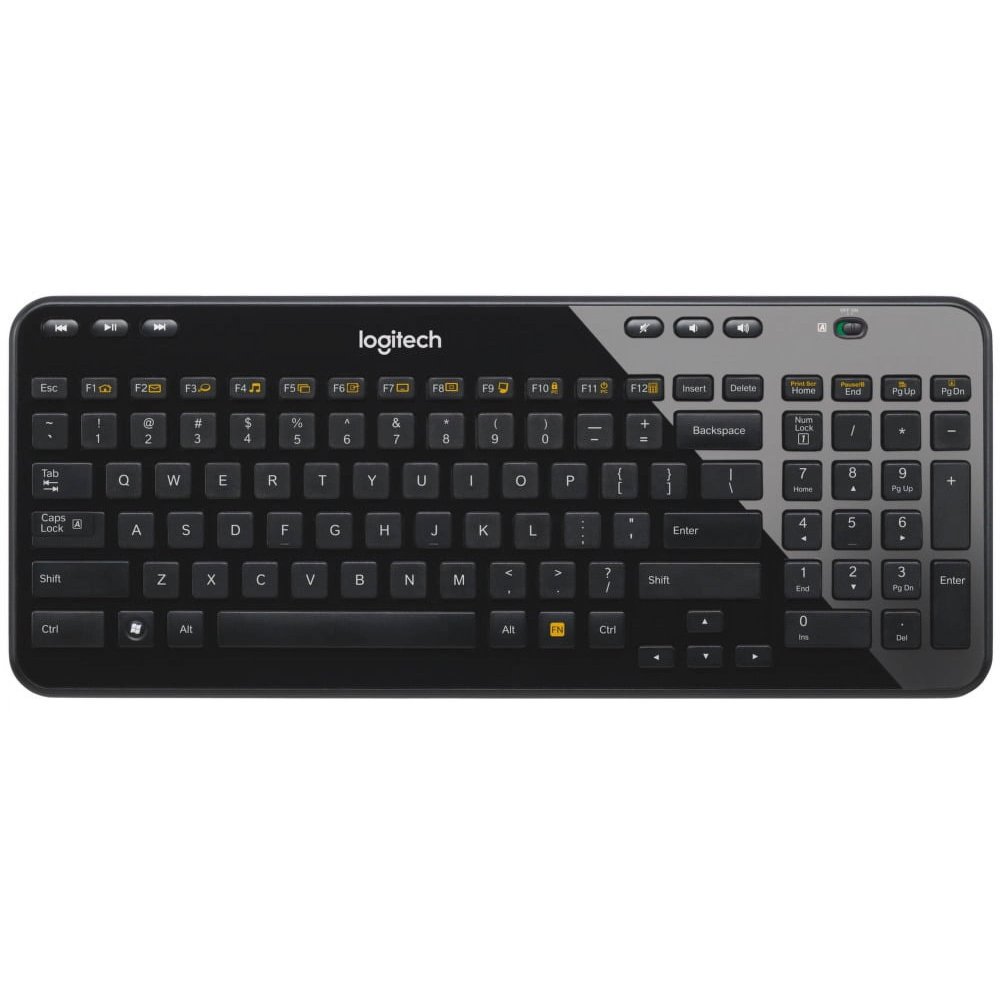
- Unifying Receiver: This small device comes with your Logitech keyboard and is essential for the wireless connection.
- Batteries: Check the keyboard model for the correct battery type – usually AAA or AA.
- Computer with USB Port: Your PC or laptop should have a free USB port to plug in the unifying receiver.
- Logitech Software: Although not always necessary, having Logitech’s software can be helpful for configuring and troubleshooting.
- Internet Connection: This might be required to download the Logitech software or for online troubleshooting guides.
Ensure that your working area is clean and free from any electrical interference. Now that you have all items ready, you can proceed to the next step, which is inserting the batteries into your wireless keyboard.
Step 1: Inserting the Batteries
The first step in pairing your Logitech wireless keyboard is to power it with batteries. This might seem simple, but it’s a crucial part. Here’s what to do:
- Locate the Battery Compartment: Turn the keyboard over and find the battery compartment. It’s usually on the back or side.
- Open the Compartment: Slide or pry open the battery cover carefully.
- Insert Batteries: Place the recommended type of batteries into the compartment. Ensure the + and – ends match the diagram inside.
- Close the Cover: Secure the battery cover back in place.
Once the batteries are properly installed, your keyboard should be ready for the next step. Make sure the batteries are fresh so you won’t have to replace them soon after. With the power now on, you can proceed to locating the unifying receiver and moving on to the next phase of pairing.
Step 2: Locating the Unifying Receiver
To continue pairing your Logitech wireless keyboard, you need to locate the unifying receiver. This tiny device acts as a bridge between your keyboard and computer. Follow these steps:
- Check the Packaging: Usually, the unifying receiver is found in the keyboard’s box.
- Inspect the Keyboard: Some models have a storage compartment for the receiver.
- Search Nearby: If you have previously used it, the receiver might be near your computer.
The unifying receiver is small, so handle it with care to avoid losing it. Once you have found it, you’ll be ready to insert it into your computer’s USB port. This will prepare your system for the next step in the pairing process, where you turn on your wireless keyboard.
Step 3: Turning On the Wireless Keyboard
After inserting the batteries and locating the unifying receiver, you’re ready to turn on your keyboard. This step is straightforward but very important in the pairing process. Here’s what you need to do:
- Find the Power Switch: Look for the on/off switch on your keyboard. It’s often located on the edge or bottom.
- Flip the Switch: Slide the power switch to the ‘on’ position. You might see a light indicating that the keyboard is active.
- Check for Response: Tap a few keys to ensure the keyboard powers up. You should see the corresponding reaction on your screen if it’s already paired to the computer before.
With your wireless keyboard now turned on, the device is ready to connect with your computer. Ensure the unifying receiver is plugged in before you start the pairing process. This will help your computer recognize the keyboard when you initiate the connection in the next step.
Step 4: Initiating the Pairing Process
Now that your keyboard is switched on, it’s time to start the pairing process. Here’s how to pair your Logitech wireless keyboard with your computer:
- Plug in the Unifying Receiver: Insert the receiver into a USB port on your computer. The port should be free of any debris or dust.
- Wait for Recognition: Give your computer a moment to recognize the device. You might see a notification indicating the receiver is detected.
- Turn on Keyboard: Ensure your Logitech keyboard is powered on, as illustrated in the previous step.
- Start Pairing Utility: If your computer does not prompt you, you may need to run the Logitech Unifying Software manually. This program facilitates the connection between the keyboard and the receiver.
- Follow On-Screen Instructions: The software will provide step-by-step guidance. Simply follow the instructions displayed on the screen to complete the pairing.
Once you follow these instructions, your Logitech wireless keyboard should be successfully paired with your computer. If you experience any hiccups during this process, don’t worry. The next section will cover troubleshooting common issues to ensure a smooth pairing experience.
Step 5: Installing Logitech Software
Sometimes, your Logitech wireless keyboard will need software for the best performance. Installing Logitech software is key to this step. Here is what you do:
- Visit Logitech Website: Go to the official Logitech website to find the software.
- Select Keyboard Model: Choose the correct model of your keyboard for the right software.
- Download Software: Click the download button for the Logitech Unifying Software or Logitech Options.
- Run Installer: Once downloaded, open the file and run the installer.
- Follow Prompts: Follow the on-screen prompts to install the software on your computer.
The software helps you manage devices, customize keys, and troubleshoot problems. With the Logitech software installed, your keyboard should work better and have more features. If the software is not needed, your keyboard is ready to use. If issues still come up, we will go over how to fix them in the next part.
Step 6: Finalizing the Connection
You’re almost there! Finalizing the connection of your Logitech wireless keyboard is the last step. Here’s how to cement the partnership between your keyboard and computer:
- Confirm the Pairing: After running the Logitech Unifying Software, ensure that the keyboard shows as connected.
- Test the Keyboard: Type a test document or use an online keyboard tester to make sure every key works.
- Restart the Computer: Sometimes, a quick reboot helps finalise the setup and resolves minor glitches.
- Check Battery Levels: Use the Logitech software to check the battery status of your keyboard to ensure it has enough power.
- Customize Settings: Use the installed software to customize key functions and settings to your preference.
With these steps, your how to pair Logitech wireless keyboard quest is complete. Your device should be fully operational and ready for use. If any problems persist, refer to the ‘Troubleshooting Common Pairing Issues’ section for solutions.
Troubleshooting Common Pairing Issues
Even when following all the steps to pair your Logitech wireless keyboard, you may encounter issues. Here are common problems and their solutions:
- Receiver Not Detected: If your computer does not recognize the unifying receiver, try a different USB port. Ensure the port is not blocked or dirty.
- Keyboard Not Connecting: Double-check that the keyboard is powered on. Look for the power light as confirmation. If it still doesn’t work, try turning it off and on again.
- Interference Issues: Devices like cordless phones and microwaves can interfere with the signal. Move these devices away or switch your keyboard to a different channel if possible.
- Outdated Drivers: Your computer might need updated drivers to work with the keyboard. Visit the Logitech website and update drivers for your keyboard model.
- Logitech Software Not Working: Reinstall the Logitech Unifying Software or Logitech Options software from the official website if it is not functioning correctly.
- Persistent Connection Problems: Sometimes, resetting the keyboard and receiver can help. Remove the batteries, then unplug and re-plug the receiver after a minute.
By addressing these common pairing issues, most troubles with the Logitech wireless keyboard can be resolved quickly. If problems persist, consider reaching out to Logitech’s customer support for assistance.
Maintaining Your Logitech Wireless Keyboard
Once you have learnt how to pair Logitech wireless keyboard with your device, maintaining its performance is key. Here are some tips to ensure your keyboard stays in top condition:
- Keep it Clean: Dust and debris can affect key function. Regularly clean your keyboard with compressed air or a soft, dry cloth.
- Monitor Battery Life: Use the Logitech software to check battery levels and replace batteries as needed.
- Update Software: Keep your Logitech software up to date for the latest features and bug fixes.
- Avoid Spills: Liquids can damage the electronics. Keep drinks away from your keyboard to prevent accidents.
- Store Properly: When not in use, place your keyboard in a safe spot to avoid falls or pressure.
- Check for Damage: Inspect your keyboard for any signs of wear or damage and address them promptly.
Following these simple steps can greatly extend the life of your Logitech wireless keyboard. Regular maintenance not only keeps it working but also ensures comfortable and efficient use over time.