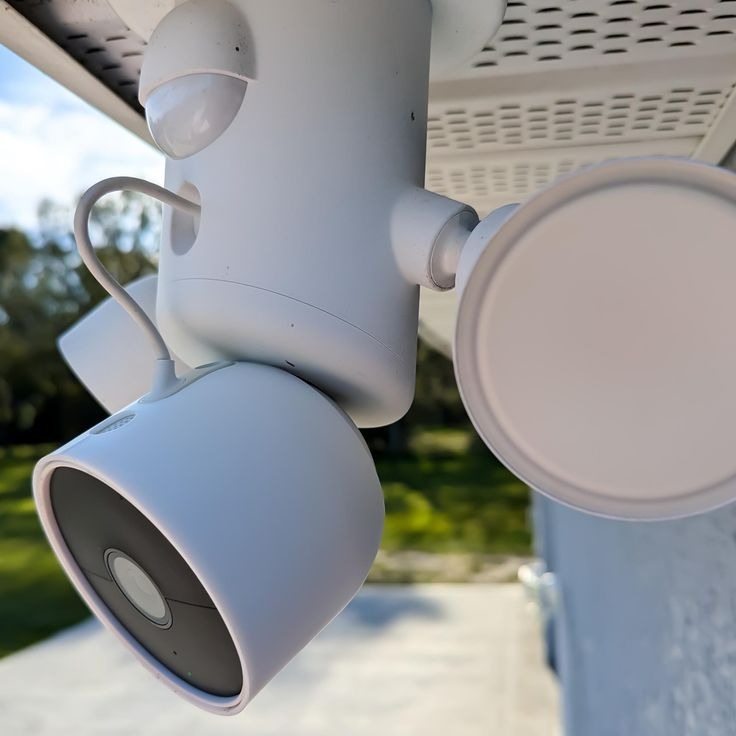
Select the Right Location for Your Nest Camera
Choosing the right location for your Nest camera is crucial. It ensures optimal performance and coverage. Here are key points to consider:
- Visibility: Pick a spot where the camera has a clear view of the area you want to monitor. Avoid obstructions that could block the lens.
- Height: Mounting the camera at least 7 to 10 feet high reduces the risk of tampering. It also gives a wider viewing angle.
- Nearby power source: Ensure there’s access to a power outlet. If not, consider a location within reach of an extension cable.
- Wi-Fi signal: Test the Wi-Fi strength at the chosen spot. Your Nest camera needs a strong signal for reliable connectivity.
- Shelter from weather: An overhang or shelter protects your camera from rain and sun.
- Legal considerations: Ensure you’re not invading anyone’s privacy. Check local laws regarding outdoor surveillance.
Incorporate the keywords ‘how to mount nest camera’ by emphasizing the importance of this first step. When the location is set right, the following steps to mount your nest camera will be smoother and more effective.
Gather the Necessary Tools and Equipment
Before you start the process of how to mount your Nest camera, make sure you have the necessary tools and equipment on hand. This preparation will make the installation easier and quicker. Here’s a checklist of what you’ll need:
- Drill: A power drill will be needed to make holes for the mounting screws.
- Drill bits: Ensure you have the correct size drill bits for the screws you’re using for the mount.
- Screwdriver: A screwdriver is essential for tightening the screws onto the mounting plate.
- Screws and wall plugs: These are typically provided with your Nest camera. If not, check the manual for the correct sizes.
- Level: A level helps to install the mounting plate perfectly horizontal to ensure the camera is straight.
- Ladder: If you’re mounting the camera high up, a stable ladder is necessary to reach the location safely.
- Pencil or marker: To mark where you need to drill the holes for the mounting screws.
Having all these tools ready will ease into the next step to mount your Nest camera. With everything at arm’s reach, you won’t need to pause your installation halfway through to find a missing tool, which can be frustrating and time-consuming.
Install the Mounting Plate
Once you have identified the ideal location and have your tools at the ready, it’s time to focus on how to mount the Nest camera, starting with the mounting plate.
- Mark the Drill Spots: Using the pencil or marker from your toolkit, mark the precise spots where the drill holes will go. This ensures that the mounting plate will be securely in place.
- Drill Holes: Take your power drill and the correct size drill bits to drill holes at the marks. Proceed slowly to ensure accuracy and to prevent any damage to your home’s exterior.
- Insert Wall Plugs: If your package includes wall plugs, insert them into the holes. This step is crucial for a strong hold in materials like brick or drywall.
- Secure the Mounting Plate: Align the mounting plate over the holes and use the screwdriver to tighten the screws. Double-check the plate with your level to make sure it’s even.
- Final Check: Before moving to attach your Nest camera, give the mounting plate a little tug. It should feel firmly fixed to the wall without any wobble.
By carefully performing each step, your Nest camera will have a stable base. This is important for the safety of your device and to ensure it can withstand various weather conditions. After installing the mounting plate, you are ready to proceed to the next step: attaching your Nest camera to the mount.
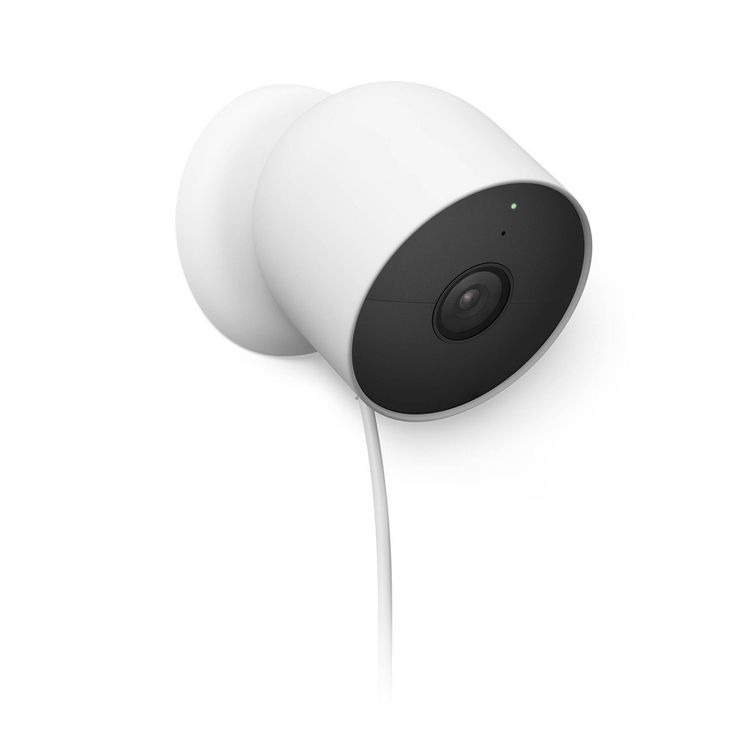
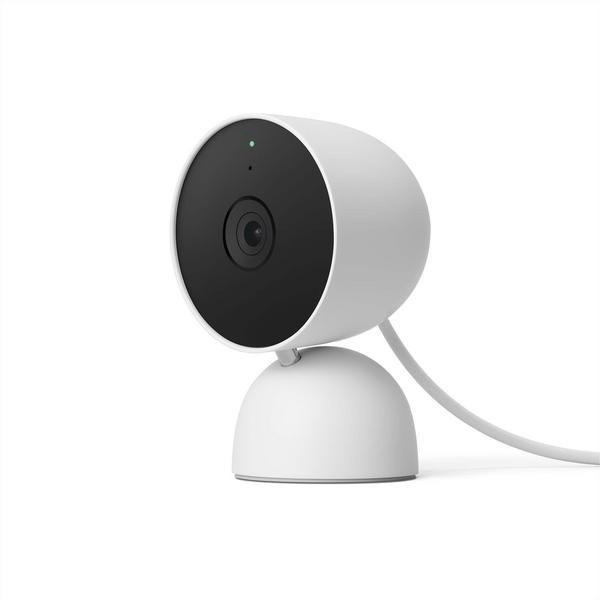
Attach Your Nest Camera to the Mount
With the mounting plate installed, you’re ready to learn how to mount your Nest camera. This step requires concentration. Here’s what to do:
- Slide the Camera onto the Plate: Your Nest camera should have a unique mechanism that slides onto the plate. Line it up carefully, and slide it in until it clicks.
- Ensure a Secure Fit: Once attached, gently try to move the camera. It shouldn’t shift or feel loose. If it does, recheck the mechanism to ensure a proper fit.
- Connect the Camera Cable: If your camera model has a cable, connect it now. This is often a USB cable that plugs into the camera’s port.
These steps are simple, but critical. A proper attachment ensures that your camera stays in place through various conditions. Next, you’ll connect your Nest camera to Wi-Fi for live monitoring. Keep your instructions handy for troubleshooting tips as you learn how to mount your Nest camera effectively.
Connect Your Nest Camera to Wi-Fi
Connecting your Nest camera to Wi-Fi is a vital step. It lets you monitor your home from anywhere. Here’s how to do it:
- Turn on Your Camera: Power up your Nest camera by plugging it in or turning on its battery.
- Download the Nest App: Install the Nest app on your smartphone or tablet from the app store.
- Create or Sign In to Your Account: Open the app and sign up or log in to your Nest account.
- Add the Camera to Your App: Select the option to add a new device. Follow the app’s guiding steps.
- Select Wi-Fi Network: Choose the Wi-Fi network you want your camera to use. Enter the password.
- Test the Connection: Ensure that the camera connects and streams video to the app successfully.
- Check Signal Strength: Place your camera where the Wi-Fi signal is strong. It ensures reliable video streaming.
Remember the keyword ‘how to mount nest camera’ as smooth Wi-Fi connection is the final touch. Once your camera connects to Wi-Fi, you can check the live footage. Now, adjust settings as needed for personalized surveillance.
Adjust the Camera Angle for Optimal Coverage
Once your Nest camera is mounted, adjusting the camera angle is crucial for optimal coverage. Here are steps to ensure you get the best view:
- Positioning: Aim the camera where you need the most surveillance. Cover key areas like doorways, windows, or yards.
- Avoid Blind Spots: Ensure no critical areas are left unmonitored. Look out for potential blind spots.
- Test Angles: After initial adjustment, observe the camera’s feed. Make sure it captures everything you need.
- Check for Glare: Be mindful of the sun’s position. Avoid angles where glare can compromise video quality.
- Consider Height: High angles can provide a broader view. But don’t set it too high, or you’ll miss details.
Remember, getting the right angle is an essential part of how to mount your Nest camera. Adjust as needed to maximize your home security.
Secure Your Camera Against Weather and Vandalism
Ensuring that your Nest camera is safe from weather and vandalism is key. Follow these steps:
- Choose Weather-Resistant Mounts: Select mounts designed to withstand harsh weather conditions. This will help protect your camera from rain, snow, and extreme temperatures.
- Use Protective Housings: Some models have optional housings for added protection. Consider using them for extra defense against the elements.
- Check for Waterproof Ratings: Look for waterproof ratings on camera housings. Higher ratings mean better resistance to water.
- Secure Cables: Cables should be firmly fixed and, if possible, hidden to avoid tampering. Use clips or protective conduits to keep them in place.
- Anti-Tamper Screws: Use screws that require special tools to remove. This discourages would-be vandals.
- Position Out of Reach: Install your camera high enough to deter vandalism. However, make sure it’s still accessible for maintenance.
- Regular Maintenance: Check your camera often. Clean any debris and inspect for damage to ensure it continues to work properly.
- Lighting: Install motion sensor lights nearby. They deter vandals and improve camera visibility at night.
By taking these steps to mount your Nest camera securely, you’ll enhance its durability and longevity.
Troubleshooting Common Mounting Issues
When learning how to mount your Nest camera, you might encounter some issues. Addressing these early can save time and ensure a secure setup. Here are common problems and their solutions:
- Loose Mounting Plate: If the mounting plate feels unstable, check the screws. Tighten them if needed. Use a power drill for firm installation. Make sure to use the correct screw size.
- Weak Wi-Fi Signal: If the signal is weak, relocate your Nest camera closer to the router. Alternatively, consider getting a Wi-Fi range extender. Check for Wi-Fi strength with your app.
- Camera Not Clicking Into Place: If the camera doesn’t click onto the plate, remove it and try again. Ensure alignment is correct. Reference the user manual for guidance.
- Poor Video Quality: For blurry footage, clean the camera lens gently. Avoid direct sunlight angles. Consider moving the camera slightly to reduce glare.
- Drill Bit Size Errors: Using the wrong drill bit can lead to loose screws. Confirm the size before drilling. Your Nest camera’s manual can guide you.
- Cable Management: Cables not secured properly can lead to issues. Use clips or conduits to keep cables tidy. Hide them to prevent vandalism.
- Power Outlets Too Far: If the closest power source is too far, use a waterproof extension cable. Make certain the connection is safe and secure.
Fix these mounting issues promptly, and you’ll have a well-installed Nest camera. It will provide reliable surveillance without hitches. If problems persist, consult the Nest support team for help.