Introduction: Understanding the Importance of Installing a Graphics Card
Installing a graphics card is one of the most significant upgrades you can make to your computer. Whether you’re a gamer looking to enhance your gaming experience or a creative professional aiming for better graphics performance, knowing how to install graphics card is crucial. A graphics card, also known as a GPU (Graphics Processing Unit), handles the rendering of images, videos, and animations, making it an essential component for a high-performance PC.
Getting the installation right not only improves your computer’s performance but also extends its lifespan. In this guide, we will walk you through step-by-step instructions on how to successfully install a graphics card. Additionally, we’ll provide valuable tips, common issues you may face, and how to troubleshoot them. Let’s dive in!
Preparing for Installation
How to install graphics card? Before diving into the core steps of the graphics card installation process, it’s crucial to prepare adequately. This will ensure a smooth and safe installation, preventing any potential damage to your new hardware or your computer.
Gathering the Necessary Tools
Firstly, you’ll need a set of tools to help you install your graphics card properly. A Phillips-head screwdriver is essential for opening the PC case and securing the card. It’s also wise to have some isopropyl alcohol and a cloth on hand for cleaning any dust that may have accumulated in the case or on the PCIe slot. Additionally, remember to have your anti-static wrist strap ready to use for grounding yourself, which we’ll discuss later in the safety precautions.
Be sure to clear a spacious, uncluttered work area. Having everything organized will keep the process smooth and hassle-free. Keep small containers or bags on hand to keep track of screws and other small parts removed during the process.
Understanding the Types of Graphics Cards
Before you can install a graphics card, you must understand the different types available and which one matches your PC’s requirements. Graphics cards come in various sizes, power consumption levels, and port configurations.
The most common types are integrated, which are part of the motherboard and suitable for basic tasks, and dedicated graphics cards, which are separate components designed for more intensive graphical tasks such as gaming or video editing. Check if your choice is a PCI Express (PCIe) or an older AGP model, as this will determine the type of slot you’ll use on the motherboard.
Always consult your motherboard’s manual to verify which type of graphics card it supports. Knowing these details will help you choose the right card for your needs and ensure that you don’t run into compatibility issues during installation. With these preparations out of the way, you’re now ready to move on to choosing the right graphics card for your build, ensuring it matches with your motherboard and power supply.
Choosing the Right Graphics Card
Choosing the right graphics card is a key step in PC building. You have to ensure compatibility with your system and that it meets your performance needs. First, consider the motherboard and power supply you have as they will dictate what type of graphics card you can install.
Compatibility with Motherboard
Ensure your graphics card fits with your motherboard. Check the PCIe slot version on your motherboard. Most modern graphics cards use PCIe 3.0 or 4.0. Make sure your motherboard has the right slot. Look at the physical space as well. Some graphics cards are large and may not fit in smaller cases or may block other PCIe slots.
Next, consider the BIOS or firmware of your motherboard. Older motherboards may need a BIOS update to work with newer cards. Your user manual can guide you on this. Also, remember the interface. Most cards now use a PCIe x16 slot. Your motherboard should have one.
Power Supply Requirements
Your power supply must have enough wattage for your new graphics card. Check the card’s power consumption. It’s often listed in the specifications. Then, add this to the power needs of your other components. It’s good practice to have a power supply that exceeds this total by about 20%. Look for power supply units (PSUs) with ’80 Plus’ certification. They offer better efficiency.
The graphics card also needs the right connectors. Some need one 8-pin connector, others may need more. Make sure your PSU has these. If not, you might need an adapter or a new PSU. Keep cable management in mind for airflow and aesthetics.
By picking a graphics card that matches your motherboard and power supply, you set the stage for a smooth installation process. Next, we’ll cover safety measures that are crucial before you start the physical installation of your new graphics card.
Safety Precautions Before Installation
Safety comes first when you’re ready to install your graphics card. It’s crucial to take precautions to protect both yourself and your equipment. These steps will minimize risks and pave the way for a successful installation.
Grounding Yourself to Prevent ESD
Electrostatic discharge (ESD) can damage your PC components. To avoid this, you should ground yourself. One common way is to use an anti-static wrist strap. Connect its clip to a metal part of the PC case. If you don’t have a strap, keep touching the metal case. This should direct any static away from the sensitive parts of your graphics card. Furthermore, work in an environment with minimal static, such as on a wooden table, rather than on carpet.
Safely Handling the Components
Handle your graphics card and other components with care. Hold the card by its edges and avoid touching the circuitry. When placing it down, use a non-static surface. Keep the protective cover on the PCIe connector until installation. Moreover, ensure that your workspace is clean and free of clutter, liquids, or anything that might spill and cause damage. By following these safety rules, you’ll ensure that you’re set to proceed with the physical installation of your new graphics card without any issues.
Physical Installation of the Graphics Card
Your thorough preparation has set the stage for the actual installation. Now, let’s dive into the steps to physically install your graphics card.
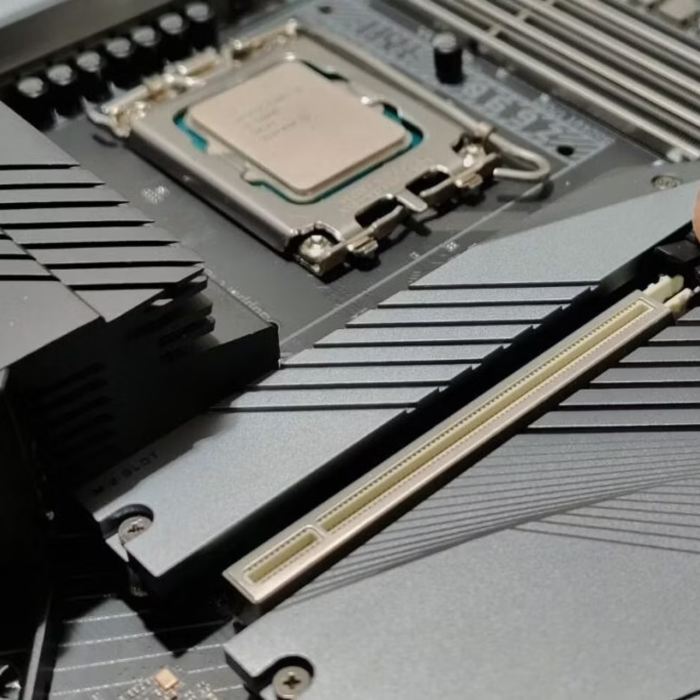
Opening the PC Case
Start by turning off your computer and unplugging all cables. Lay the case on a flat, stable surface. Remove the side panel, usually held by screws at the back. Some cases have thumb screws or a latch that makes the process tool-free. Ensure that you’ve got good lighting so you can see what you’re doing inside.
Removing Old Graphics Card (if applicable)
If replacing an old graphics card, first disconnect any power cables attached to it. Unscrew the card from the case’s frame, touch the case to ground yourself again, and carefully release any latches on the PCIe slot. Then, gently pull the card out by its edges. Place it on a non-static surface.
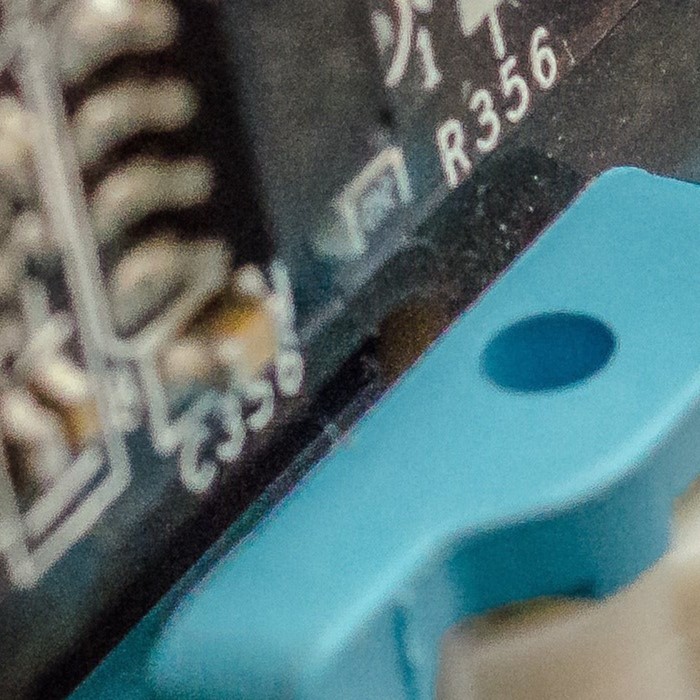
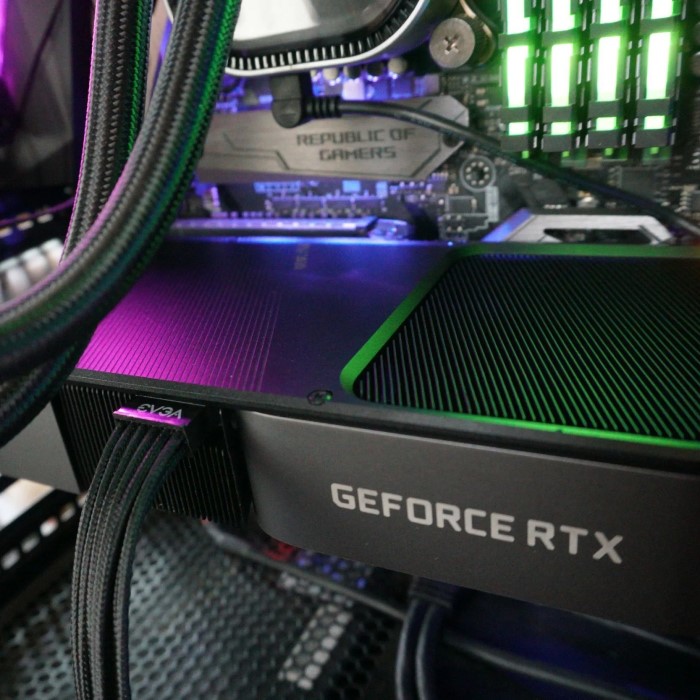
Properly Seating the New Graphics Card
Hold the new graphics card by its edges and align it with the open PCIe slot. Check for any plastic caps on the connectors and remove them. Push the card evenly and firmly into the slot until the latch clicks. Make sure it’s fully seated.
Securing the Graphics Card with Screws
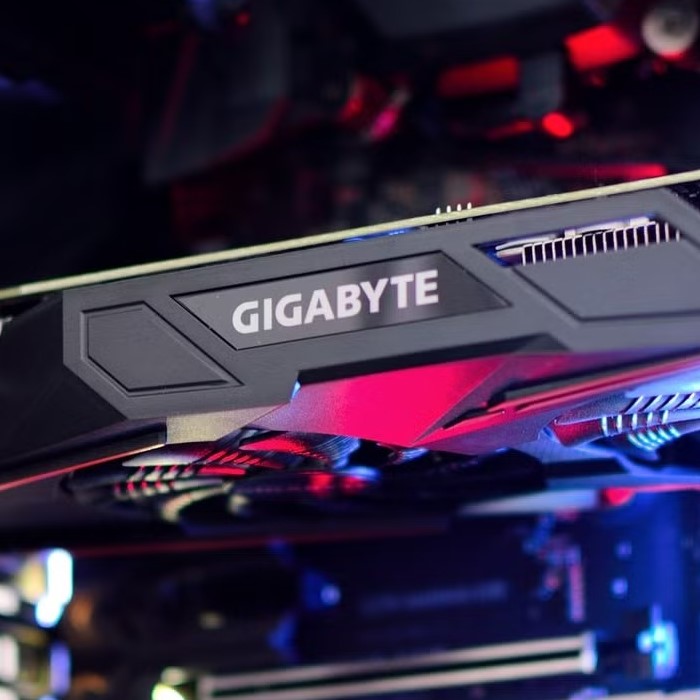
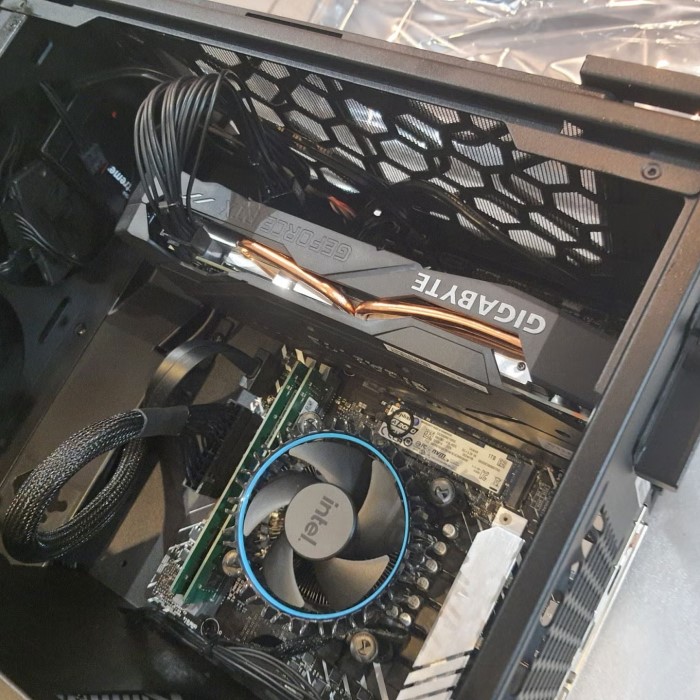
Finally, secure the graphics card to the case using screws. If your card requires power connectors, attach them now. Once everything is secure, replace the side panel of the case. You’re now ready to move on to the software part of the installation process.
Software Installation and Drivers Update
After fitting the graphics card physically, it’s time to tackle the software part. This step makes sure that your new hardware works well with your system.
Uninstalling Old Drivers
Start by removing any drivers from previous graphics cards. This reduces conflict with the new card. You can use programs like ‘Display Driver Uninstaller’ for a clean removal. Simply run this tool and follow prompts to clear old drivers.
Installing New Graphics Drivers
After uninstalling old software, download the latest drivers for your new card. Visit the manufacturer’s website, find your card model, and download the drivers. Run the installation file and follow on-screen instructions. A restart is often needed to complete the installation.
Optimizing Graphics Card Settings
Once new drivers are in place, open the graphics control panel. Adjust settings for better performance or visuals based on your needs. You can tweak resolution, color quality, and 3D settings. For games, use the manufacturer’s optimization tools to get the best experience.
Finalizing these software steps ensures your graphics card operates smoothly. You’re now ready to enjoy enhanced graphics performance on your PC.
Troubleshooting Common Installation Issues
After installing your graphics card, you might face some common issues. Troubleshooting is important to enjoy your new upgrade.
Display Not Working After Installation
If your monitor shows no signal after installation, check the connections first. Make sure the monitor cable is secure at both ends. Also, check if the power cables are properly connected to the graphics card.
Next, try different ports on the card. Sometimes, one port may not work right away. If you still see no display, try reseating the graphics card. Turn off your PC, open the case, and make sure the card is firmly in the PCIe slot.
If the issue persists, check if your power supply supports the new card’s needs. A lack of power can prevent the card from functioning.
Graphics Card Not Detected by BIOS
Sometimes the new card may not show up in the BIOS. If this happens, first ensure that your graphics card is seated correctly. It should click into place without any gaps.
If that doesn’t work, reset the BIOS. You can do this by removing the CMOS battery for a few minutes, then replacing it. Check your motherboard’s manual for detailed steps.
Also, update your motherboard’s BIOS if it’s outdated. An old BIOS may not recognize new hardware. Find updates on your motherboard manufacturer’s website.
Remember, if you added a dedicated card, disable the onboard graphics in BIOS. This can resolve conflicts between the two.
With these troubleshooting tips, most graphics card installation issues can be resolved. Don’t hesitate to contact the card manufacturer’s support if problems continue. They can provide detailed solutions specific to your card model.
Performance Testing After Installation
Once you’ve installed your graphics card, it’s important to assess its performance. This ensures it runs correctly and efficiently.
Running Benchmarking Software
To test your graphics card’s capabilities, use benchmarking software. Programs like 3DMark and Unigine Heaven provide detailed analyses. They simulate intense graphics tasks to push your card to its limits. Start the software and follow the instructions for a full test run. You’ll get scores that show how your card stacks up against others.
Monitoring Temperature and Power Consumption
Keep an eye on your graphics card’s temperature and power use. High temperatures can harm your card and reduce its lifespan. Use tools like GPU-Z or MSI Afterburner to monitor these metrics. Look for temperature values during heavy use. If they’re too high, improve your PC’s cooling. Check how much power the card draws too. Make sure your power supply can handle it. These checks can stop problems before they worsen. By monitoring these aspects, your graphics card will serve you well for a long time.
Conclusion: Completing Your Graphics Card Installation
In conclusion, knowing how to install graphics card is an invaluable skill for anyone looking to boost their PC’s performance. Whether you are a gamer, content creator, or a casual user, upgrading your graphics card can significantly enhance your computer’s capabilities. By following the detailed steps outlined in this guide, coupled with considerations for compatibility, preparation, and troubleshooting, you can ensure a smooth installation process.
As you embark on your journey of PC building or upgrading, remember to choose the right components, gather necessary tools, and install drivers correctly. With a little patience and attention to detail, you’ll be rewarded with greater graphical performance and a more enjoyable user experience.
By applying these insights and steps, you can confidently tackle not just your graphics card installation but also set the foundation for future upgrades. Happy building!