Introduction: Understanding Webcam Issues
In this digital age, webcams have become essential tools for communication, whether for business meetings, online classes, or catching up with friends and family. However, many users face frustrating situations when their webcam suddenly stops working. If you’re asking yourself, “why is my webcam not working?”, you’re not alone. Fortunately, there are several troubleshooting tips to help you diagnose and fix common webcam problems. This comprehensive guide will provide step-by-step solutions for getting your webcam back online.
Common Reasons for Webcam Malfunctions
Understanding why your webcam is not working is the first step towards finding a solution. Below are some common causes of webcam issues:
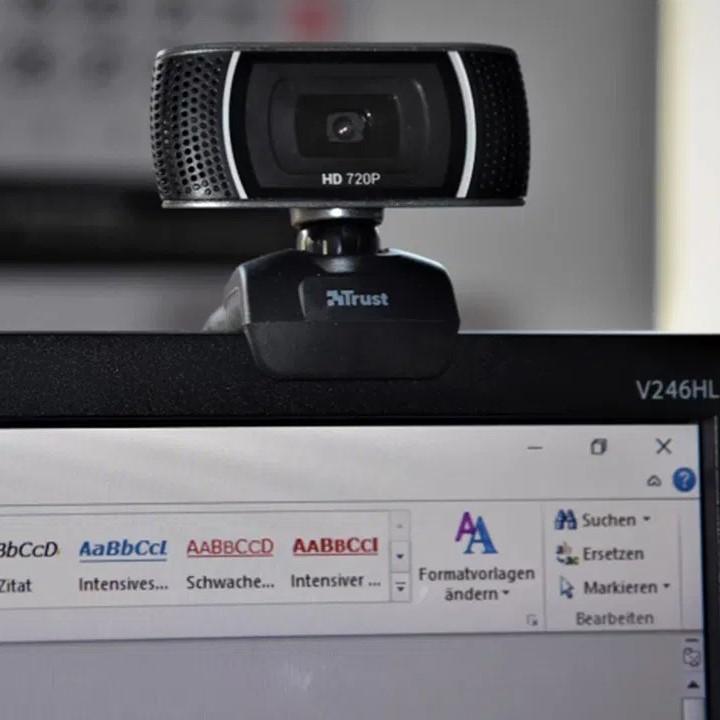
Hardware faults can stop your webcam from functioning. Look out for loose connections or physical damage. Dust or debris on the webcam lens may also affect performance. If you’re using an external webcam, test it with a different cable or USB port.
Software or Driver Problems
Outdated or corrupt drivers can prevent your webcam from working. Check if the camera drivers are up to date. Software conflicts with certain applications can also cause issues. Uninstall unnecessary programs that take control over the webcam.
Privacy or Security Restrictions
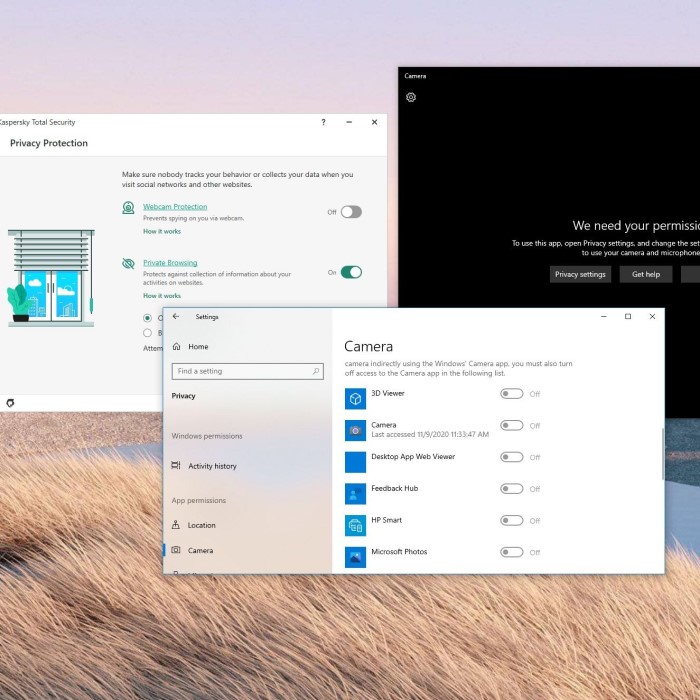
Your operating system or security software might block your webcam. Adjust your camera’s permission settings. Verify that your antivirus or firewall isn’t interfering with the connection.
Internet Connectivity Issues (for Online Cameras)
For webcams used with online applications, a poor network connection can cause problems. Ensure your internet connection is stable. High latency or low bandwidth might disrupt live streaming or video calls.
Identifying these potential problems will help guide you toward the right solution.
How to Check If Your Webcam is Detected
Ensuring your webcam is detected is crucial for resolving issues. Follow these simple steps to verify its status and functionality.
Verifying Webcam Connection
- Check physical connections: Ensure your external webcam is securely plugged into the correct USB port.
- Test with another port: If the webcam isn’t recognized, plug it into a different USB port.
- Inspect cables: For external webcams, check for damaged or loose cables.
- Confirm built-in webcam activation: Ensure the internal webcam is enabled through function keys on your keyboard.
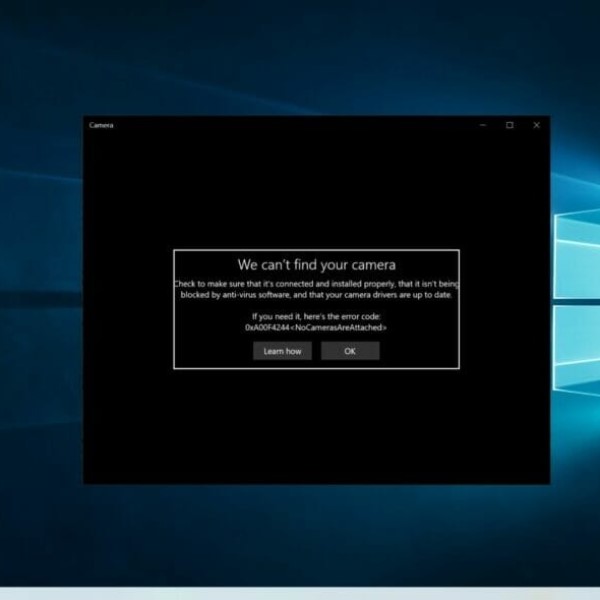
Testing with Built-in Camera Applications
- Open the camera app: Launch the built-in camera application on your operating system.
- Check for preview: If the camera is detected, you should see your video feed.
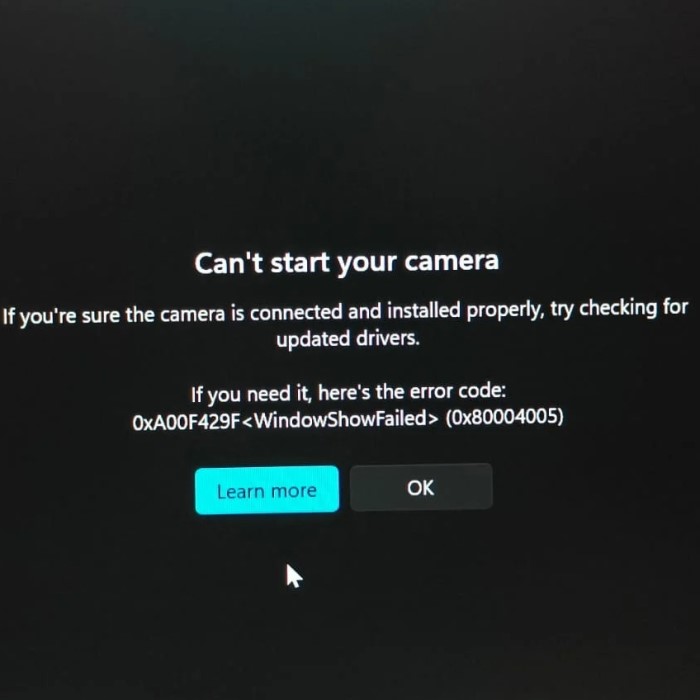
- Look for error messages: Note any error messages within the app, as they may indicate the problem source.
- Test with other apps: Use other applications requiring webcams, like video conferencing apps, to cross-check functionality.
Checking Device Manager for Driver Status
- Open Device Manager: Search for “Device Manager” in your computer’s Start menu.
- Locate your webcam: Find it under “Imaging Devices” or “Cameras.”
- Check driver status: Ensure the webcam drivers are installed without errors (a yellow exclamation mark indicates issues).
- Update drivers: Right-click on the webcam and select “Update Driver” to ensure it’s up to date.
- Reinstall drivers: If updates fail, uninstall and reinstall the drivers to resolve underlying issues.
These steps will help you confirm whether your webcam is being detected and guide you to the next troubleshooting steps.
Steps to Fix Webcam Not Working
If you’re wondering, “Why is my webcam not working?” there are multiple troubleshooting steps to resolve the issue. Follow these methods step by step for the best results.
Restart Your Computer and Webcam
- Reboot your computer: Restarting often fixes temporary glitches.
- Disconnect and reconnect: If using an external webcam, unplug and plug it in again.
- Power cycle the webcam: Turn off and on any external webcam with a power button.
Update or Reinstall Webcam Drivers
- Update drivers: Go to the Device Manager and right-click your webcam to select “Update Driver.”
- Use manufacturer software: Check for updated drivers from the manufacturer’s website.
- Reinstall drivers: Uninstall the webcam from Device Manager, restart, and let Windows reinstall it.
Adjust Privacy and Permission Settings
- Check camera settings: Ensure the webcam permissions are enabled in system settings.
- Review app permissions: Grant access to apps using your webcam, like Zoom or Skype.
- Disable antivirus restrictions: Check if firewall or antivirus software is blocking your webcam.
Test Webcam with Third-party Software
- Try another app: Use a different program like OBS Studio or Google Meet to test your webcam.
- Isolate software conflicts: Disable other apps that might be monopolizing the webcam.
Roll Back Recent Updates Affecting Webcam Performance
- Check for system updates: See if a recent update changed webcam settings or functionality.
- Revert updates: Uninstall specific updates that coincide with when the problem started.
- Pause automatic updates: Prevent further issues by temporarily disabling new updates.
By systematically applying these fixes, your webcam should start functioning correctly again.
Tips for Optimal Webcam Performance
Optimizing your webcam performance ensures high-quality video calls and recordings. Follow these tips to improve your webcam experience.
Ensuring Proper Lighting and Setup
- Use natural light: Position yourself facing a window if possible.
- Avoid backlighting: Bright light from behind can create shadows on your face.
- Use additional lights: Desk lamps or ring lights help illuminate your face.
- Adjust webcam angle: Keep the camera at eye level for a professional look.
- Keep the background tidy: Limit visual distractions to maintain focus on you.
Cleaning Webcam Lens for Clearer Video
- Inspect the lens: Check for dust or smudges regularly.
- Use a microfiber cloth: Gently clean the lens to avoid scratches.
- Avoid harsh chemicals: Use water or a lens-safe solution for cleaning.
- Cover the webcam: When not in use, cover the lens to keep it clean.
Using External Webcams for Better Quality
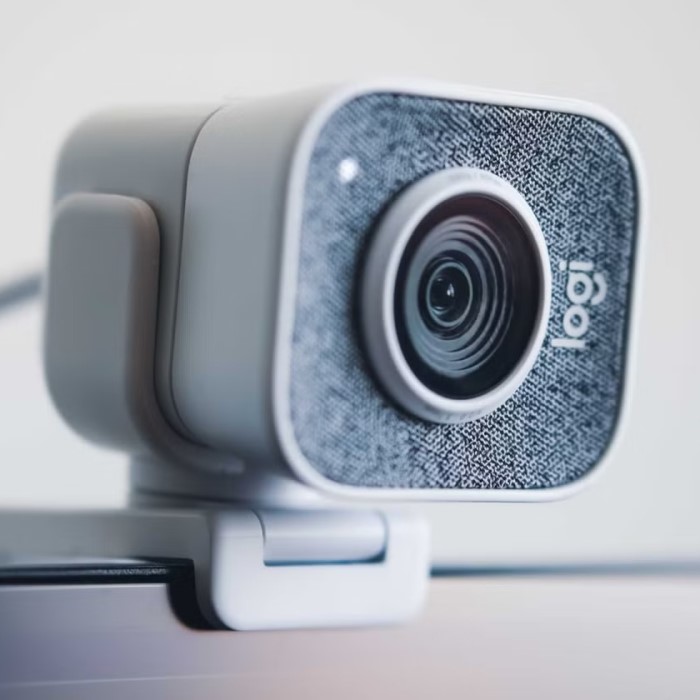
- Invest in HD webcams: External webcams often provide higher resolution than built-in ones.
- Look for advanced features: Consider webcams with autofocus and low-light adjustment.
- Position the camera correctly: Follow the same setup tips as for built-in webcams.
- Use a tripod: Ensure stability and minimize shaking during use.
- Update drivers: Regularly update external webcam drivers for compatibility and performance.
Implementing these tips will improve your webcam’s video quality for all your needs.
How to Identify Hardware Failures
Why is my webcam not working? Determining if hardware issues are behind your webcam problems is essential for fixing it. By carefully testing your webcam and observing its behavior, you can identify potential hardware failures quickly and efficiently.
Testing Webcam on Another Device
- Connect your webcam to another computer: Use a different device to test its functionality.
- Check for detection: Ensure the other device recognizes the webcam in its system settings.
- Verify performance: Open a camera app or video software to see if the webcam works.
- Try different ports or cables: If using an external webcam, test with another USB cable or port.
- Observe results: If the webcam works on another device, the issue may be software-related.
Identifying Damaged Hardware Signals
Inspect the Webcam Physically
- Examine for Cracks: Carefully look over the body of the webcam for any visible cracks or fractures that could affect its performance.
- Check Connectors: Look at the connectors for signs of wear and tear. Worn connectors can lead to poor connectivity and must be replaced or repaired.
- Assess Overall Condition: Ensure there are no loose parts or signs of environmental damage, such as exposure to moisture, which could jeopardize functionality.
Check the Lens
- Look for Fogging: Inspect the lens for any signs of fogging or condensation, which can significantly impair the clarity of video output.
- Identify Scratches: Run your fingers gently over the lens surface to feel for scratches or blemishes. These imperfections can distort the image quality during video calls or recordings.
- Clean the Lens: If the lens appears dirty or smudged, use a microfiber cloth to clean it carefully, ensuring it’s free of dust and fingerprints that may affect video quality.
Listen for Unusual Sounds
- Be Attentive to Clicking: Pay attention for any clicking sounds when the webcam is in use. This could indicate mechanical issues within the device.
- Check for Buzzing: Listen for buzzing noise while the webcam is operational. Unusual sounds typically signify malfunctions that may need further investigation.
- Consider Background Noise: Assess whether these sounds occur regardless of the environment. If they are present in various settings, it might point to internal hardware issues.
Monitor Power Indicators
- Examine Power Lights: For external webcams, check the indicator lights. Confirm that they illuminate when the device is powered on and functioning.
- Analyze Light Behavior: Observe any flickering or unusual behavior of the power lights, as this can indicate connectivity problems or power supply issues.
- Ensure Consistent Functionality: If the lights don’t turn on consistently, this may suggest a power-related malfunction that requires professional attention or replacement.
Test Connectivity Issues
- Monitor Disconnection Frequency: Take note if the webcam frequently disconnects from the computer. This is an important factor in diagnosing potential internal problems.
- Check USB Connections: Ensure that the USB cable is firmly connected at both ends and not loose, as this can contribute to connectivity issues.
- Assess Internal Components: If disconnections happen often, consider the possibility that the internal components are failing due to age or frequent use, and may need to be repaired or replaced.
By performing these tests, you can diagnose whether your webcam has a hardware problem. If confirmed, you’ll know whether repair or replacement is necessary.
When to Consider Professional Repair or Replacement
Why is my webcam not working? Sometimes, your webcam issues can’t be fixed with basic troubleshooting. At this point, you may need to decide whether to repair or replace your webcam. Before proceeding, consider the factors below to make an informed choice.
Cost vs. Benefit Analysis
- Compare repair costs and replacement price: Get an estimate for professional repair services. If the repair cost is close to or higher than a new webcam’s price, replacing it could be a better solution.
- Evaluate the webcam’s age: Older models are often outdated and may not support new applications. Replacement ensures compatibility and enhanced features.
- Consider repair complexity: Broken internal components or severe physical damage may make repairs impractical. Repairing built-in webcams can sometimes be more challenging and expensive.
- Factor in urgency: Repairs can take time, while purchasing a new webcam provides immediate availability. If you rely heavily on a webcam for work or communication, consider a replacement for quicker resolution.
- Assess the usage and quality: If you need better video quality or advanced features, investing in a new webcam might be worthwhile.
Selecting the Right Replacement Webcam
- Choose an appropriate resolution: For professional use, consider Full HD (1080p) or even 4K webcams. Casual users can opt for lower resolution models.
- Check compatibility: Verify that the webcam is compatible with your computer and operating system.
- Prioritize advanced features: Invest in webcams with autofocus, low-light optimization, and built-in microphones. These improve video call and recording quality.
- Look for reputable brands: Choose trusted manufacturers known for quality and customer support. Brand warranties add value and reliability.
- Set a budget: Affordable webcams can still offer decent performance. However, higher-budget models might include cutting-edge features and extended durability.
By analyzing costs and features, you can decide whether to repair or replace your webcam effectively. Investing in the right equipment also ensures long-term satisfaction and reliable performance.
Preventing Future Webcam Issues
Avoid recurring webcam problems by taking proactive measures. Implement these steps to ensure continuous performance.
Keeping Software and Drivers Updated
- Regular updates: Frequently update your operating system to avoid compatibility issues.
- Update webcam drivers: Use the manufacturer’s website or device manager to get the latest drivers.
- Set automatic updates: Enable automatic updates for applications that use the webcam.
- Monitor software conflicts: Avoid installing multiple applications that access the webcam simultaneously.
- Test webcam regularly: After updates, test your webcam to verify functionality.
Regularly Checking Hardware Connections
- Inspect cables: Check for loose, damaged, or worn-out cables with external webcams.
- Ensure secure connection: Plug the webcam firmly into the USB port.
- Test USB ports: Regularly test other USB devices to ensure ports are functioning.
- Clean the lens: Remove dust or grime from the webcam lens using a microfiber cloth.
- Check power supply: For powered webcams, confirm the power source is active and reliable.
Using Reliable Antivirus and Security Tools
- Install trusted antivirus software: Use software to block malicious files or programs affecting webcam usage.
- Run scans regularly: Perform routine security scans to identify potential threats.
- Adjust privacy settings: Enable security settings that allow approved apps only to access the webcam.
- Avoid suspicious downloads: Stay away from unverified apps or programs that request webcam access.
- Use webcam covers: Consider physical webcam covers when the device is not in use for added security.
By following the tips above, you can maintain optimal webcam performance and reduce future issues effectively.
Conclusion: Getting Your Webcam Back Online
In conclusion, asking “why is my webcam not working?” often leads to a variety of solutions, ranging from simple hardware checks to complex software adjustments. By following the steps outlined in this article, users can effectively troubleshoot and resolve most webcam issues.
Keeping your drivers updated, enabling privacy settings, and using the right applications can significantly enhance your webcam experience. Don’t hesitate to explore all troubleshooting methods to ensure your webcam is back in action. With these tips, you’ll be well-equipped to tackle webcam issues in 2025 and beyond!