Installing a Nest camera can enhance your home security by providing a reliable, 24/7 live feed that you can monitor from anywhere. The process doesn’t have to be daunting. With this comprehensive guide, you’ll learn how to install your Nest camera step by step, ensuring a smooth setup experience.
Understanding Nest Camera Models and Requirements
Grasping the Basics of Nest Camera Options
When it comes to choosing a Nest camera for your home, the decision-making process begins with understanding the different models available on the market. Each model comes with unique features and installation requirements, catering to various needs and preferences. Let’s explore the lineup and help you make an informed choice.
Nest Cam Indoor
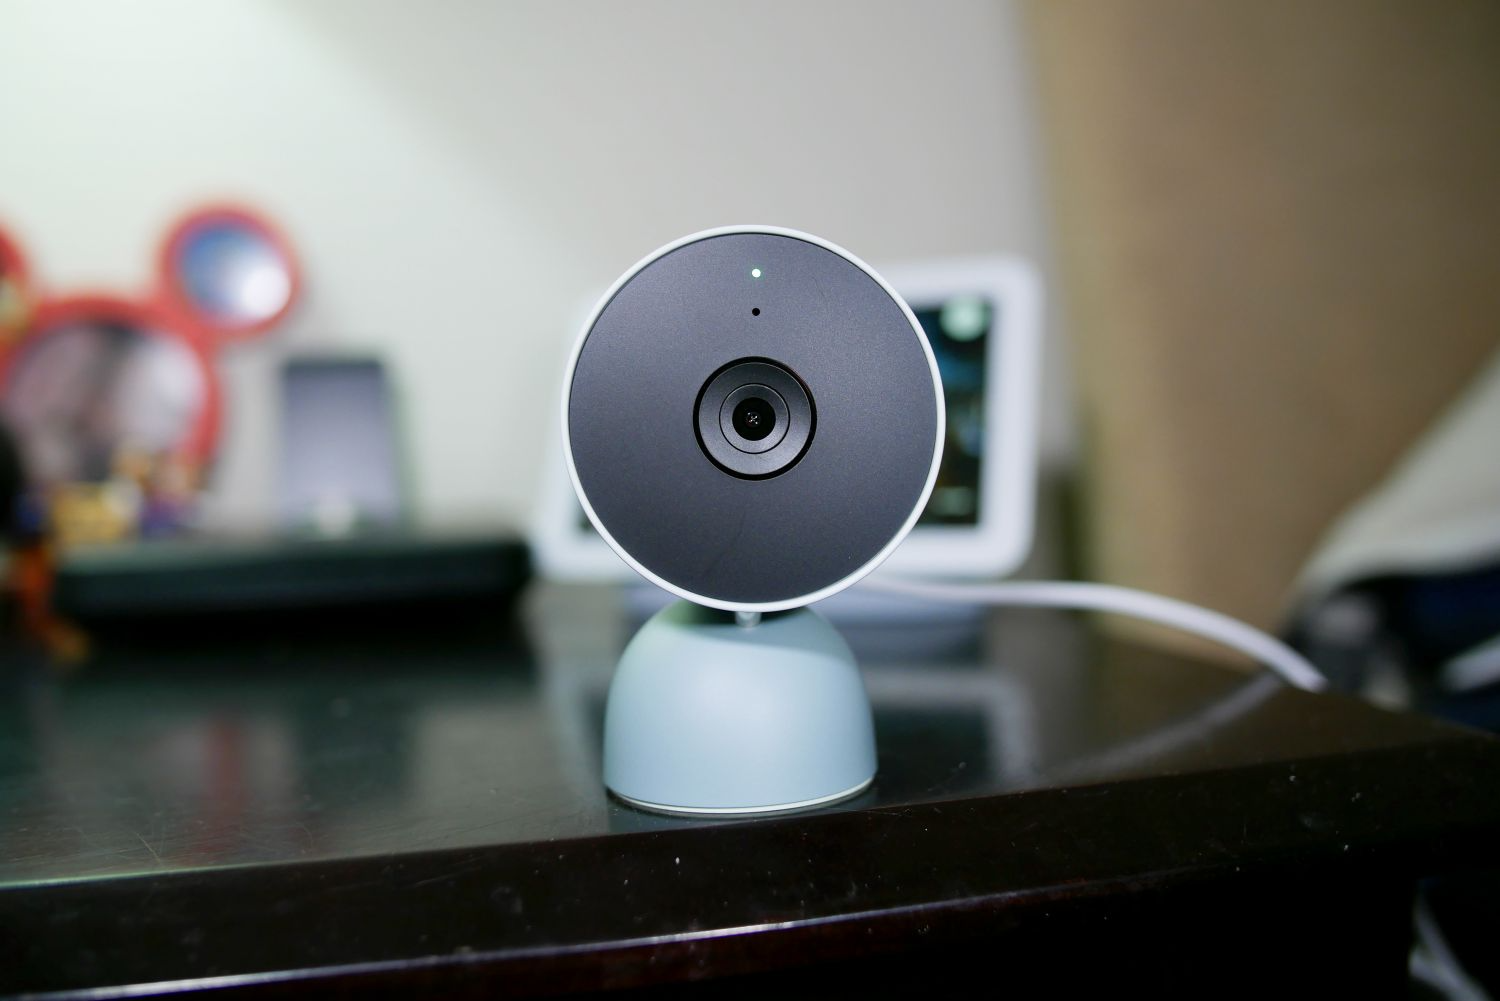
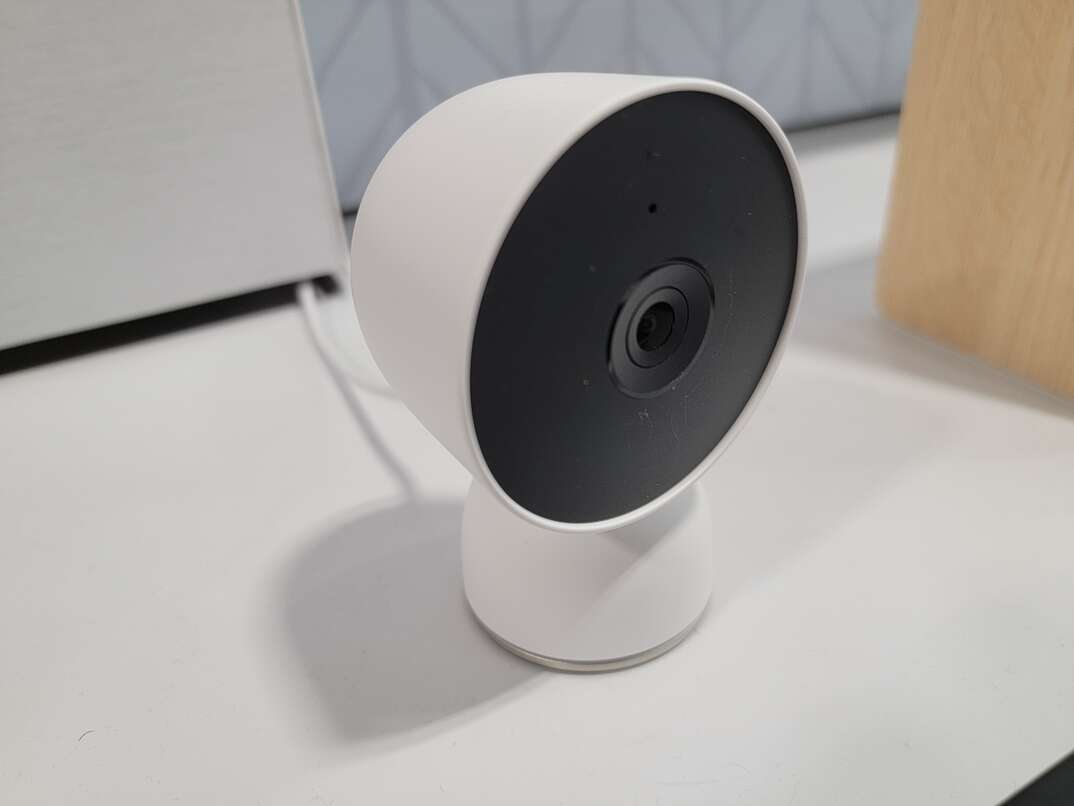
The Nest Cam Indoor is designed to blend seamlessly into your home environment. This camera is ideal for monitoring the interiors of your home, whether you’re keeping an eye on pets, children, or ensuring the security of your possessions. It requires a stable Wi-Fi connection and access to a power outlet.
Nest Cam Outdoor
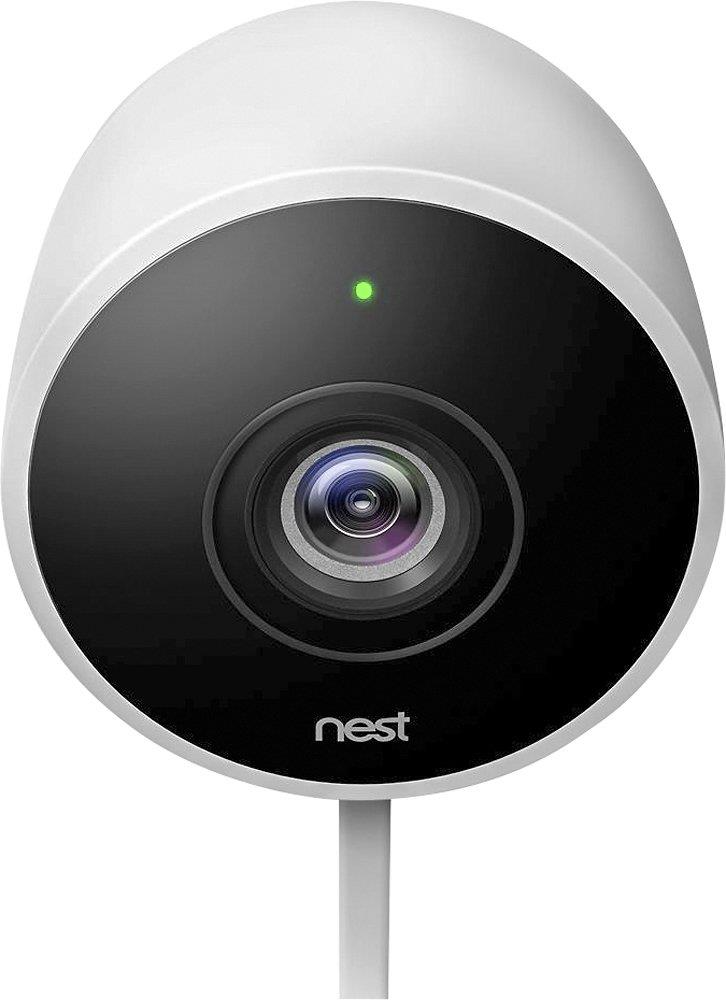
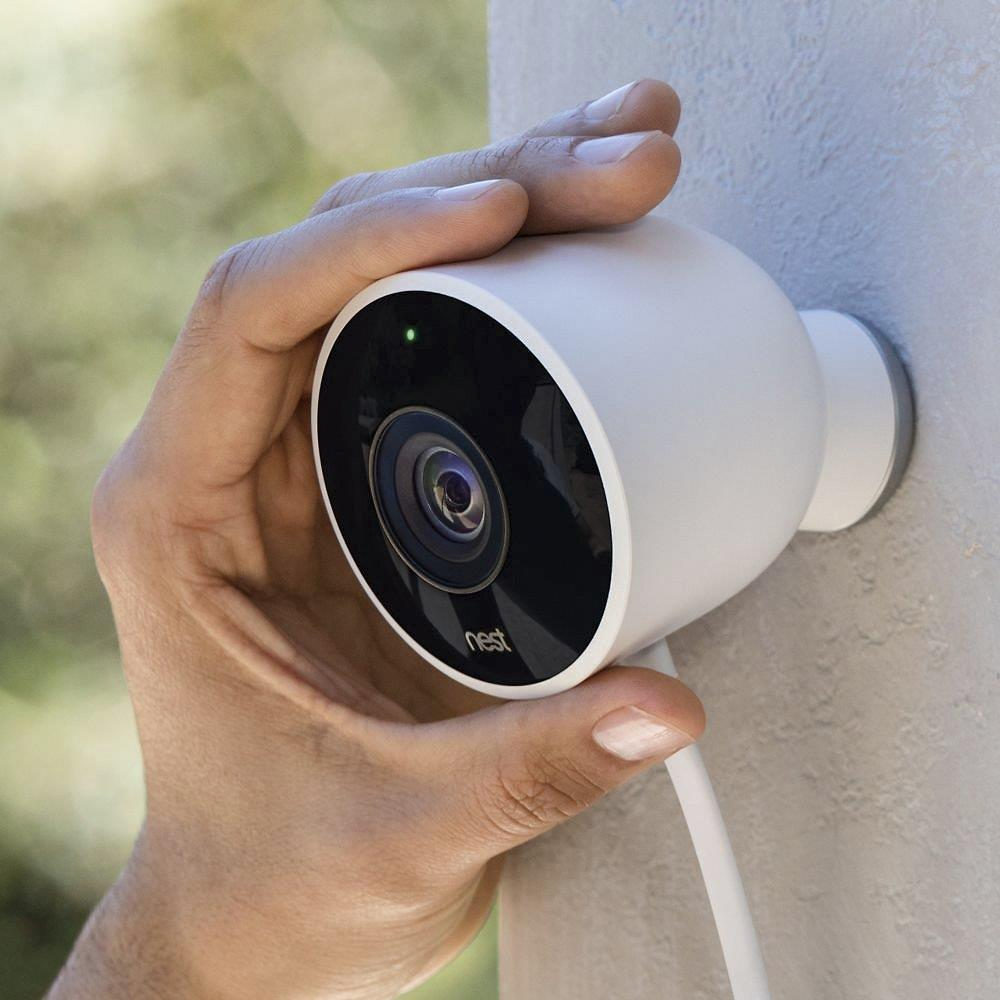
Built to withstand the elements, the Nest Cam Outdoor brings security to your home’s exterior. It is weather-resistant and perfect for monitoring your yard, driveway, or the perimeter of your property. Like its indoor counterpart, it needs a Wi-Fi connection and a nearby power source.
Nest Cam IQ Indoor and Outdoor
The Nest Cam IQ models are the premium options in the lineup, offering advanced features such as a higher image resolution, facial recognition, and enhanced zoom capabilities. These cameras require a more significant bandwidth to support the higher quality video feed, so ensure your home network can handle the load.
Nest Cam Battery
The Nest Cam Battery is a versatile option that can be used both indoors and outdoors. As the name suggests, it operates on a rechargeable battery, giving you more flexibility in placement since you’re not limited by the need for a power outlet. Although it can connect to Wi-Fi, it also supports offline storage options.
Nest Doorbell
The Nest Doorbell is a smart video doorbell that allows you to see who’s at your door and communicate with them through two-way audio. It can be wired into your home’s existing doorbell system or run on a rechargeable battery for easier installation.
Preparing for Installation
Gathering Tools and Materials
Most Nest cameras come with the necessary tools and hardware for installation. However, you might need additional tools such as a drill, screwdriver, ladder, and possibly silicone sealant for weatherproofing.
Choosing the Right Location
When selecting a spot for your camera, consider what you want to monitor. For outdoor cameras, aim for a broad view of your property without obstructions. For indoor cameras, choose a location that covers the entrances and main areas.
Checking Wi-Fi Connectivity
Your camera needs a strong Wi-Fi signal to function correctly. Use your smartphone to check the Wi-Fi strength in the area you intend to install the camera. If the signal is weak, consider moving your router or adding a Wi-Fi extender.
Understanding Power Sources
If you’re installing a wired camera, make sure there’s an accessible power outlet near the installation spot. For battery-powered models, ensure the camera is fully charged before mounting.
Mounting Your Nest Camera
Drilling and Mounting for Outdoor Cameras
For outdoor cameras, you may need to drill into the siding, stucco, or brick to secure the mounting plate. Use the included template to mark the drill holes. After drilling, insert the wall anchors and attach the mounting plate with the provided screws.
Adjusting Camera Angle
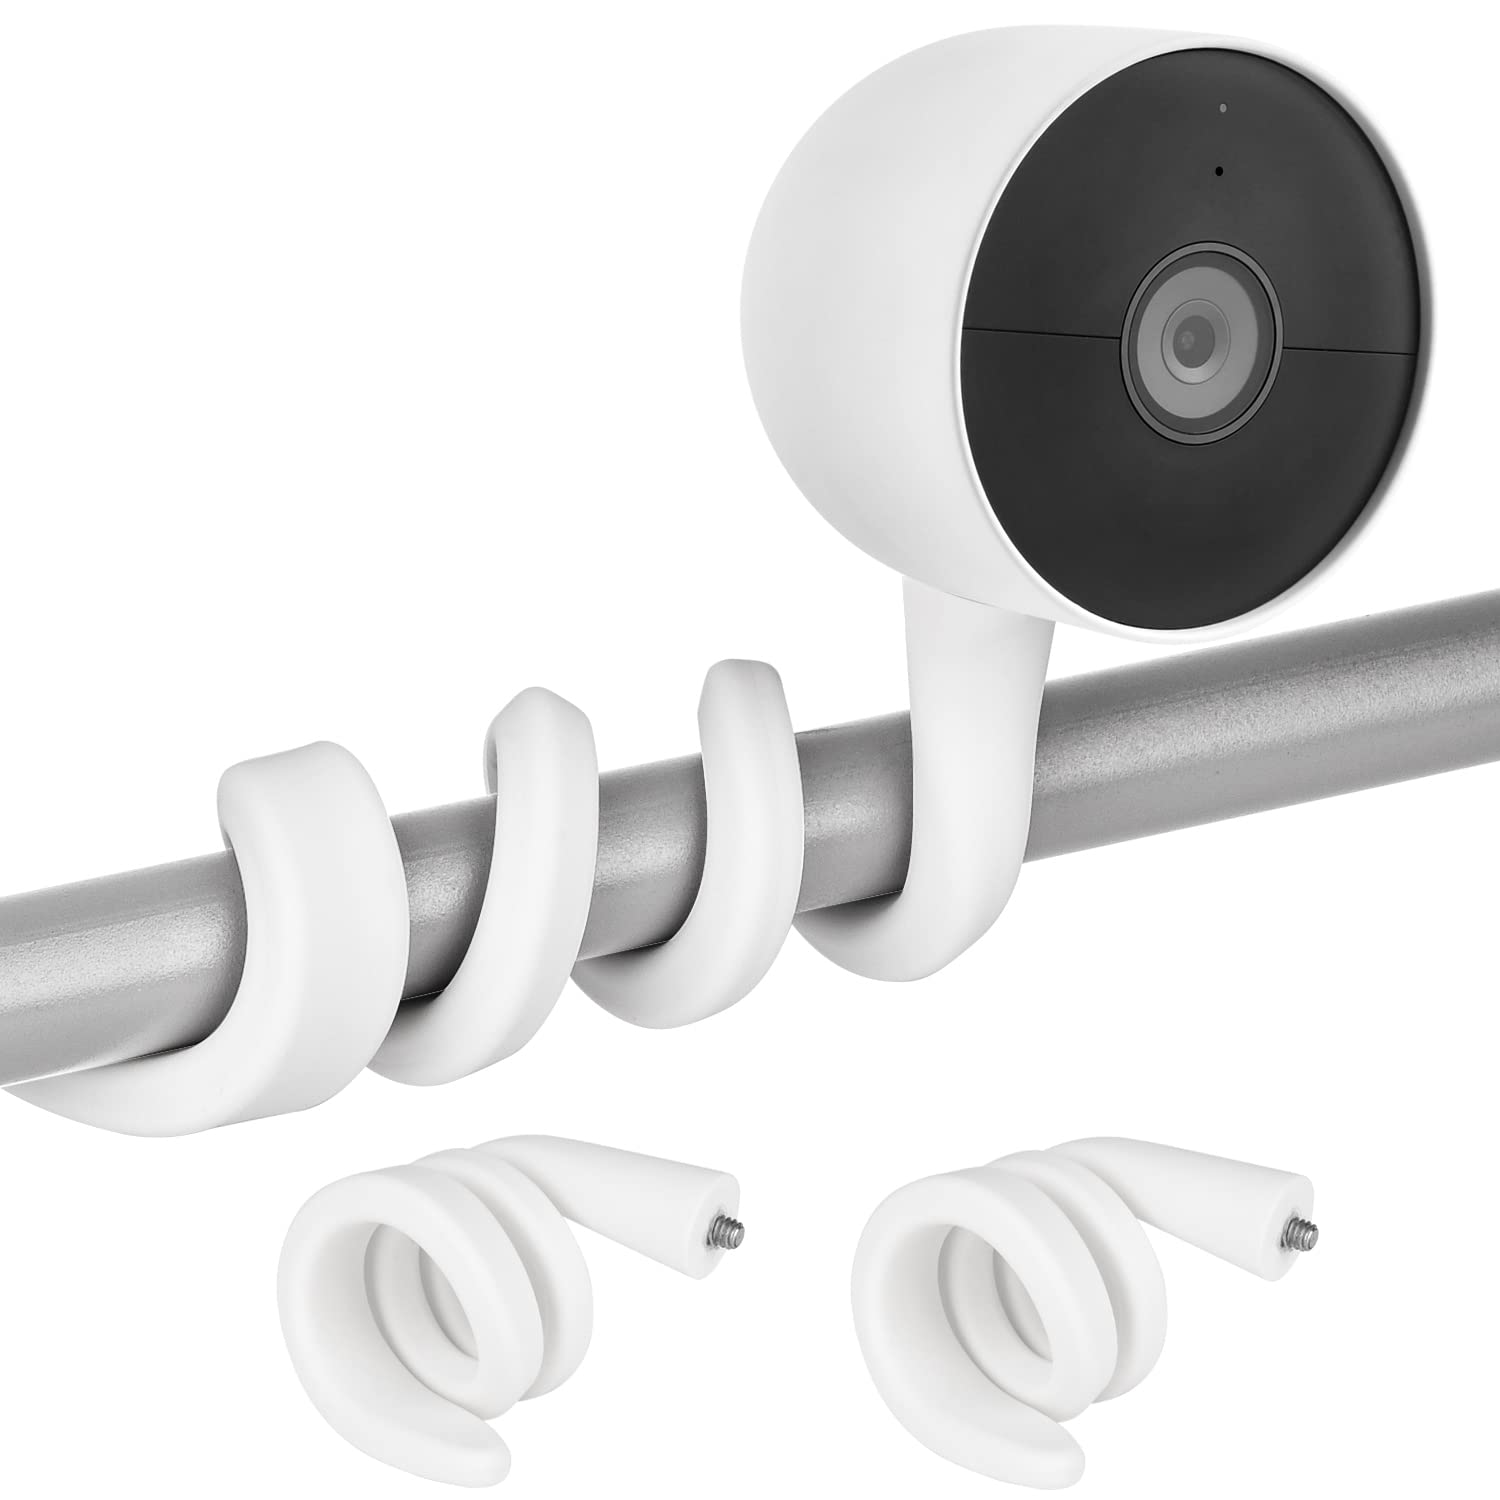
Once the mounting plate is secure, attach the camera, and adjust the angle to optimize the field of view. Tighten all the necessary components to ensure the camera stays in the desired position.
Installing Indoor Cameras
Indoor cameras often come with stands or wall plates that can be easily placed on shelves or mounted on walls. Follow the specific instructions for your model to ensure it’s secured properly.
Setting Up the Camera Software
Downloading the Google Home App
If you haven’t already, download the Google Home app on your smartphone. This app will guide you through the setup process and is also where you’ll view the camera feed and adjust settings.
Connecting to Wi-Fi
Open the Google Home app and add your Nest camera as a new device. The app will guide you to connect the camera to your home Wi-Fi network.
Syncing with Your Google Account
Log in with your Google account to sync the camera. This step is crucial as it allows you to access the camera feed from anywhere and receive notifications.
Configuring Camera Settings
Adjusting Video Quality
Inside the Google Home app, you can adjust the video quality settings. Higher quality provides a clearer image but may consume more bandwidth.
Setting Up Activity Zones
Activity zones allow you to specify areas within the camera’s field of view where motion is to be monitored more closely. This is helpful for avoiding false alarms from traffic or moving trees.
Enabling Notifications
Configure the notifications to alert you of movement or sounds that the camera detects. You can customize the sensitivity and frequency of these notifications.
Testing Your Nest Camera
Conducting a Live Feed Check
Verify that the camera is correctly streaming live video to your app. Check for clarity, lag, and ensure the entire area you want to monitor is visible.
Testing the Motion Detection
Simulate motion in the camera’s view to test the detection and notification system. Adjust the sensitivity settings if necessary.
Ensuring Night Vision Capability
If your camera has a night vision feature, test it in low light conditions to confirm that it’s working correctly.
Additional Tips and Best Practices
Regular Maintenance
Keep your camera clean from dust and debris. For outdoor models, periodically check for spider webs, dirt, or anything that could obstruct the lens.
Securing Your Wi-Fi Network
A strong, secure Wi-Fi connection is essential for protecting the feed from your camera. Use a robust password and consider a VPN for additional security.
Firmware Updates
Regularly check for firmware updates for your camera. Updates can fix bugs and improve performance and security.
Understanding Local Regulations
Be aware of your local privacy laws and regulations regarding video surveillance. Ensure that your camera placement isn’t infringing on the privacy rights of neighbors or passersby.
Conclusion:
Empowering Home Security with Nest Cameras
Installing a Nest camera is a proactive step toward bolstering your home’s security. By carefully selecting the optimal location, ensuring a solid Wi-Fi connection, and properly setting up the camera’s software, you’ll have a dependable surveillance system at your fingertips. Regular maintenance and firmware updates will keep your camera functioning at its best, providing peace of mind and making your home a safer place. With this guide in hand, you’re well-equipped to complete the installation process and enjoy the benefits of your Nest camera.
