Introduction
Embarking on the journey of building or upgrading a computer requires a fundamental understanding of its components, and perhaps none is as crucial as the motherboard. Serving as the central hub that connects all hardware components, the motherboard plays a pivotal role in determining a system’s performance, compatibility, and upgradeability. In this comprehensive guide, we’ll delve deep into the world of motherboards, exploring everything from form factors and chipsets to BIOS settings and troubleshooting tips. Whether you’re a seasoned tech enthusiast or a beginner looking to build your first PC, this guide aims to equip you with the knowledge and skills needed to master motherboards and unleash the full potential of your system.
Anatomy of a Motherboard
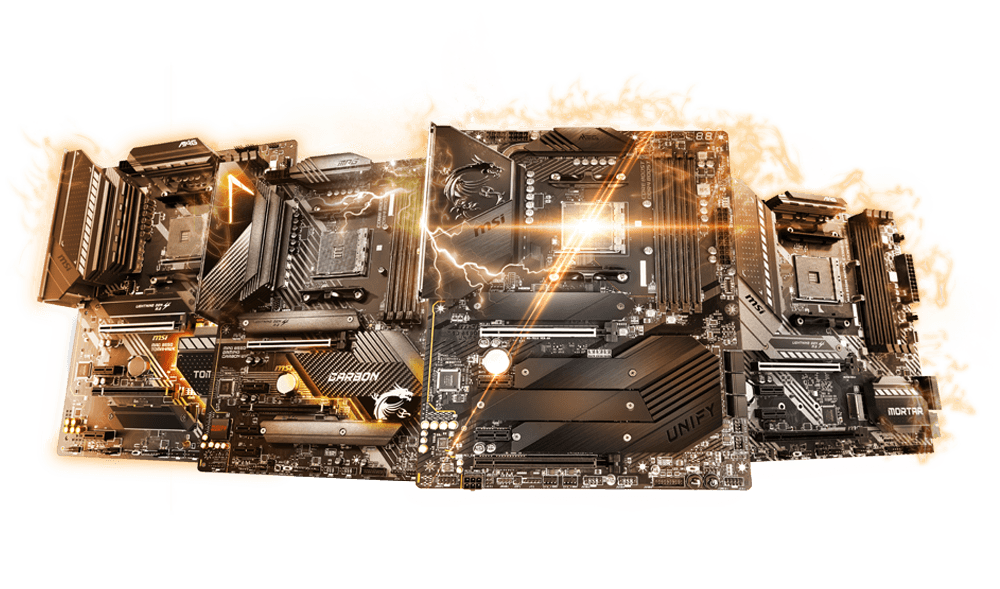
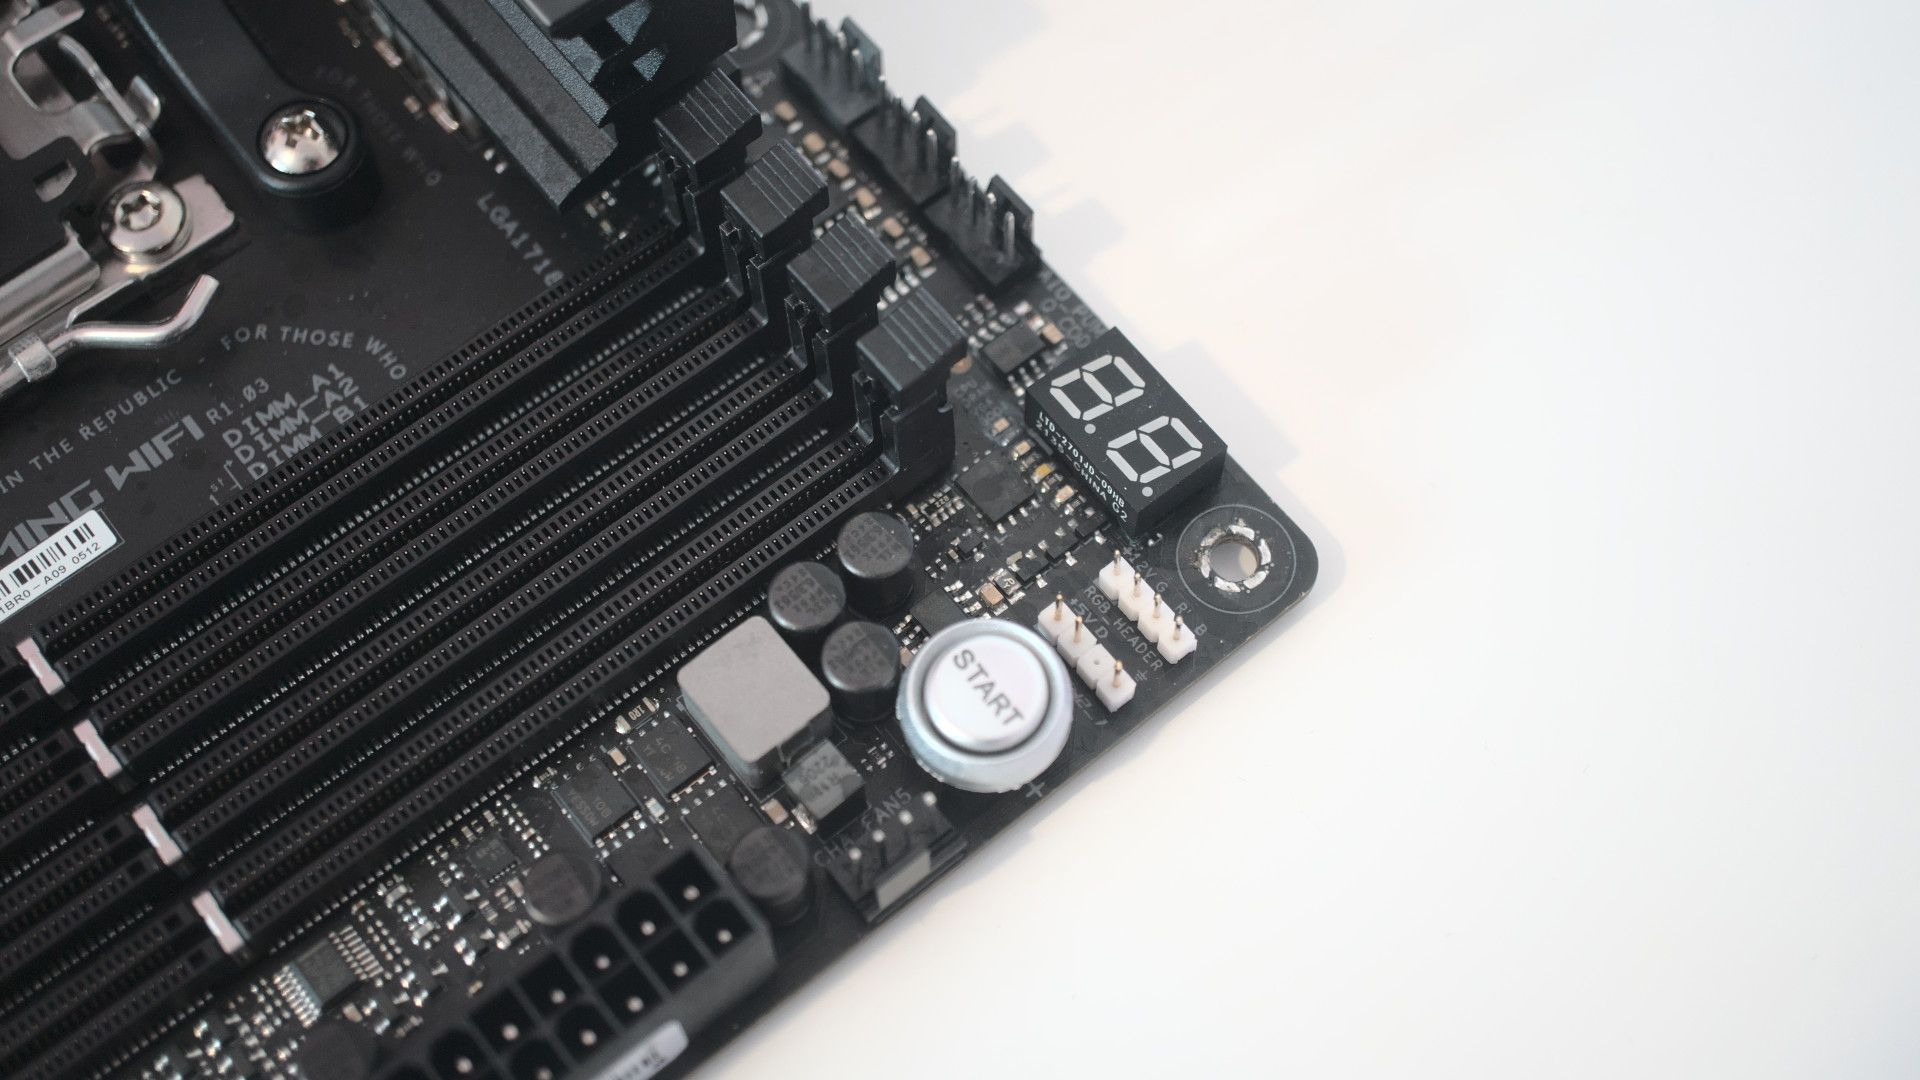
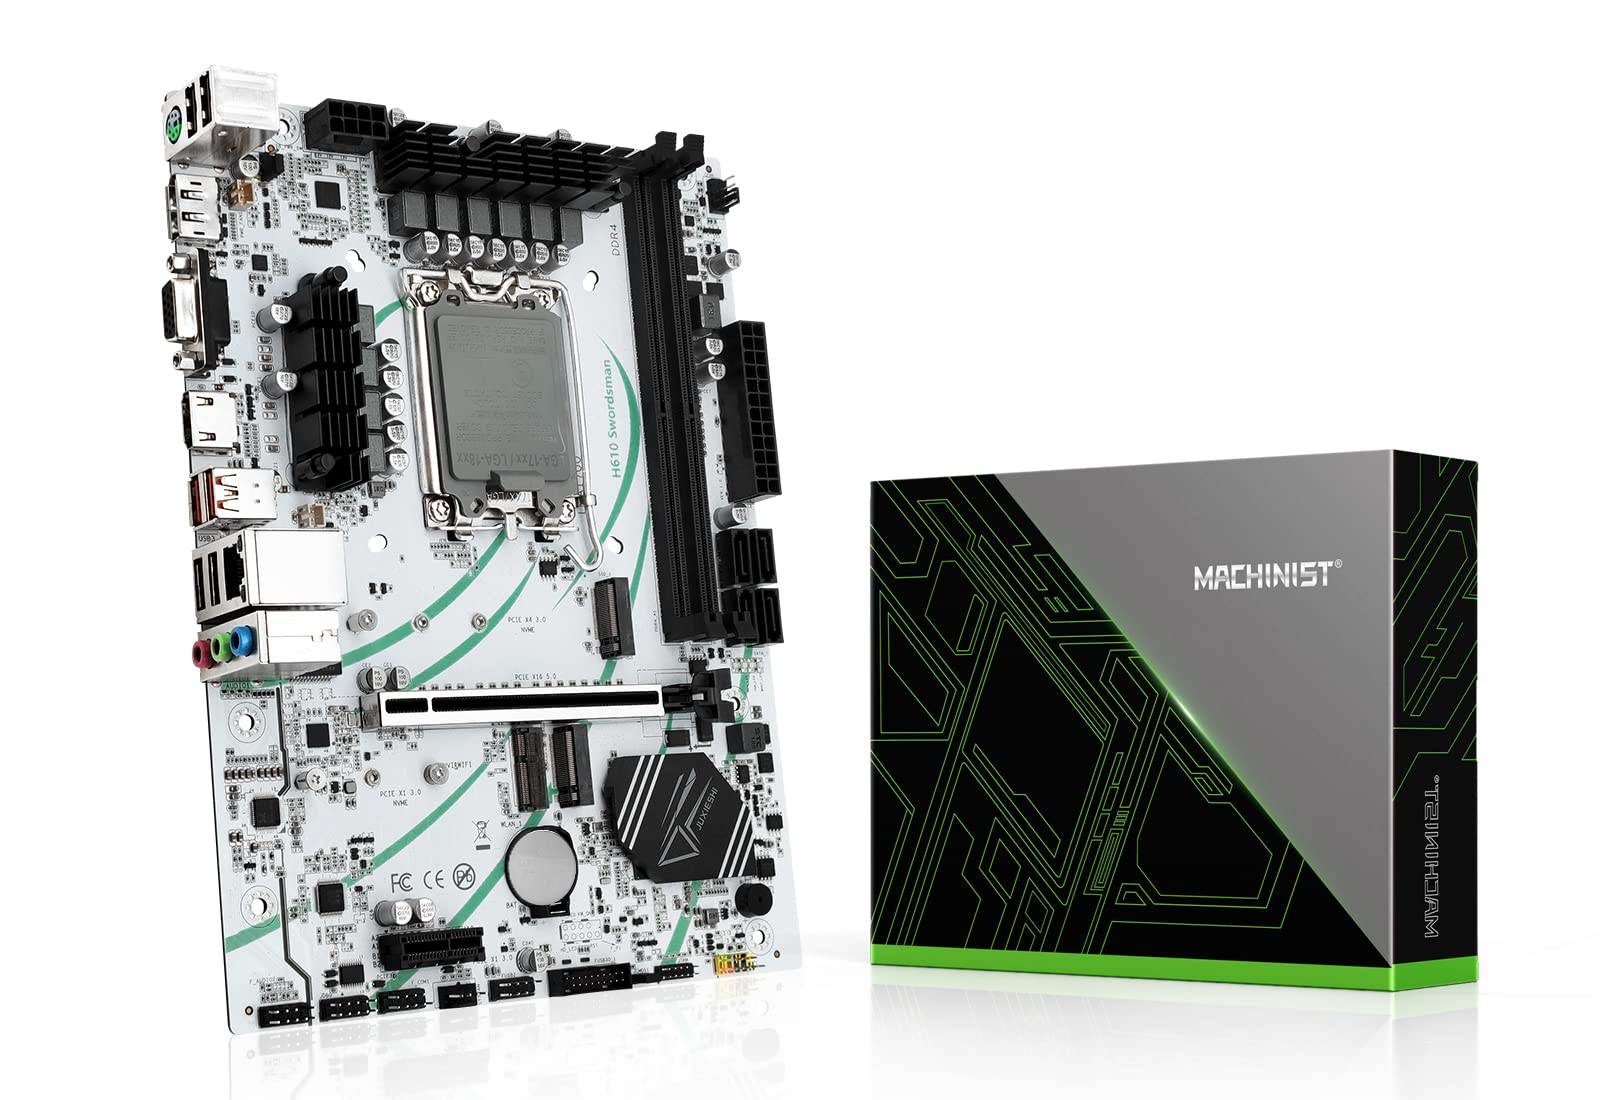
Before diving into the intricacies of motherboard selection and configuration, it’s essential to understand its physical layout and key components. A typical motherboard consists of various elements, including the CPU socket, RAM slots, expansion slots, chipset, BIOS chip, connectors, and ports. Each component serves a specific function in facilitating communication between different hardware components and peripherals. Understanding the layout and purpose of these components is crucial for selecting compatible hardware and troubleshooting issues effectively.
Exploring Motherboard Form Factors
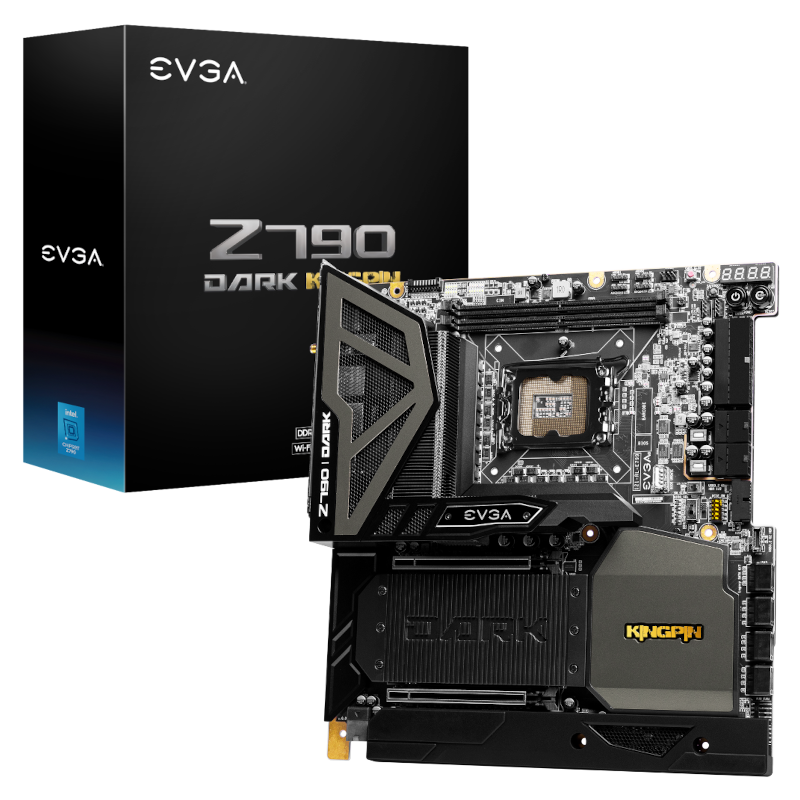
Motherboards come in different shapes and sizes, known as form factors, which dictate their physical dimensions, layout, and compatibility with PC cases. Common form factors include ATX, Micro-ATX, Mini-ITX, and Extended-ATX, each catering to different needs and preferences. Larger form factors like ATX and Extended-ATX offer more expansion slots and features, making them ideal for high-end gaming rigs and workstations. On the other hand, smaller form factors like Micro-ATX and Mini-ITX are suitable for compact builds and HTPCs (Home Theater PCs). When choosing a motherboard, consider your case size, expansion needs, and future upgradeability to ensure compatibility and optimal performance.
Understanding Chipsets and Socket Compatibility
The chipset is a crucial component of the motherboard responsible for managing data flow between the CPU, RAM, storage devices, and other peripherals. Different chipsets offer varying features, connectivity options, and performance levels, catering to different user requirements and budgets. Common chipset manufacturers include Intel and AMD, with each offering a range of chipsets tailored to different CPU generations and product lines. Additionally, motherboard compatibility is determined by the CPU socket, which must match the socket type of the processor you intend to use. For example, Intel CPUs typically use sockets like LGA1151 or LGA1200, while AMD CPUs use sockets like AM4 or TR4. Ensuring compatibility between the motherboard chipset and CPU socket is essential for a successful build.
Selecting the Right Motherboard for Your Needs
Choosing the right motherboard involves considering various factors, including form factor, chipset, socket compatibility, expansion options, connectivity features, and budget constraints. Whether you’re building a gaming PC, a workstation, or a media center, selecting a motherboard that meets your specific requirements is critical for achieving optimal performance and functionality. Evaluate your needs, research different motherboard models, read reviews, and compare specifications to find the best fit for your build. Additionally, consider factors like overclocking support, RAM compatibility, storage options, and onboard features like Wi-Fi, Bluetooth, and RGB lighting to ensure a satisfying user experience.
BIOS Settings and Optimization Techniques
The Basic Input/Output System (BIOS) is a firmware interface that initializes hardware components and boots the operating system during the startup process. Accessible through a simple graphical user interface (GUI) or text-based menu, the BIOS allows users to configure various settings related to CPU, memory, storage, and peripherals. Understanding BIOS settings and optimization techniques can significantly impact system performance, stability, and energy efficiency. From adjusting clock speeds and voltages to enabling XMP profiles and tweaking fan curves, mastering BIOS settings empowers users to fine-tune their systems for maximum performance and reliability. However, caution must be exercised when making changes to BIOS settings, as improper configurations can lead to system instability or damage.
Expansion and Connectivity Options
One of the key advantages of desktop PCs is their expandability, allowing users to add or upgrade components to meet evolving needs and preferences. Motherboards play a central role in facilitating expansion by providing various connectivity options and expansion slots for adding peripherals and upgrading hardware. Common expansion slots include PCIe (Peripheral Component Interconnect Express) slots for graphics cards, sound cards, and other expansion cards, as well as M.2 slots for high-speed NVMe SSDs (Non-Volatile Memory Express). Additionally, motherboards feature a plethora of connectors and ports, including USB, Ethernet, audio jacks, SATA, HDMI, and DisplayPort, for connecting external devices and peripherals. When planning your build, consider the number and type of expansion slots and connectors offered by the motherboard to ensure compatibility with your desired components and peripherals.
Troubleshooting Common Motherboard Issues
Troubleshooting common motherboard issues requires a systematic approach and attention to detail. Here’s a step-by-step guide to help you diagnose and resolve these issues:
Check Power Supply Connections
Ensure all power connectors from the power supply unit (PSU) are securely plugged into the motherboard. Verify that the main 24-pin ATX power connector and the 8-pin CPU power connector are properly seated.
Inspect for Physical Damage
Visually inspect the motherboard for any signs of physical damage such as burnt components, bulging capacitors, or broken traces. Any physical damage could indicate a serious issue with the motherboard.
Reset CMOS
Clear the CMOS memory by either removing the CMOS battery for a few minutes or using the CMOS jumper on the motherboard. This resets the BIOS settings to default, which can sometimes resolve compatibility or configuration issues.
Test with Minimal Configuration
Disconnect all unnecessary components such as extra RAM sticks, expansion cards, and drives. Leave only the essential components connected: CPU, one stick of RAM, and graphics card (if not using integrated graphics).
Check RAM
Reseat the RAM modules in their slots and ensure they are properly seated. Try booting with each RAM module individually to identify any faulty modules. If possible, test the RAM in another system to confirm if it’s the cause of the issue.
Inspect CPU
Ensure the CPU is properly seated in its socket and that none of the pins are bent or damaged. Insufficient thermal paste or improper CPU cooler installation can cause overheating issues, so check for these as well.
Check BIOS Settings
Access the BIOS/UEFI setup utility and verify that the settings are configured correctly. Pay attention to settings related to CPU, RAM, storage, and boot order. Resetting BIOS settings to default may also help resolve certain issues.
Update BIOS
Check if there’s a newer version of the BIOS firmware available on the motherboard manufacturer’s website. Updating the BIOS can sometimes fix compatibility issues and improve system stability.
Test with Known Good Components
If possible, swap out components like the CPU, RAM, or graphics card with known good ones to isolate the faulty component.
Check for Short Circuits
Ensure that no metal objects are touching the motherboard that could cause a short circuit. Check that standoffs are correctly installed between the motherboard and the case.
Seek Professional Help
If you’ve tried all the above steps and still can’t resolve the issue, it may be time to consult with a professional technician or contact the motherboard manufacturer’s support for further assistance.
By following these troubleshooting steps, you can effectively diagnose and resolve common motherboard issues, ensuring your system operates smoothly and reliably.
Conclusion
Mastering motherboards is essential for anyone looking to build, upgrade, or troubleshoot a PC effectively. By understanding the anatomy of a motherboard, exploring different form factors and chipsets, selecting the right motherboard for your needs, optimizing BIOS settings, and troubleshooting common issues, you can unleash the full potential of your system and achieve optimal performance and reliability. Whether you’re a seasoned tech enthusiast or a beginner, the knowledge and skills gained from this comprehensive guide will empower you to navigate the world of motherboards with confidence and proficiency.


