In a world dominated by digital technology, vintage cameras hold a unique charm that intrigues photographers and collectors alike. These classic devices do not just capture images; they embody the history, artistry, and craftsmanship of a bygone era. Restoring a vintage camera can breathe new life into it, allowing you to enjoy its functionality and aesthetic appeal. This article will provide detailed tips for restoring your old photography gear, ensuring that these timeless pieces continue to serve their purpose in today’s fast-paced age.
Understanding the Allure of Vintage Cameras
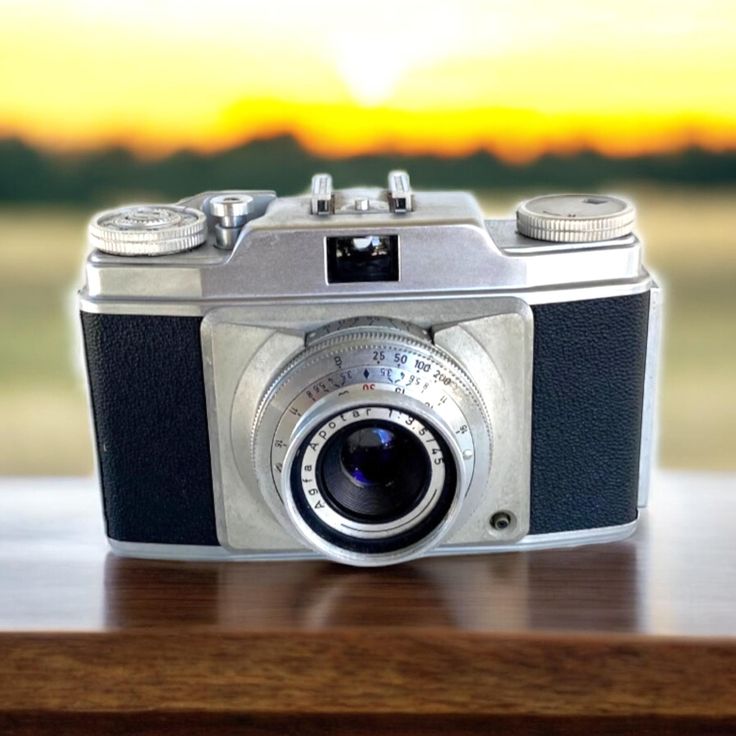
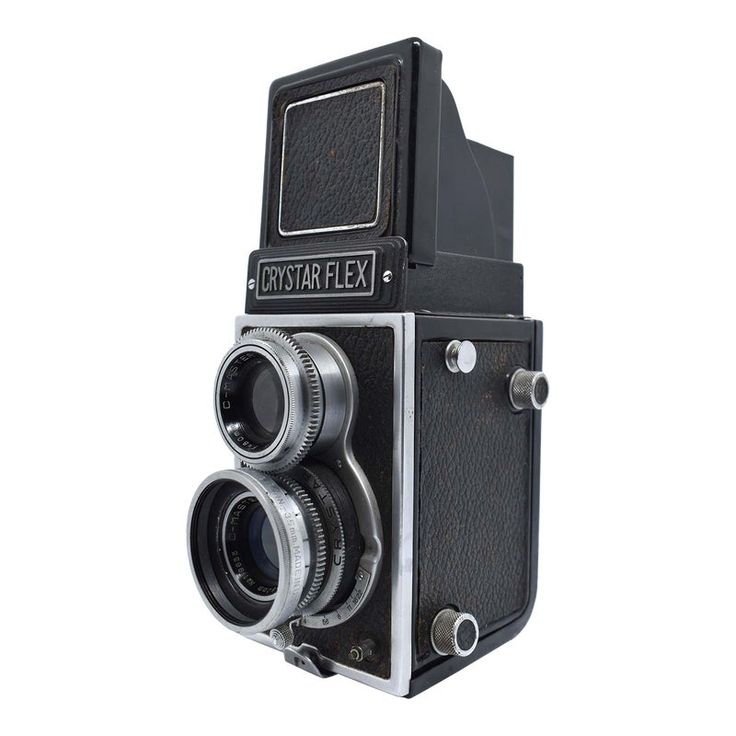
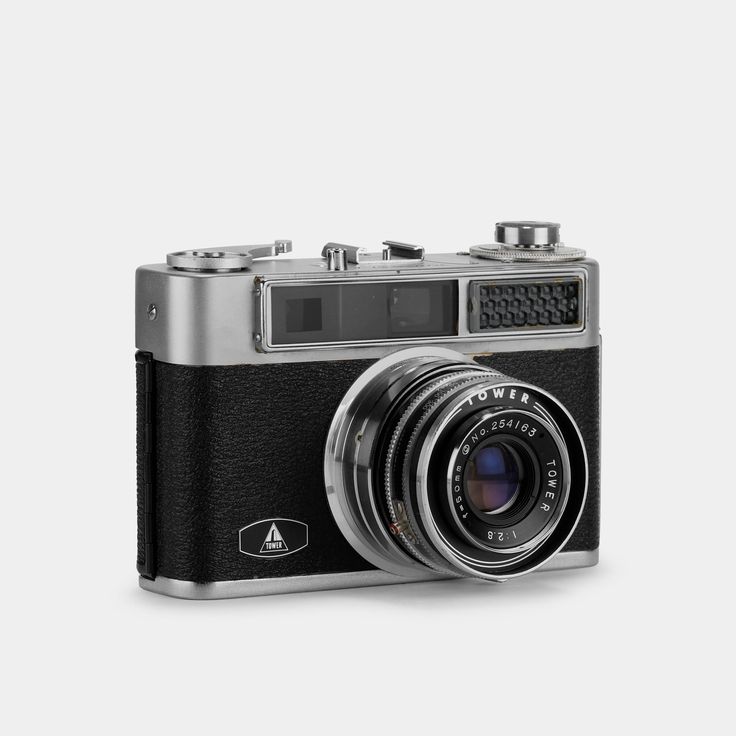
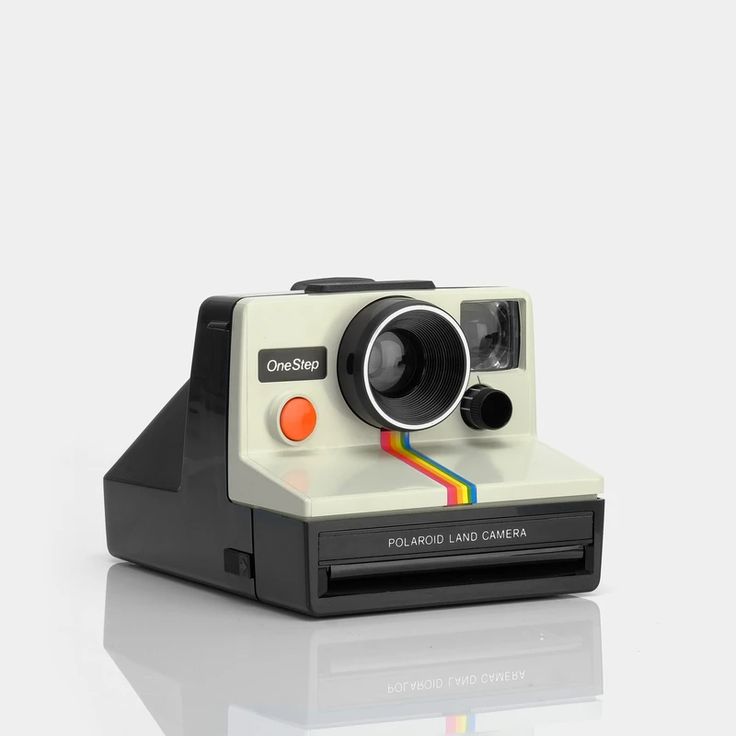
Vintage cameras evoke a sense of nostalgia, representing the evolution of photography over the decades. While modern DSLRs and mirrorless cameras may offer advanced features, vintage cameras boast a tactile quality that enhances the artistic process of shooting. Many photography enthusiasts cherish the analog experience and appreciate the skill required to use these older devices effectively. Vintage cameras often feature distinct designs, elaborate mechanics, and unique character, making each restoration project a rewarding endeavor.
Restoring vintage cameras also preserves the legacy of photographic technology. Each camera tells a story, from its original owner to the types of images it captured. Therefore, safeguarding these artifacts contributes to a rich tradition in photographic history. Engaging in the restoration process not only enhances your appreciation for vintage gear but also allows you to explore the artistic potential and creativity that these cameras embody.
Assessing the Condition of Your Retro Camera
Before diving into the restoration process, thoroughly assess the condition of your vintage camera. Understanding what needs attention will help you formulate a targeted action plan, saving you time and effort in the long run.
Inspecting the Body and Lens
Start by examining the camera body for any visible signs of wear, such as scratches, dents, or rust. Pay attention to the condition of the leatherette covering, as it may require replacement or refurbishment. Check the lens for any signs of fungus, dust, or scratches. Imperfections may impact image quality, necessitating repair or cleaning.
Checking the Internal Mechanisms
Explore internal components by removing the lens and inspecting the mirror, shutter, and aperture blades. Ensure that the shutter functions properly; it should open and close smoothly without sticking. If you notice any resistance or unusual sounds, your camera may require deep cleaning or servicing. Additionally, assess the camera’s light meter, if equipped. A malfunctioning meter can affect exposure accuracy, so test it against modern alternatives or use an external light meter.

Gathering Essential Tools for Restoration
Before starting the restoration, gather the right tools and materials to ensure a smooth process. A well-equipped toolkit will facilitate repairs and maintenance while minimizing the risk of damage to the camera.
Basic Toolkit Essentials
At a minimum, your toolkit should include a set of small screwdrivers, tweezers, and precision pliers. These tools will assist you in disassembling the camera and performing detailed repairs. Additionally, consider incorporating a soft microfiber cloth and lens cleaning solution to clean delicate surfaces and optics.
Specialized Tools
For deeper restoration projects, you may require specialized gear. A lens spanner, for example, allows you to unscrew and tighten lens elements accurately. Corners of the camera’s body may demand bright LED lights for optimal visibility during inspections. A small air blower can remove dust particles from hard-to-reach sections without scratching the surfaces. Accurate measurement tools, such as calipers, help ensure components fit together correctly after restoration.
Cleaning the Exterior of Your Vintage Camera
A thorough cleaning of the exterior can significantly enhance the appearance of your vintage camera. This process requires caution to avoid damaging any finishes or delicate components.
Wiping Down the Camera Body
Begin by lightly dusting off the camera body with a soft, dry microfiber cloth to remove any particulate matter. Use a gentle cleaning solution to tackle stains and sticky residue. Always apply the solution to the cloth, rather than directly onto the camera, to prevent moisture from seeping into the internal mechanisms.
For areas with more stubborn dirt, consider using a soft-bristled brush to dislodge debris while avoiding scratches. Maintain softness in your approach, ensuring that you don’t accidentally damage the film compartment, viewfinder, or buttons during the cleaning process.
Caring for the Lens
Cleaning the lens is one of the most critical aspects of restoring vintage cameras. Begin by removing any lens caps and dust covers. Use a blower to eliminate loose dust, followed by a lens cleaning solution applied sparingly to a microfiber cloth. Gently wipe the lens in a circular motion, starting from the center and moving outward to avoid streaks. If the lens exhibits fungus, you may need to disassemble it for a deeper clean, which only experienced restorers should attempt.
Repairing Mechanical Issues in Vintage Cameras
Typically, vintage cameras experience various mechanical problems due to age and wear. Addressing these issues ensures that your restored camera continues to function reliably.
Adjusting and Cleaning the Shutter Mechanism
A common issue with vintage cameras revolves around the shutter mechanism. If it seems sluggish or fails to open and close properly, then dismantling the shutter assembly for cleaning and lubrication may remedy the situation. Use a suitable lubricant designed for camera mechanisms to ensure smooth movement. However, apply it sparingly—too much can cause sticky residue.
Repairing the Film Advance Mechanism
Film advance issues can frustrate users trying to use vintage cameras. These problems often stem from broken gears or wear in the film transport system. If your camera features manual film advance, inspect the winding mechanism for any obstruction. Carefully reassemble and test the system with care to ensure optimal functionality.
Restoring the Light Meter and Electrical Components
If your vintage camera has a built-in light meter or electronic components, you must restore these for accurate functioning.
Testing the Light Meter
First, check whether the light meter responds to exposure changes. If it fails to do so, it might need recalibration or replacement. Use a modern light meter for comparison against the vintage meter’s readings. If inaccuracies persist, consider recalibrating or consulting with a professional technician specializing in vintage camera repairs.
Inspecting Electrical Components
Inspect any electrical components for corrosion or damage, especially around the battery compartment. Clean corroded contacts with a small amount of rubbing alcohol on a cotton swab. If necessary, replace batteries with fresh ones and test the camera’s electronic functions to ensure they operate correctly.
Understanding Film Choices for Camera
After restoring your vintage camera, determining the right type of film to use becomes crucial for getting excellent results. Finger on the pulse of film options can help you get the most out of your camera.
Choosing the Right Film Stock
Familiarize yourself with the types of film compatible with your camera. Many vintage cameras are designed for specific film formats, such as 35mm, 120, or large-format film. Your choice will influence image quality, grain, and the overall aesthetic of your photographs.
Embracing Different Film Styles
Experiment with various film stocks to discover distinct styles that suit your artistic vision. Black and white film, for instance, lends a classic feel to photographs, while color negative film delivers a more vibrant palette. Alternatively, you might explore slide film for its exceptional color saturation.
Taking Test Shots and Evaluating Performance
After completing your restoration efforts, take some test shots to gauge the performance of your vintage camera. This step will help you identify any lingering issues and adjust your techniques accordingly.
Conducting a Test Shoot
Find a picturesque location and set up your camera for test shots. Pay attention to adjustments needed based on the depth of field, focus, and exposure. Use a tripod if necessary to minimize camera shake while testing shutter dynamics and film advance features.
Analyzing the Results
Once you’ve developed your film, review the quality of your images to assess the effectiveness of your restoration. Successful restorations will result in sharp, well-exposed photographs that meet your expectations. If you encounter flaws or inconsistencies in the images, consider revisiting your restoration steps, identifying areas for improvement.
Conclusion: Celebrate the Art of Retro Camera Restoration
Restoring a vintage camera serves as both a creative endeavor and a tribute to photographic history. By following the outlined steps, you can breathe new life into old photography gear, preserving its beauty and functionality for future generations to enjoy. This process not only enhances your appreciation for analog photography but also opens a new world of artistic exploration with each captured frame.
Whether you choose to use your restored camera actively or display it as a conversation piece, the skills and happiness developed throughout this journey merit celebration. Vintage cameras encapsulate a rich history, and your commitment to restoring them contributes to that legacy. Embrace the challenge, develop your techniques, and enjoy the rewarding experience of breathing new life into these beloved instruments.